20
Getting Started
Make a Video Call
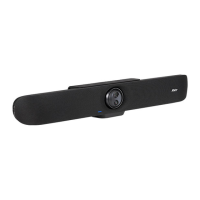
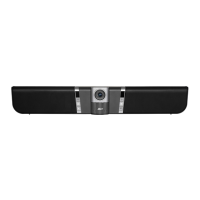
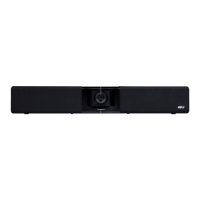
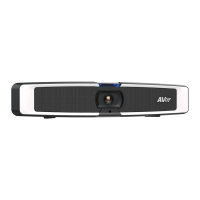
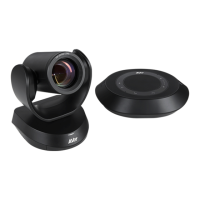
1. Make sure all devices (VB350, laptop/PC, TV/monitor) are well connected and powered on.
2. Run your video application (Teams, Skype
TM
, Skype for Business, Google Hangouts
TM
, Zoom
TM
,
WebEx
TM
, Adobe Connect
TM
, WebRTC, etc.) on your laptop/PC.
3. Set the VB350 camera as the primary camera and speakerphone for your video application (refer
to your video application user guide). You can now make your call.
[Note] The VB350 is a plug-and-play conference camera. The system requires no special drivers, but
we do recommend installing the PTZApp 2 for a better user experience. For information on how to
install and use the PTZApp 2, refer to the PTZApp 2 section in this user manual.
Make a Connection through the Browser
VB350 has an Ethernet port for IP streaming and allows administrators to remotely control and set up
the camera via an internet access. Moreover, VB350 also supports RTSP and RTMP functions. For
more details, please refer to page <Video Format Settings> or contact our technical support.
[Note] When USB streaming is on, RTSP/RTMP functions will not work.
1. Make sure the VB350 has an Internet access connection.
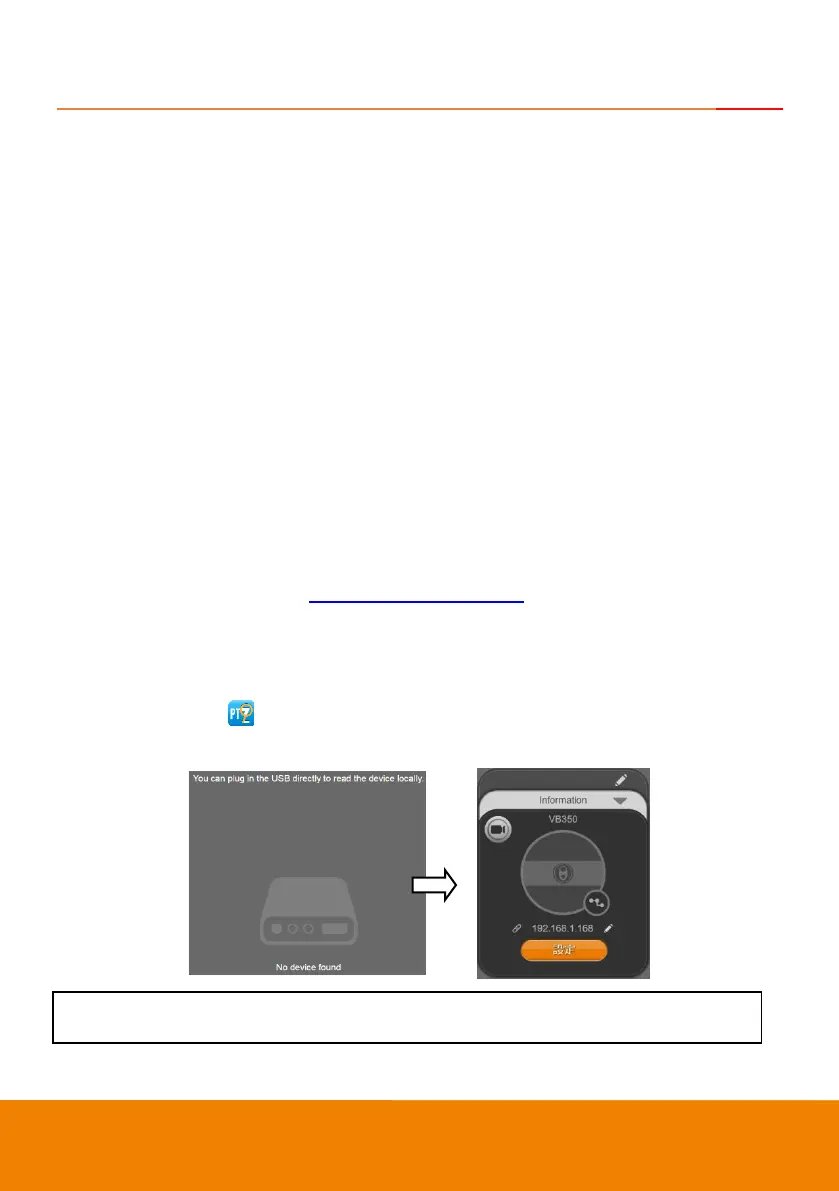
2. Launch PTZApp 2* ( ) and connect VB350 to PC with USB cable. The camera default IP address
is 192.168.1.168.
[Note] The browser supports:
Chrome: version 76.x or above Firefox: version 69 or above IE: Doesn’t support
 Loading...