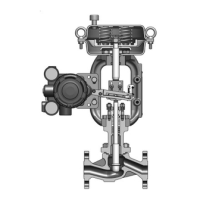
5-4. Disassembling the Valve Body
Precautions for disassembly
• Disassemble the valve body on a rag, etc., to avoid damaging the valve.
• After disassembling the valve body, protect the gasket-contacting surfaces, the valve plug-
contacting surfaces, sliding areas, seat ring, etc., with a rag or the like.
CAUTION
Dispose of old parts that were replaced during valve disassembly or main-
tenance as industrial waste. If they are burned or discarded carelessly, envi-
ronmental pollution will result.
Disassembly procedure
Disassemble the control valve, referring to
Figure 5-2 to Figure 5-4 “Valve body structure.”
(1) Detaching the bonnet from the valve
Step Procedure
1 Loosen the nuts for the packing flange.
2 With the open-end wrench or box wrench, loosen the hex nuts that hold the bonnet to
the valve.
3 Check if the pressure in the valve has been released completely.
Remove the nuts.
4 Remove the bonnet from the valve. Be sure to hoist the bonnet slowly and vertically
by, for example, using a hoisting tool, so that the valve stem does not move to the side.
If the valve plug comes off along with the bonnet, tap the plug lightly with a plastic
hammer so that the seat of the valve plug and the seat ring is not damaged, and slide it
off from the bonnet by its own weight.
5 Remove the gasket between the valve and the bonnet.
WARNING
Before disassembling the valve body, check that the pressure
in the valve has dropped to atmospheric pressure. If fluid
spews out, injury may result.
Before disassembling the valve body, wash out the inside the
valve or replace the fluid. Otherwise, the residual fluid in the
pipe may cause an injury.
5-4

 Loading...