Setting up the machine
11
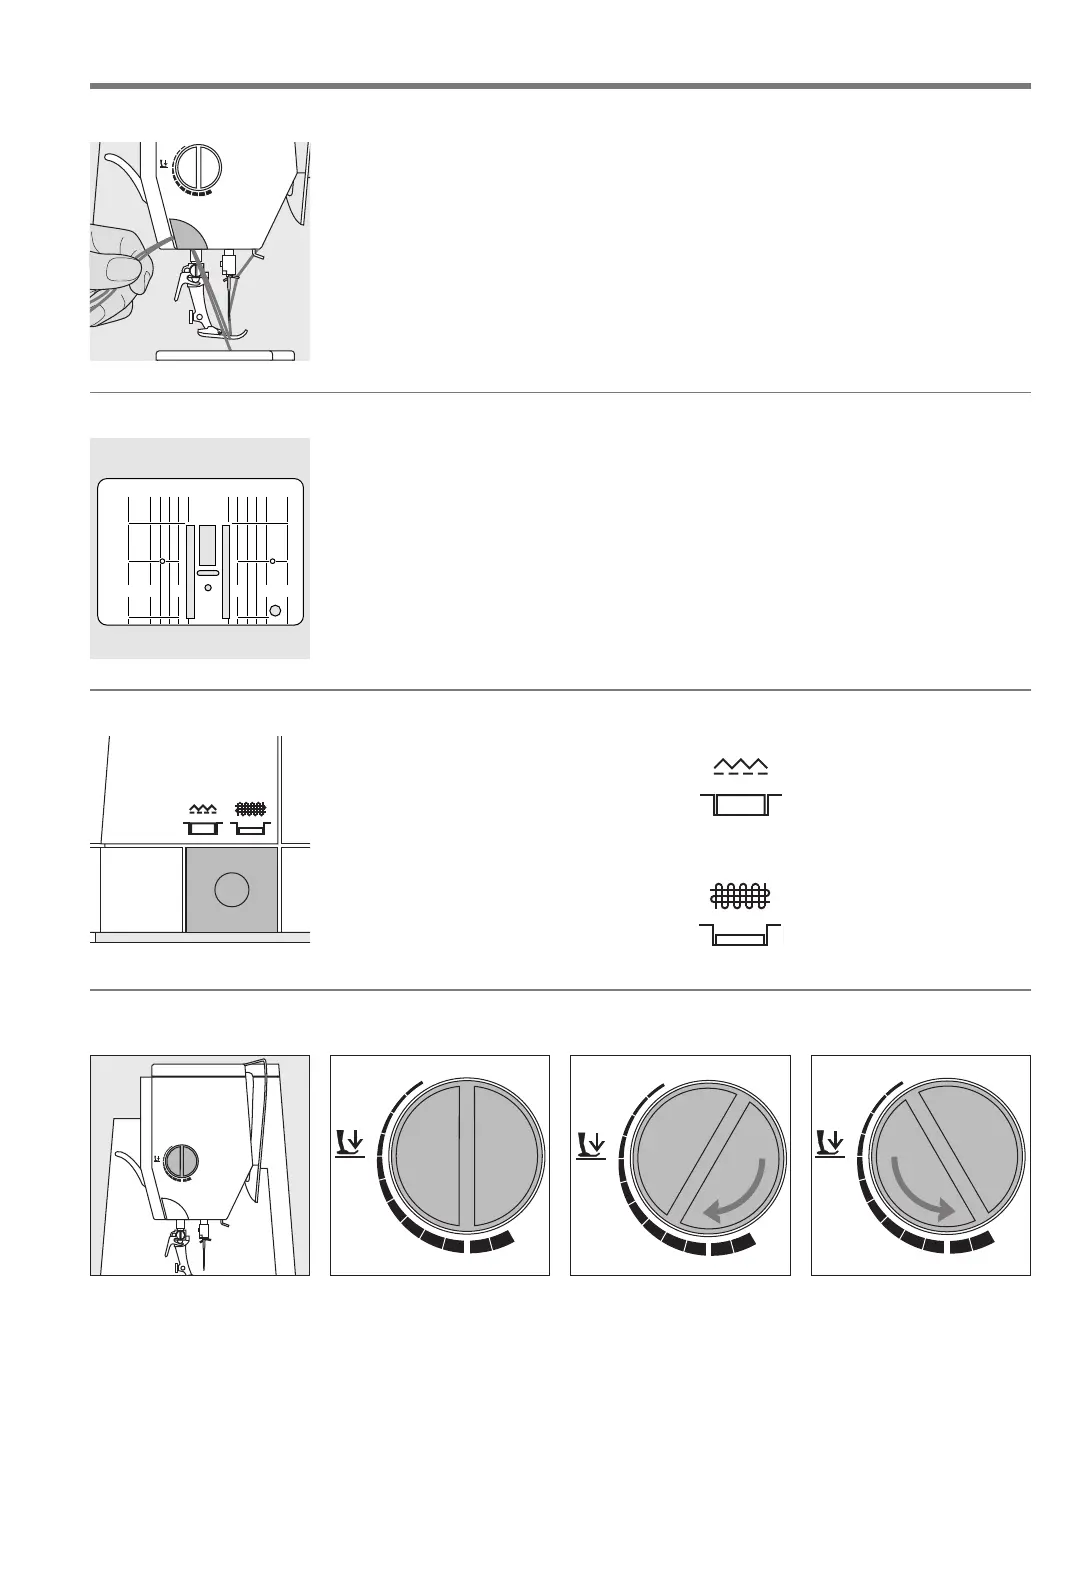
Thread cutter
Thread cutter on head frame
· lower the presser foot and pull both
threads from front to back over the cutter
·the threads release as soon as the first
stitch is sewn
Stitch Plate
Stitch plate markings
· the stitch plate is marked with vertical
lines in mm and inches
· mm measurements are at the front
· inch measurements are at the back
· the measurements correspond to the
distance from the needle to the line
· needle insertion point is position 0
(center needle position)
· the mm/inch measurements are marked
to the right and left
Feed-dog
Button under the handwheel
Button flush with base plate = sewing
position
· for all machine-fed sewing
Button depressed = feed-dog is lowered
· for free-hand sewing (darning, free-
hand embroidery, free-hand quilting)
· for embroidery with the Embroidery
Module
25 20 10 252010
1
5
/8
1
/4
1
5
/8
1
/4
Presser foot pressure
Standard pressure
· for all normal sewing
Reduced pressure
· for jerseys and loose
knits, quilting
·prevents fabric stretching
· adjust pressure so that
the fabric still feeds
correctly
Increased pressure
· for sheer, slippery
lightweight fabrics,
quilting
· improves fabric feed and
prevents puckering
Dial on head frame
· the presser foot pressure
dial is on the left of the
head frame
· the lines help to guide the fabric for
perfectly spaced stitching
· the horizontal markings are helpful for
sewing buttonholes, etc.
BA_165_engl 16.4.2004 9:34 Uhr Seite 11
030787.52.04_0401_a165_EN
 Loading...