1 689 975 223 2013-10-21| Robert Bosch GmbH
18 | ACS 751/651 | Scalesen
459898_43Nkv
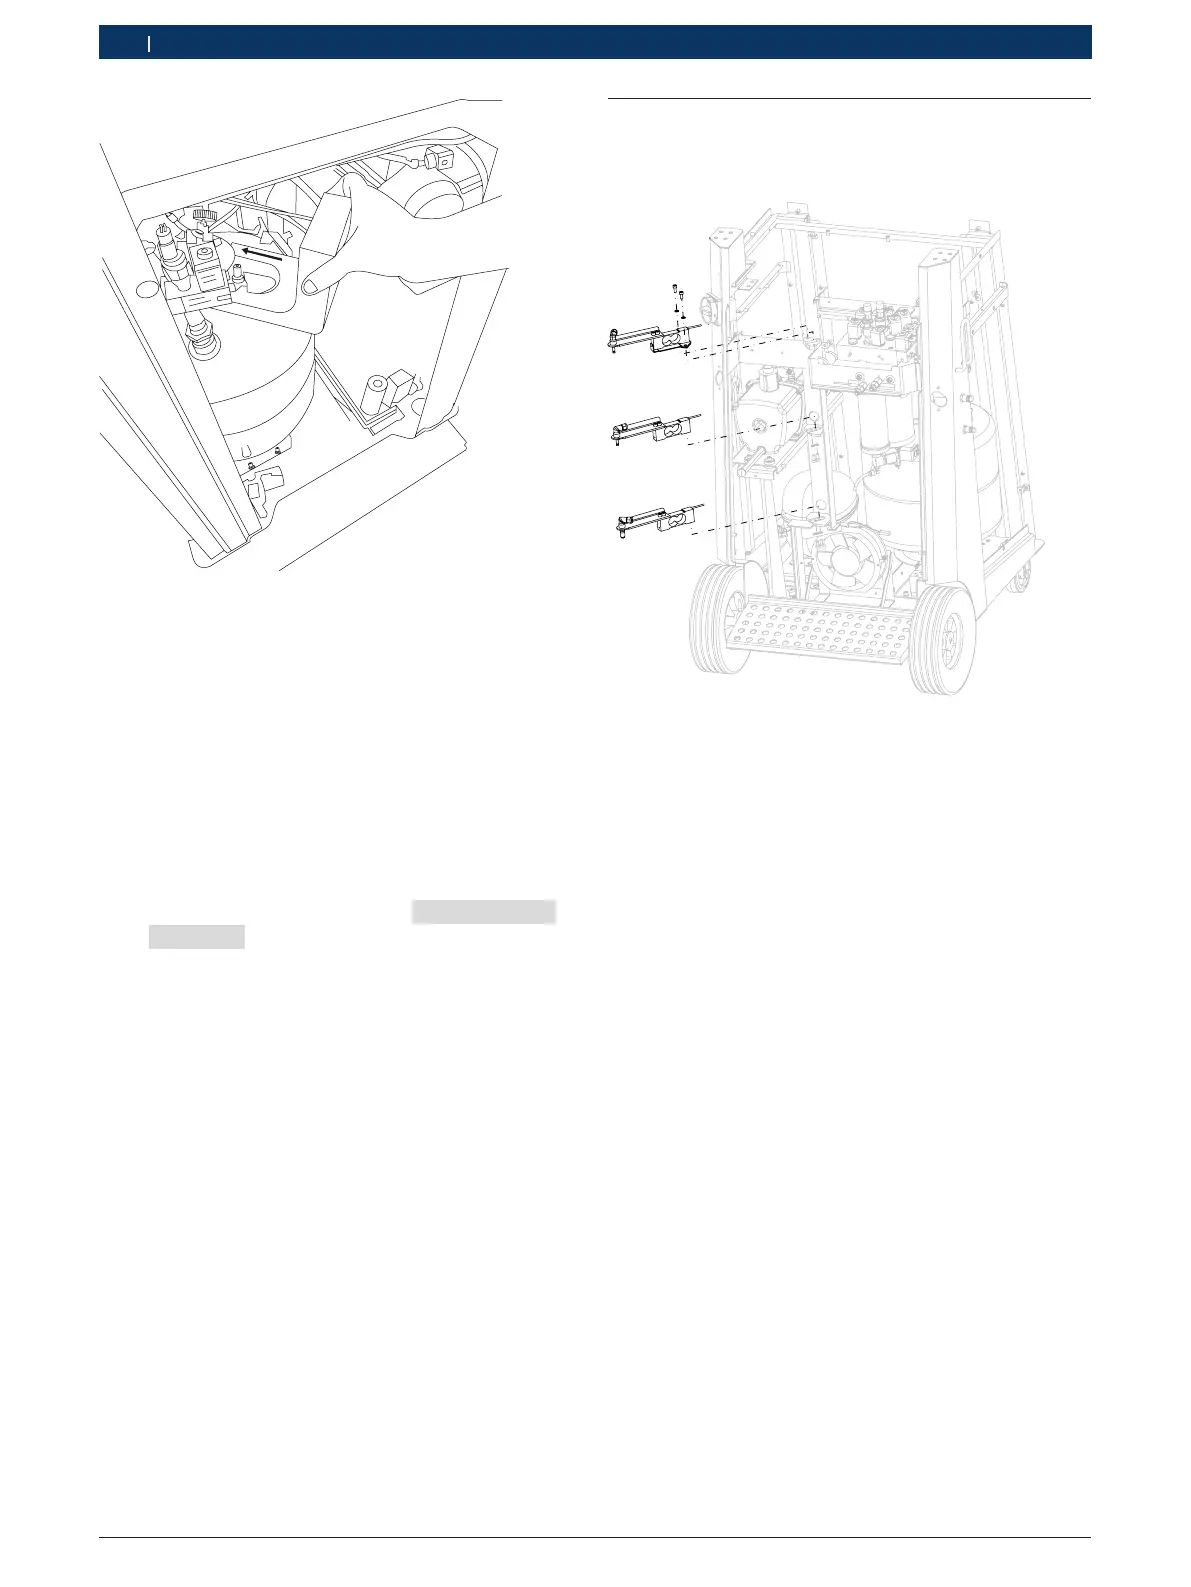
Fig. 14: Attaching the calibrating weight to the
refrigerant cylinder
14. Select "Place Standard Calibration Weight".
15. Enter the value of the calibrating weight.
i The actual value is embossed on the calibrating
weight.
16. Select "Input Standard Weight".
17. Select "Calibrate". If you wish to abort the calibra-
tion, press c.
? The calibration process starts. Once the calibra-
tion is complete, the message Calibration
complete is displayed.
"You have successfully calibrated the scale for the
refrigerant tank.
5.2 Replacing scales
5.2.1 Replacing used oil/fresh oil/ UV dye scale
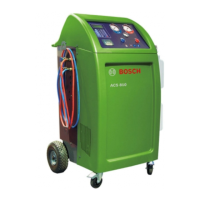
4589898_23Nkv
Fig. 15: Scales assembly
1. Switch off the ACS 751/651.
2. Disconnect the mains connection.
3. Open the front service hatch and disconnect the oil
and UV dye bottles.
4. Open the front panel and top panel (Chap. 6.1,6.2).
5. Disconnect the connections from the scale to the I/O
board. .
6. Undo the screws on the top and bottom of the re-
taining plate for the scale.
7. Place the new scale into position.
8. Tighten the screws on the retaining plate.
9. Restore the I/O connections to the scale.
10. Close the front panel.
11. Connect the power cable to the mains supply.
12. Switch on the mains supply.
13. Turn on the power switch.
14. In the main menu, select "ACS Settings".
15. Perform calibration with the standard weight.