BASIC TYPING
The firSt thing that you will need to do is to decide how you want your document
to look when it is printed. To do this, go step-by-step through the following.
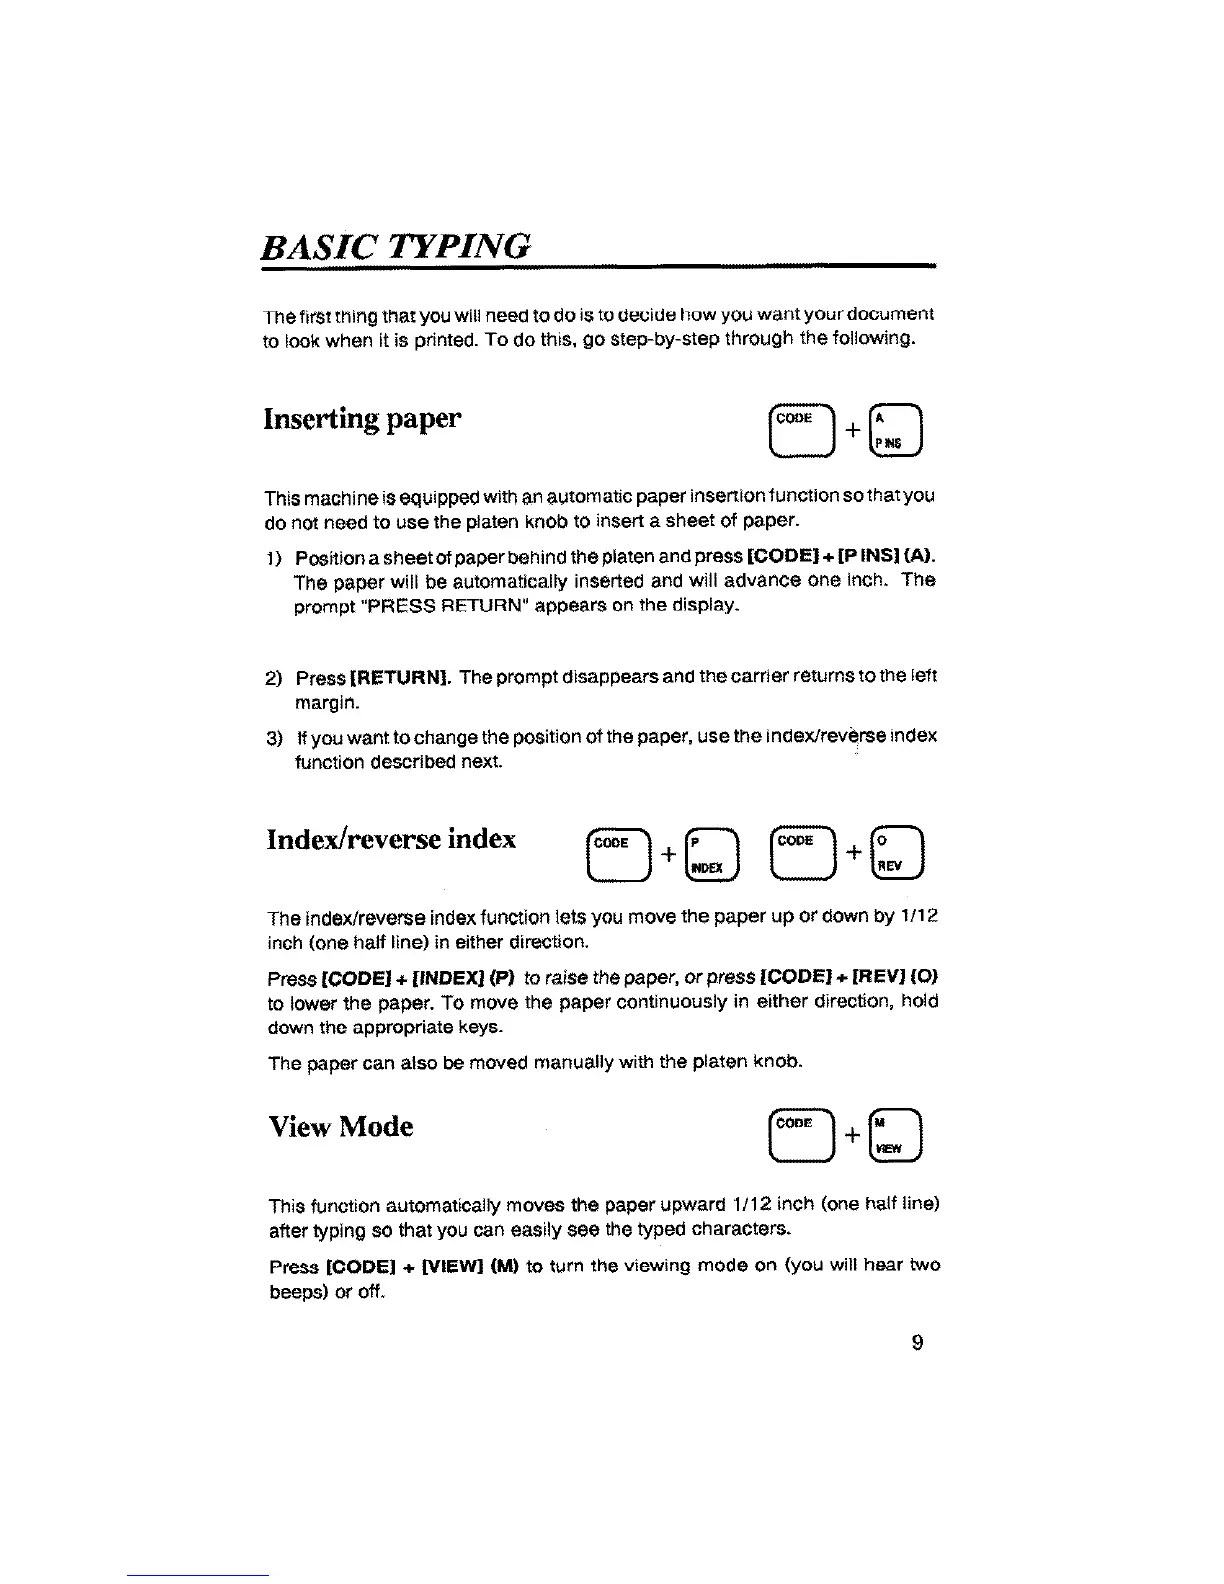
Inserting paper
This machine is equipped withan autom atic paper insertion function so thatyou
do not need to use the platen knob to insert a sheet of paper.
1) Position a sheet of paper behind the platen and press [CODE] + [P INS] (A).
The paper will be automatically inserted and will advance one inch. The
prompt "PRESS RETURN" appears on the display.
2) Press [RETURN]. The prompt disappears and the carrier returns to the left
margin.
3) If you want to change the position of the paper, use the index/reverse index
function described next.
Index/reverse index
©+©
The index/reverse indexfunction lets you move the paper up or down by 1/12
inch (one haft line) in either direction.
Press [CODE] + [INDEX[ (P) to raise the paper, or press [CODE] + [REV] {O)
to lower the paper. To move the paper continuously in either direction, hold
down the appropriate keys.
The paper can also be moved manually with the platen knob,
View Mode
This function automatically moves the paper upward 1/12 inch (one half line)
after typing so that you can easily see the typed characters.
Press [CODE] + [VIEW] (M) to turn the viewing mode on (you will hear two
beeps) or off.
 Loading...