25 Operation
Operation
Starting up the projector
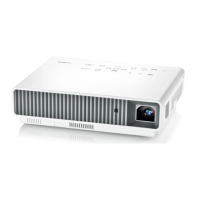
1. Plug the power cord. Turn on the power outlet switch
(where fitted). The power indicator on the projector
lights red after power has been applied.
2. Press on the projector or remote control to start
the projector. The power indicator flashes green and
stays green when the projector is on.
(If necessary) Rotate the focus ring to adjust the
image clearness.
3. If this is the first time you turn on the projector, the
setup wizard appears to guide you through setting up the projector. If you have already
done this, skip this step and move on to the next step.
• Use the arrow keys ( / / / ) on the projector or remote control to move through the
menu items.
• Use ENTER to confirm the selected menu item.
4. If you are prompted for a password, press the arrow keys to enter a 6-digit password. See
"Utilizing the password function" on page 27.
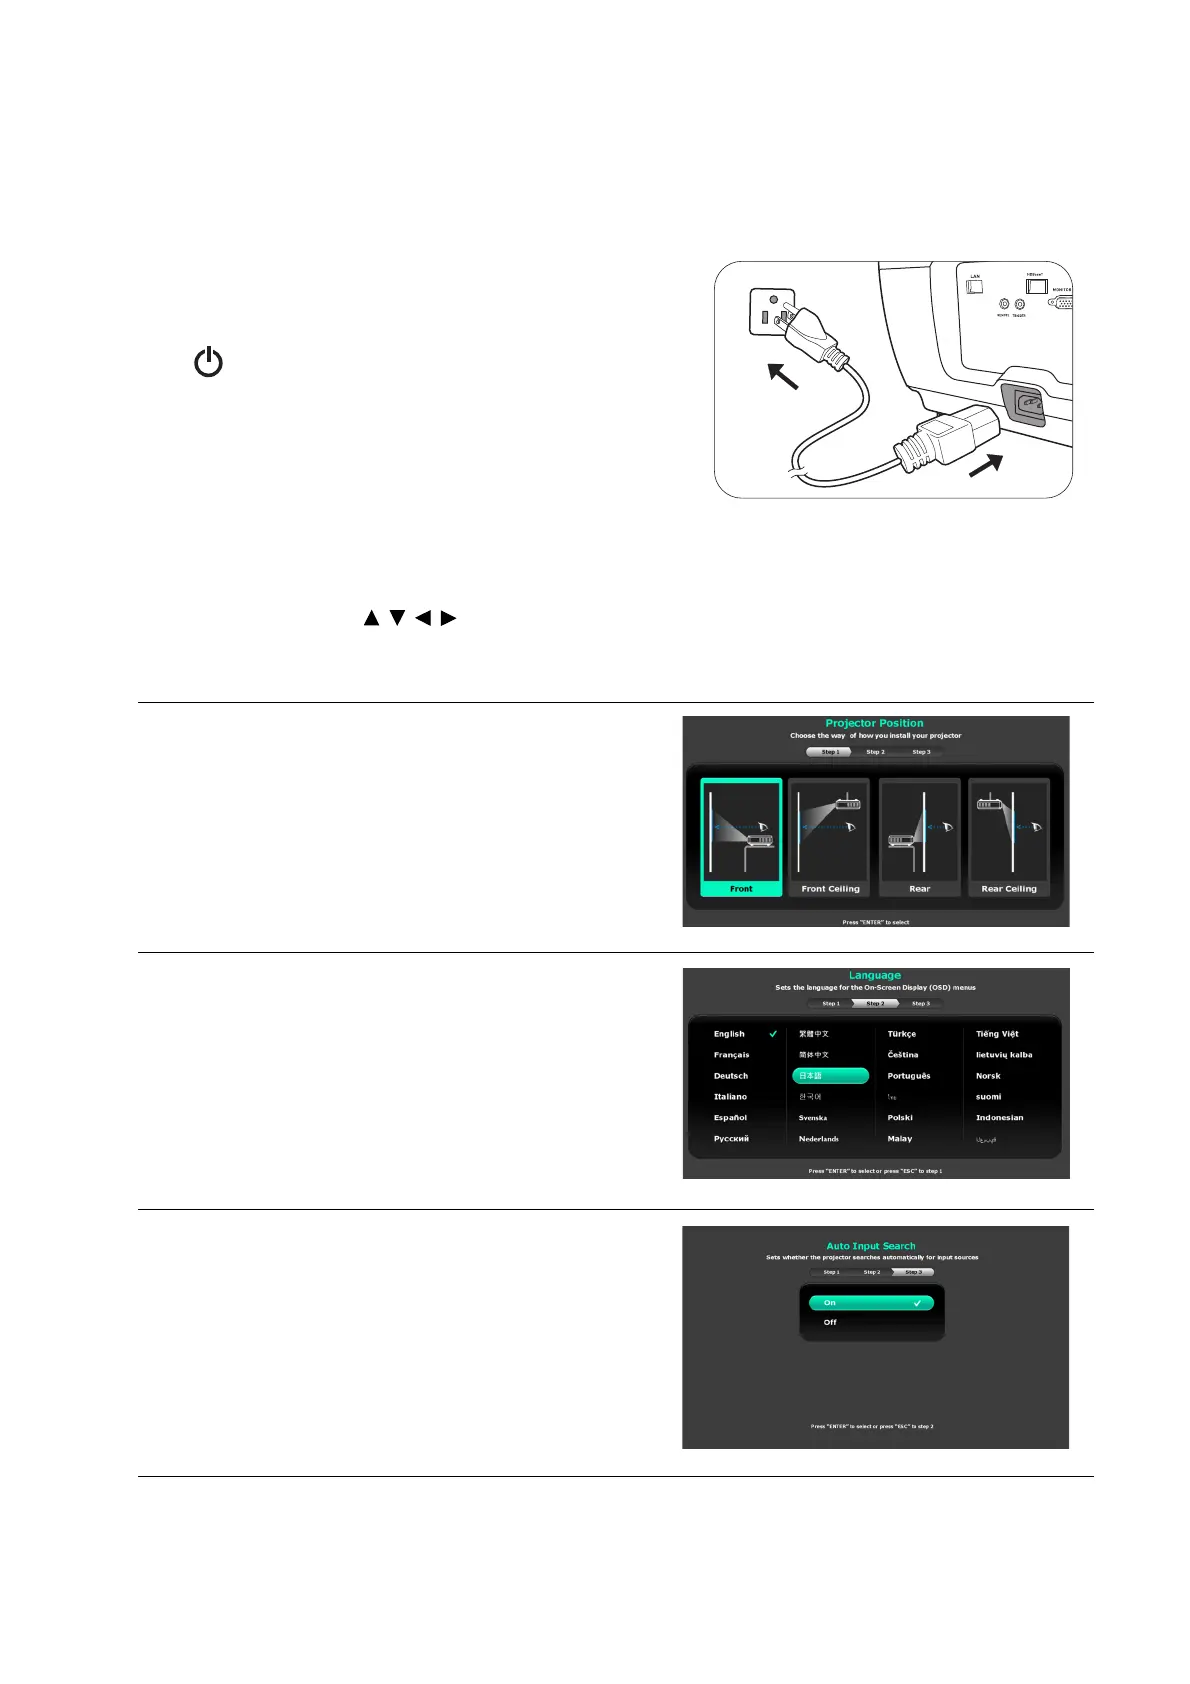
Step 1:
Specify Projector Position.
For more information about projector position,
see Choosing a location.
Step 2:
Specify OSD Language.
Step 3:
Specify Auto Source.
Select On if you want the projector to always
search for available signals automatically when
the projector is turned on.
Now you’ve completed the initial setup.
 Loading...