NOTE: For more installation instructions, see the installation labels attached to the rail assembly.
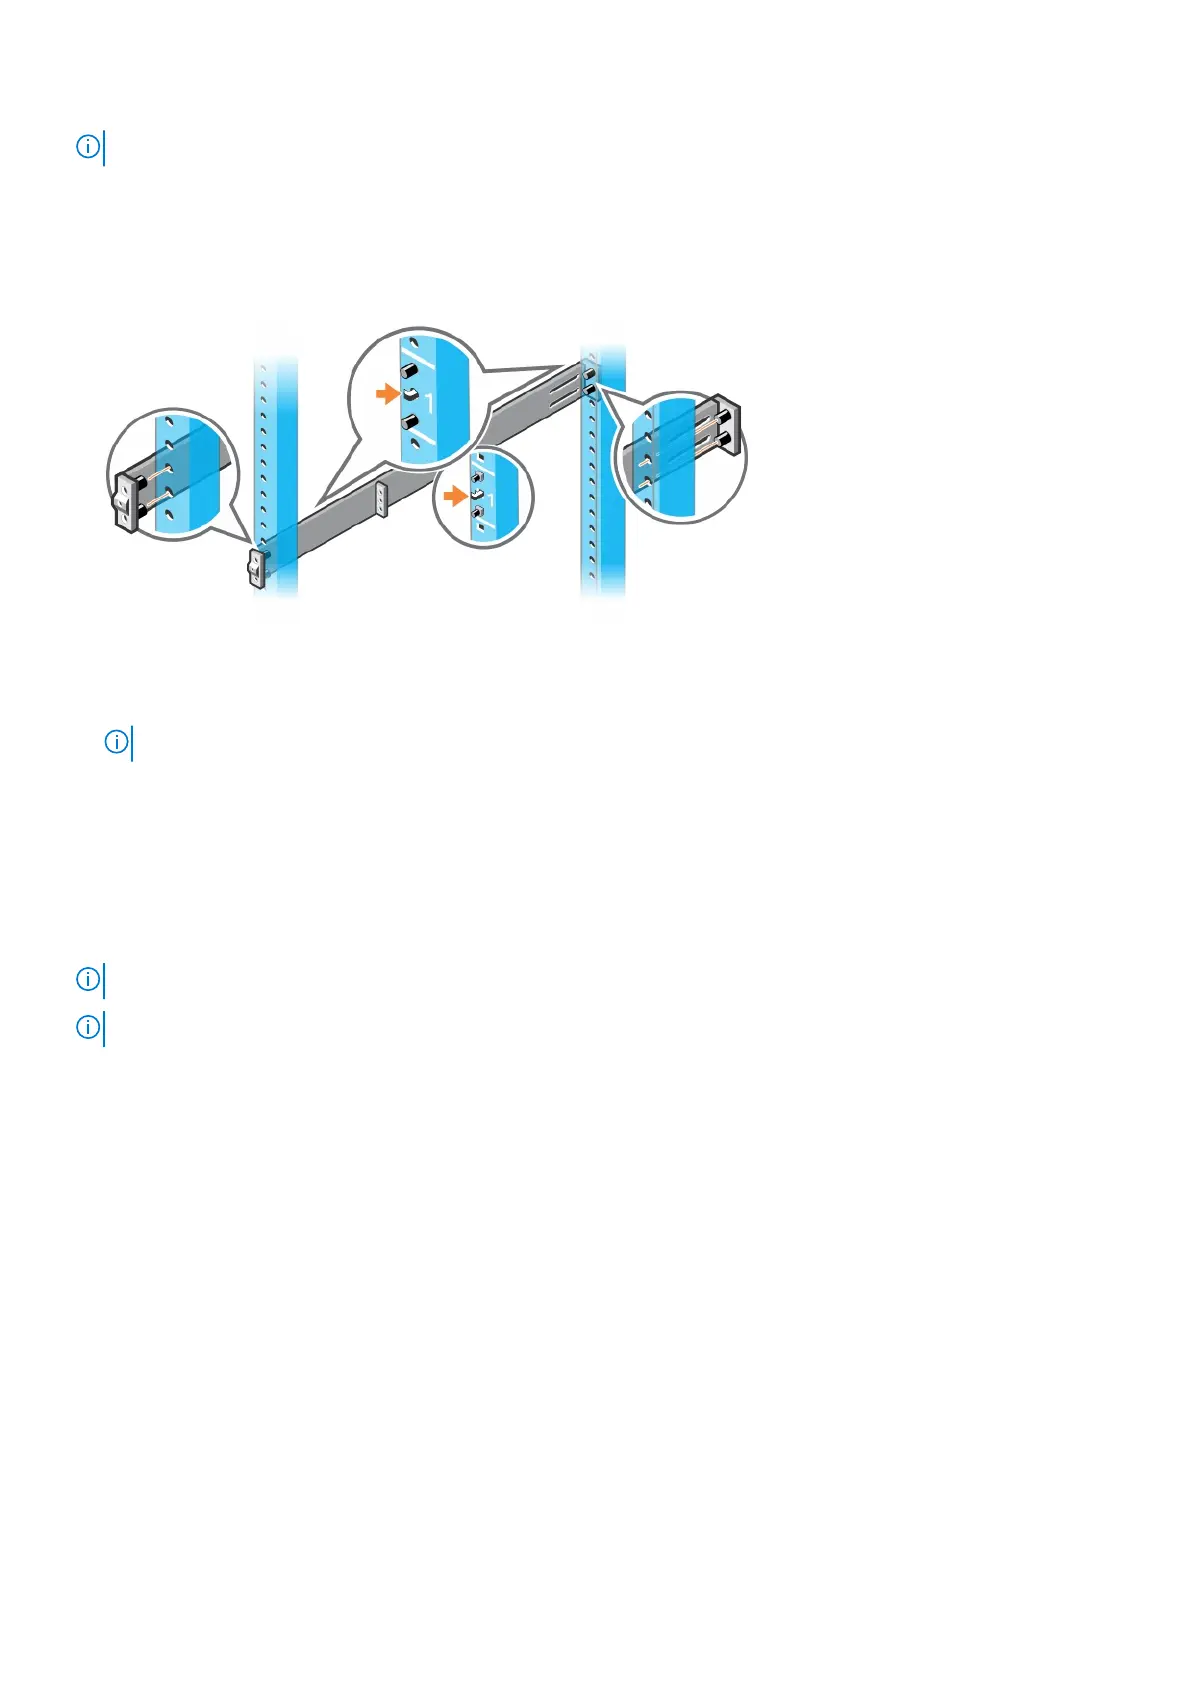
1. Face the ReadyRails flange ears facing outward. Place one rail between the left and right vertical posts. Align and seat the
back flange rail pegs in the back vertical post flange.
The center extractions show how the pegs appear in both the square and nonthreaded round holes.
2. Align and seat the front flange pegs in the holes on the front side of the vertical post.
NOTE: Be sure that the rails click into place and are secure.
3. Repeat this procedure for the second rail.
To uninstall each rail, pull on the latch release on each flange ear and unseat each rail.
Flush-mount ReadyRail installation
This switch installation procedure is for the full-width N3200-ON Series switches only.
NOTE: Do not use this installation procedure for the compact N3208PX-ON switch.
NOTE: For more installation instructions, see the installation labels attached to the rail assembly.
1. Remove the latch castings from the front side of each ReadyRails assembly, item 1.
To remove the two screws from each front flange ear on the switch side of the rail and remove each latch casting, use a
Torx screwdriver. Retain the latch castings for future rack requirements. It is not necessary to remove the back flange
castings.
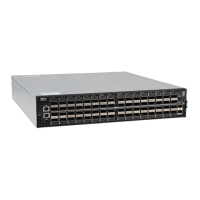
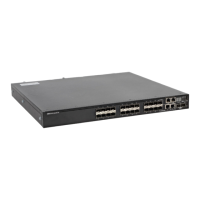
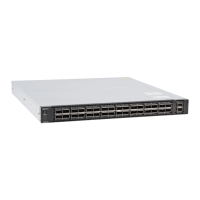
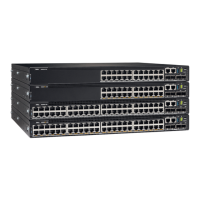
N3200-ON Series switch installation
37
 Loading...