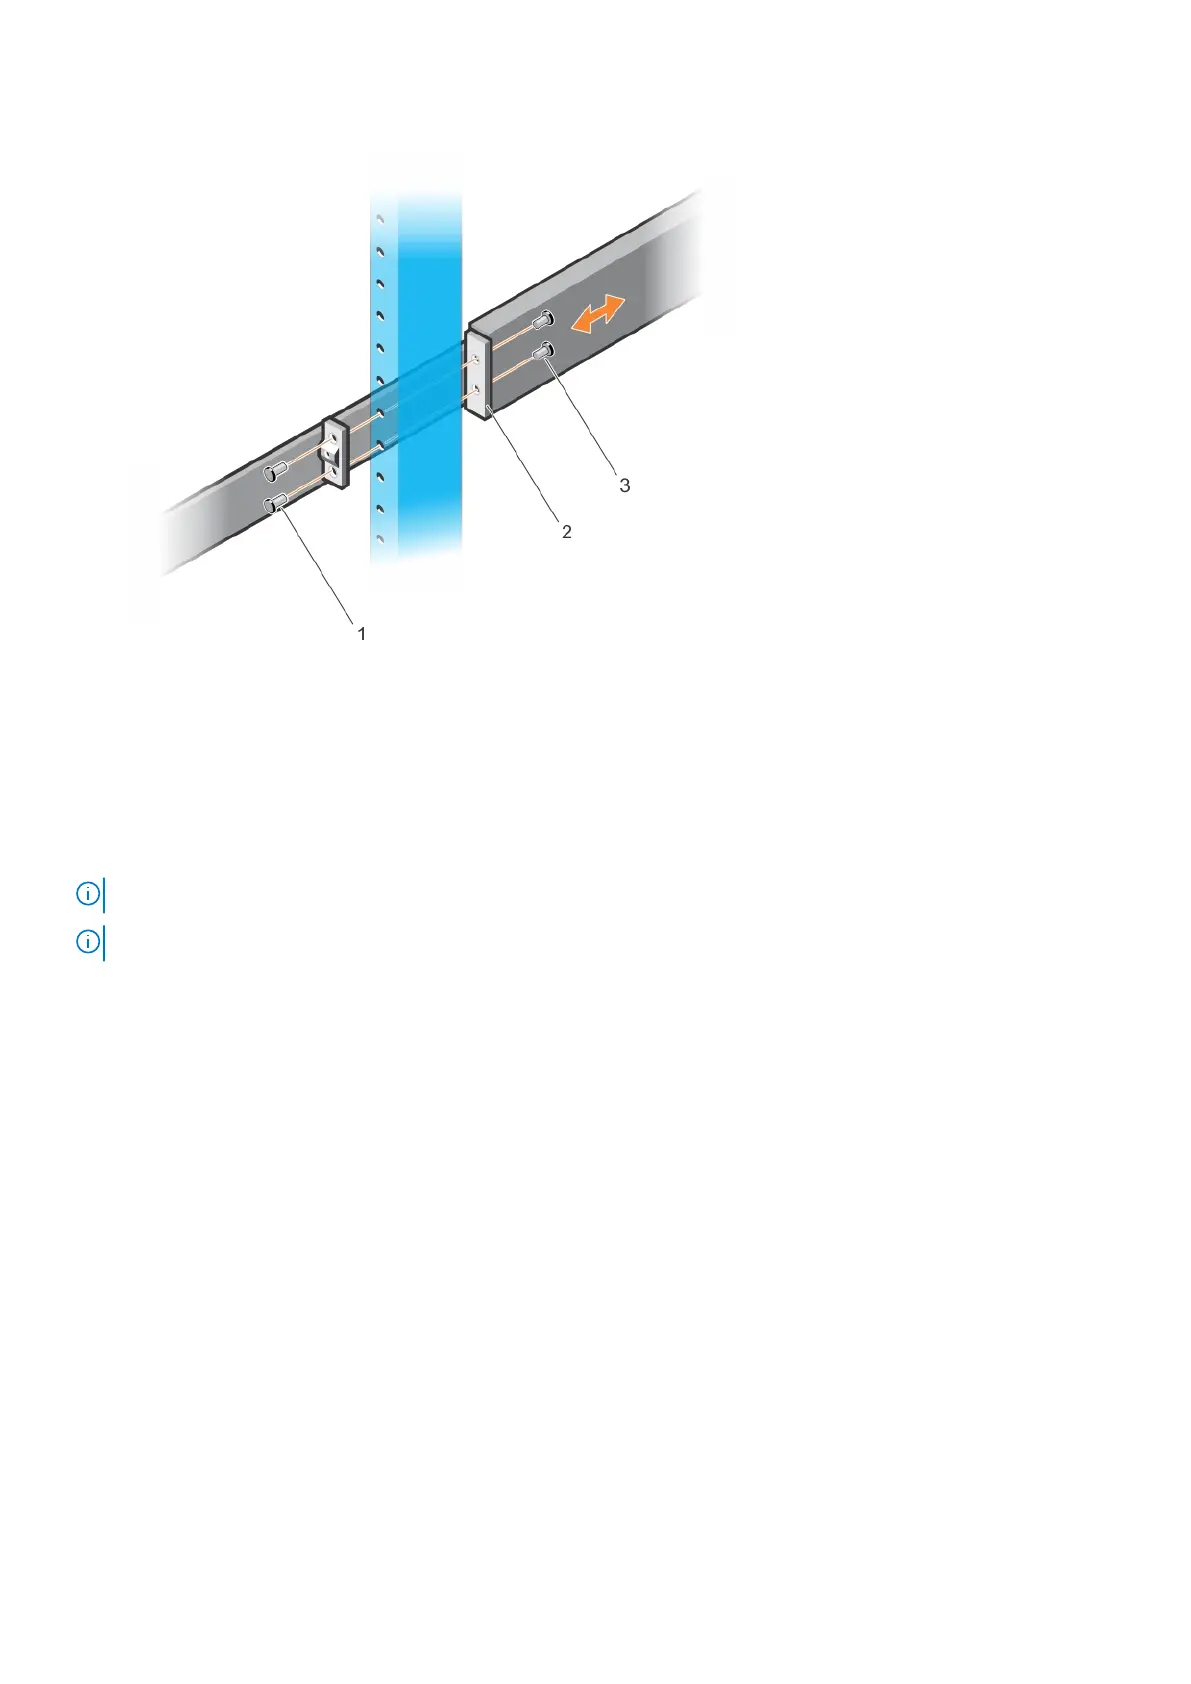
2. Slide the back bracket towards the post. Secure it to the post flange with two user-supplied screws, items 2 and 3.
3. Repeat this procedure for the second rail.
Threaded ReadyRails installation
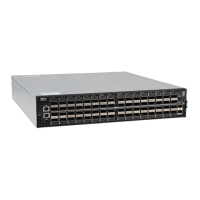
This switch installation procedure is for the full-width N3200-ON Series switches only.
NOTE: Do not use this installation procedure for the compact N3208PX-ON switch.
NOTE: For more installation instructions, see the installation labels attached to the rail assembly.
1. Remove the tool-less latch castings from the front side of each ReadyRails assembly, as shown in the following figure:
Use a torx screwdriver to remove the two screws from each front latch on the switch side of the rail. Remove the tool-less
latch casting. Retain the castings for future rack requirements.
N3200-ON Series switch installation
39
 Loading...