Next steps
1. Install the front bezel.
2. Follow the procedure listed in After working inside your system.
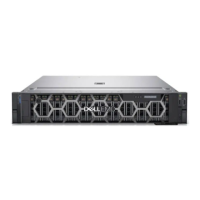
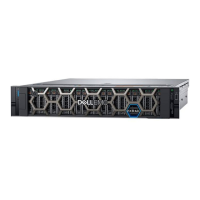
Rear cover
Removing the rear cover
Prerequisites
Follow the safety guidelines listed in the Safety instructions.
Steps
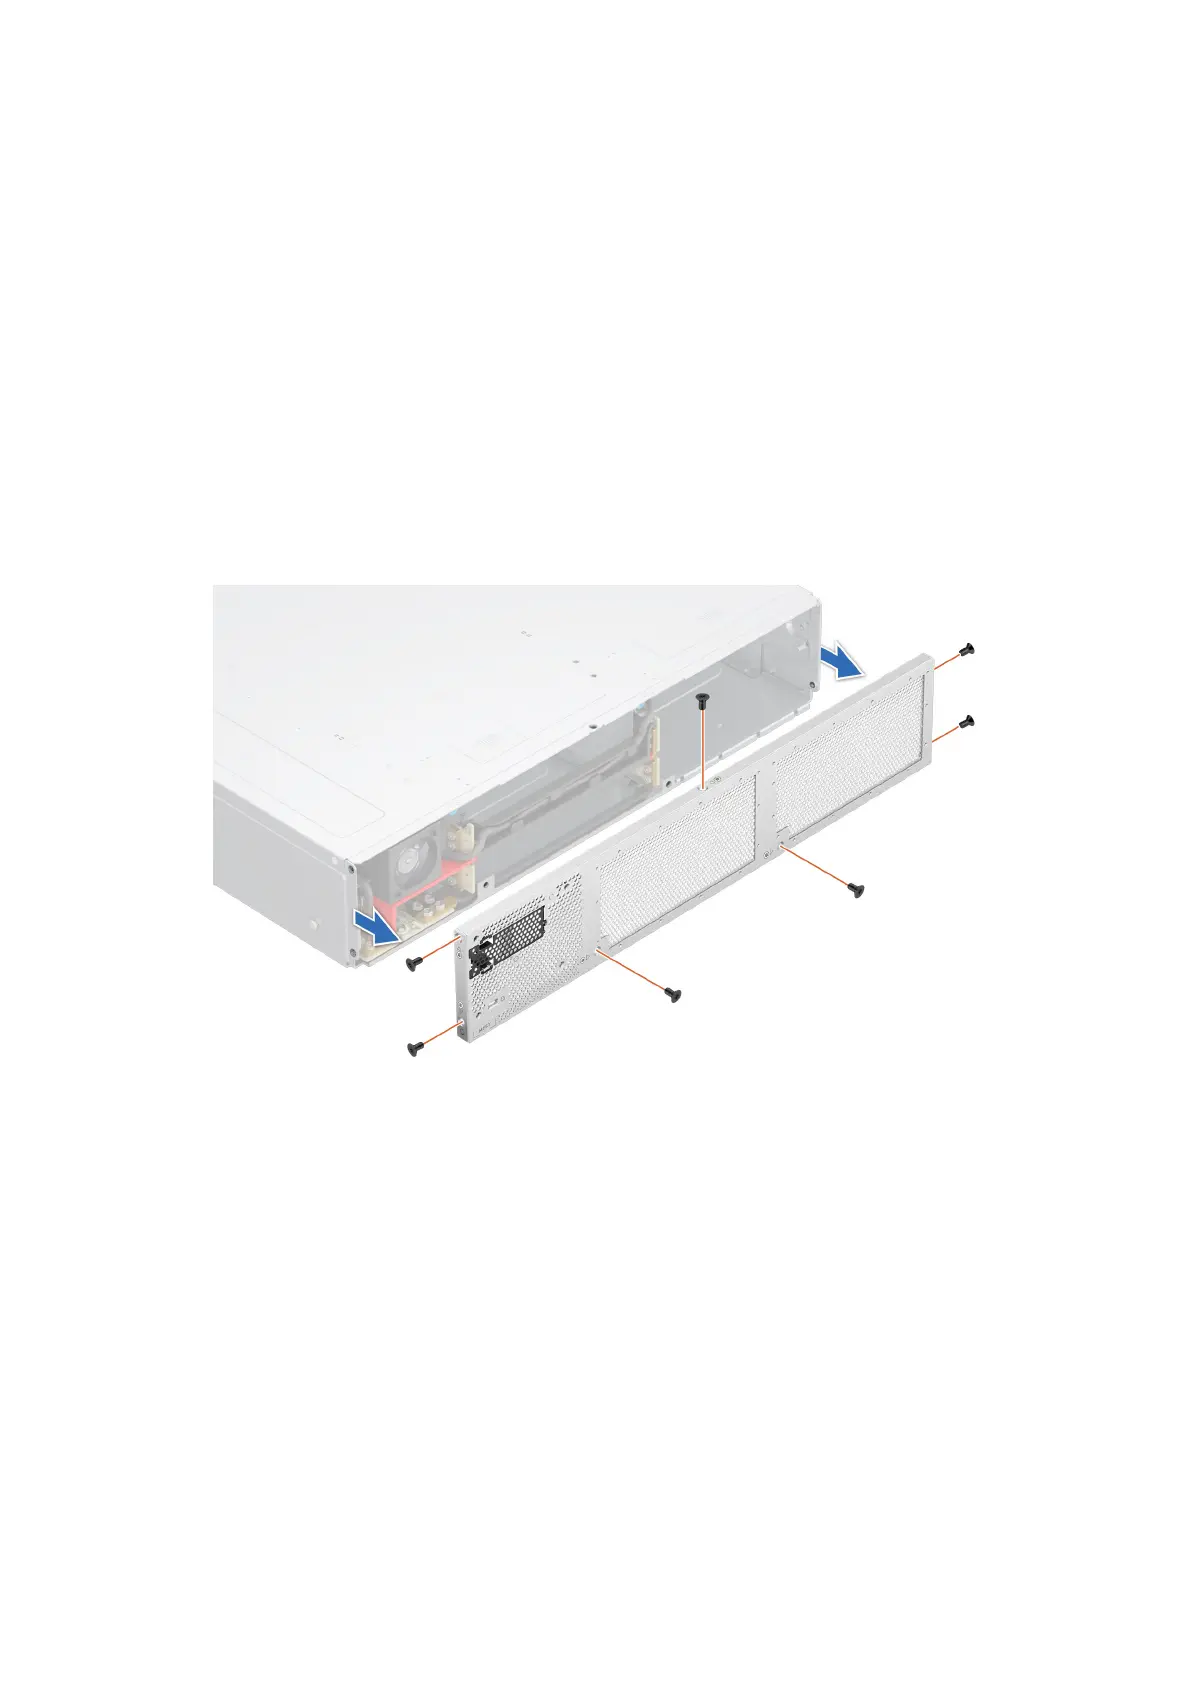
1. Using the Torx #8 screwdriver, remove the screws that secures the rear cover on to the chassis.
2. Pull the rear cover to disengage from the chassis.
Figure 22. Removing the rear cover
Next steps
Replace the rear cover.
Installing the rear cover
Prerequisites
Follow the safety guidelines listed in the Safety instructions.
Steps
1. Align and insert the cover on the rear of the chassis.
2. Using the Torx #8 screwdriver, tighten the screws that secures the rear cover on to the chassis.
34
Installing and removing system components
 Loading...