Next steps
1. Install the power module assembly.
2. Install the rear cover.
3. Follow the procedure listed in the After working inside your system.
Power supply unit
NOTE: While replacing the hot swappable PSU, after next server boot; the new PSU automatically updates to the same
firmware and configuration of the replaced one. For updating to the latest firmware and changing the configuration, see the
Lifecycle Controller User's Guide at https://www.dell.com/idracmanuals.
Removing a power supply unit blank
Prerequisites
Follow the safety guidelines listed in the Safety instructions.
Steps
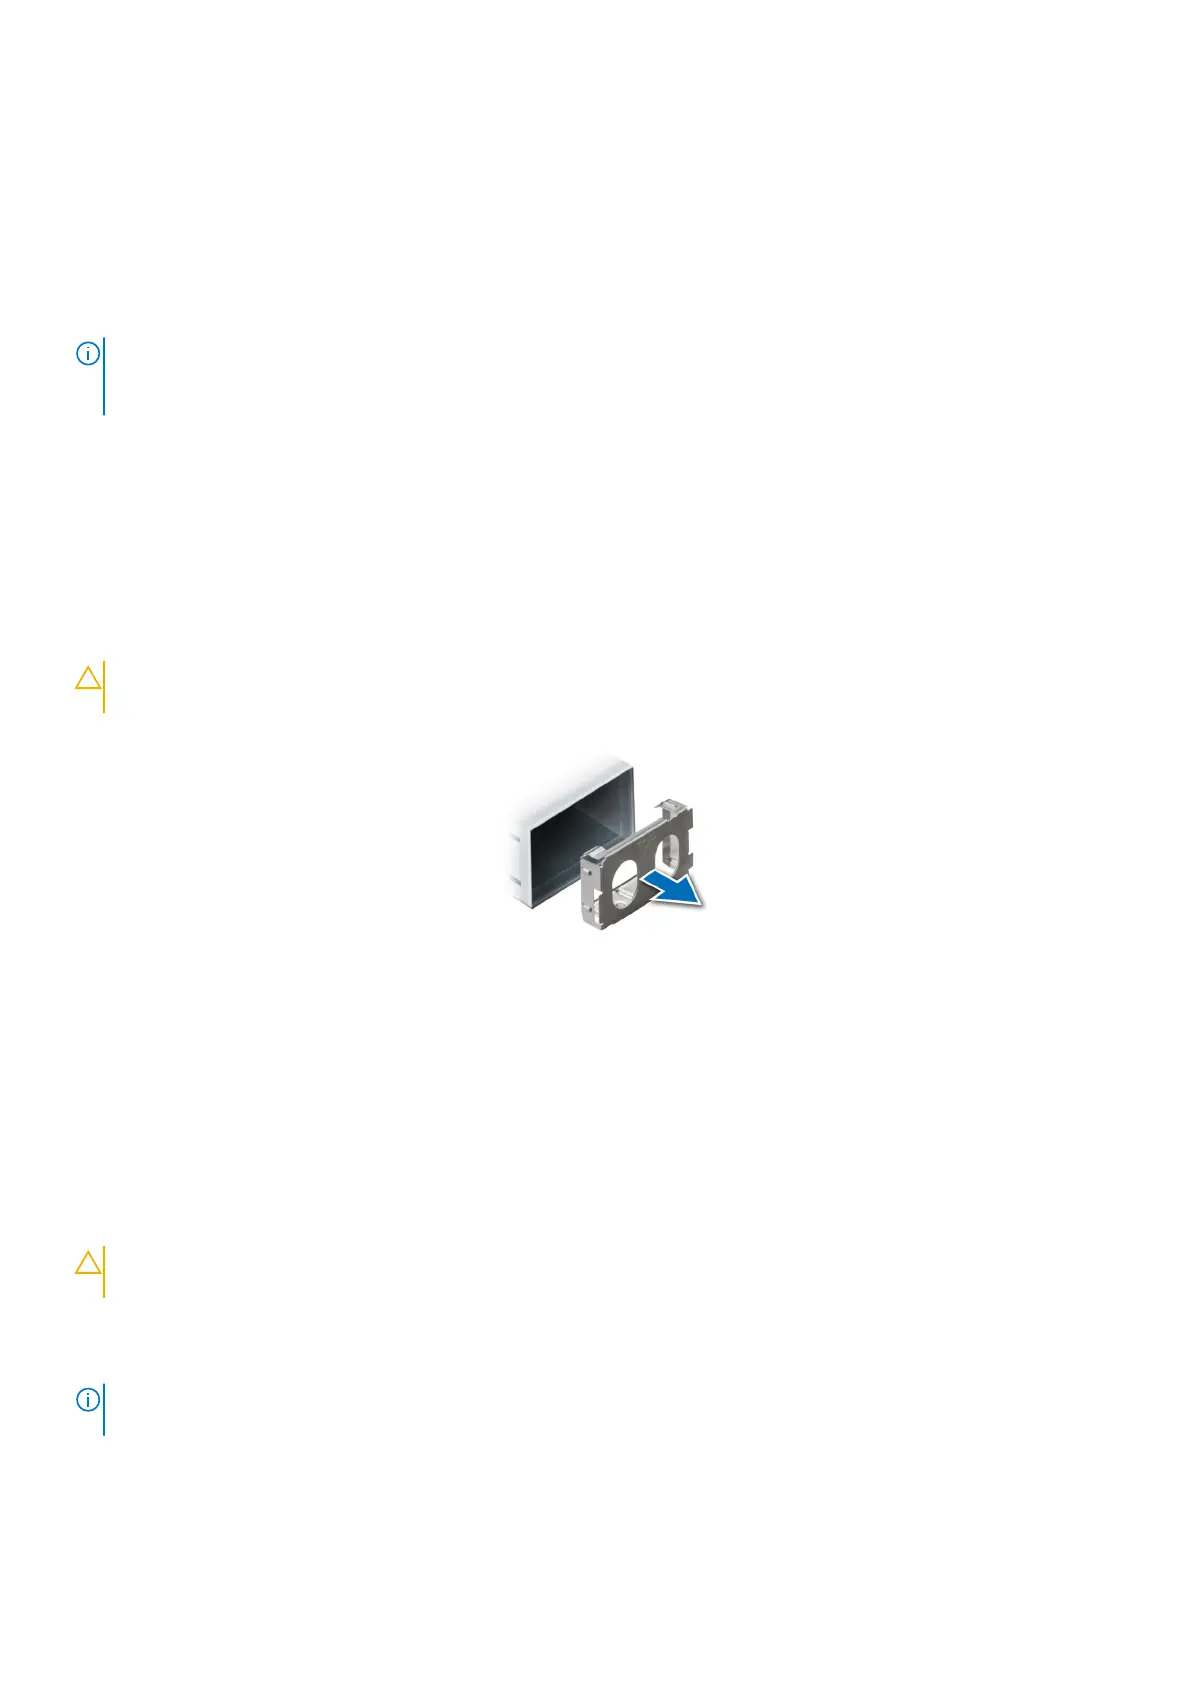
Pull the blank out of the system.
CAUTION: To ensure proper system cooling, the PSU blank must be installed in the second PSU bay in a
non-redundant configuration. Remove the PSU blank only if you are installing a second PSU.
Figure 28. Removing a power supply unit blank
Next steps
Replace the PSU or PSU blank.
Removing a power supply unit
Prerequisites
CAUTION:
The system requires one power supply unit (PSU) for normal operation. On power-redundant
systems, remove and replace only one PSU at a time in a system that is powered on.
1. Follow the safety guidelines listed in the Safety instructions.
2. Disconnect the power cable from the power outlet and from the Power Supply Unit (PSU) you intend to remove.
3. Remove the cable from the strap on the PSU handle.
NOTE:
The PowerEdge XR4000r has two types of Power Supply Units (PSUs). The PSUs with black straps are designed
for normal air flow (NAF) and the PSUs with blue straps are designed for reverse air flow (RAF).
Steps
Press the orange release latch, and holding the PSU handle slide the PSU out of the PSU bay.
Installing and removing system components
39
 Loading...