Getting Started Connections Playback Remote Control Multi-Zone Information Troubleshooting
ENGLISH
a
i/p Scaler
Make settings for i/p scaler function.
[Selectable items] A to H
A to H & H to H
OFF
HDMI Setup
Make settings for HDMI video/audio output.
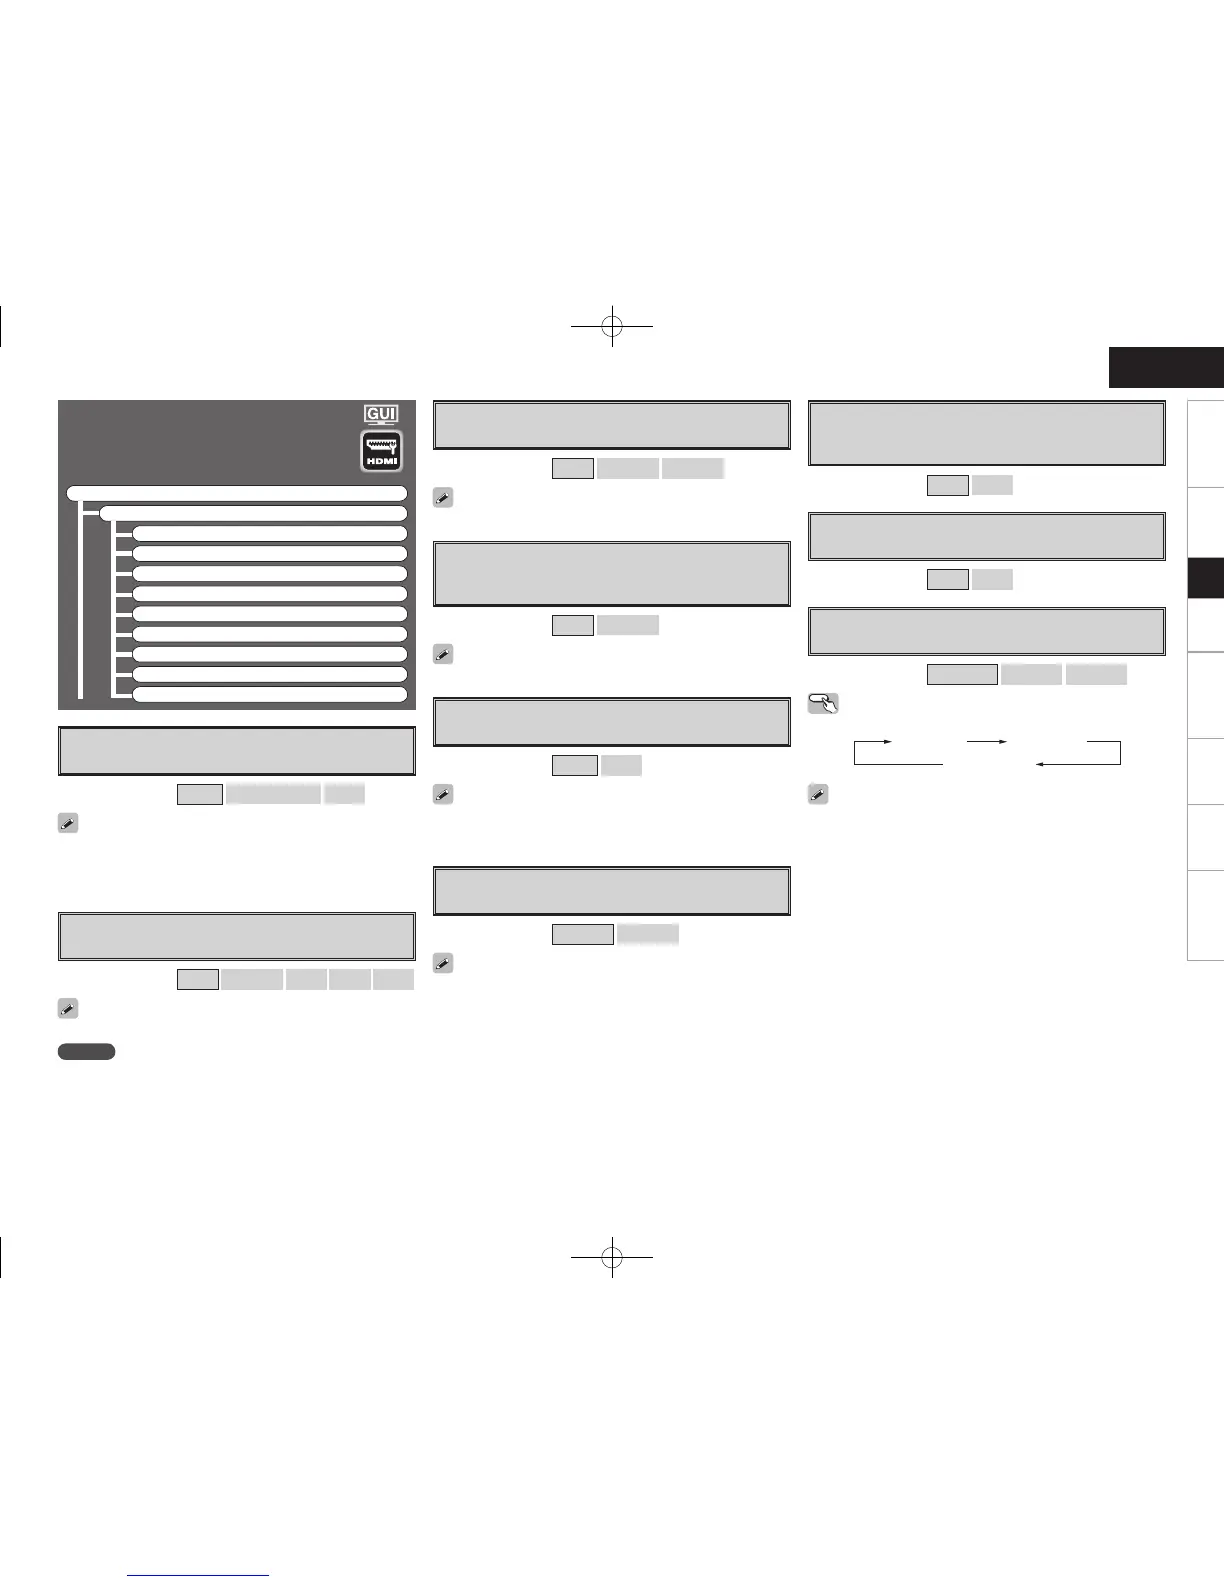
F Menu tree F
Manual Setup
HDMI Setup
a i/p Scaler
s Resolution
d Progressive Mode
f Aspect
g Color Space
h RGB Range
j Auto Lip Sync
k Audio
l Monitor Out
s
Resolution
Make settings for resolution of HDMI video output signal.
[Selectable items]
Auto
480p/576p
1080i
720p
1080p
NOTE
• It is not possible to convert “1080i” signals into “720p” format.
• It is not possible to convert “720p” signals into “1080i” format.
This can be set when “i/p Scaler” is set to anything other than “OFF”.
d
Progressive Mode
Select optimum progressive mode for video material.
[Selectable items] Auto
Video1
Video2
This can be set when “i/p Scaler” is set to anything other than “OFF”.
f
Aspect
This sets the aspect ratio when outputting 480i/576i or
480p/576p input signals from the HDMI output connector.
[Selectable items] Full
Normal
This can be set when “i/p Scaler” is set to anything other than “OFF”.
g
Color Space
Make settings for output color space.
[Selectable items] YCbCr
RGB
When connected to a monitor with a DVI-D connector (HDCP
compatible) using an HDMI/DVI converter cable, the signals are output
in RGB format, regardless of this setting.
h
RGB Range
Make settings for RGB output range.
[Selectable items]
Normal
Enhanced
A to H & H to H setting
• Deep color (10 bit/12 bit) signals are converted into 8-bit signals.
• The i/p scaler function does not work if xvYCC or computer’s
resolution signals are input.
j
Auto Lip Sync
Automatic compensation for timing shift in audio and video
output.
[Selectable items] ON
OFF
k
Audio
Select HDMI audio output device.
[Selectable items] Amp
TV
l
Monitor Out
Make settings for HDMI monitor output.
[Selectable items] Auto (Dual)
Monitor 1
Monitor 2
Operating from the main remote control unit
Press the M. SEL button.
• When “Monitor Out” is set to “Auto (Dual)”, connections with
the MONITOR 1 or MONITOR 2 connectors are recognized
automatically.
• If both the MONITOR 1 and 2 connectors are connected and
“Resolution” is set to “Auto”, the signals are output with a resolution
compatible with both monitors.
• If “Resolution” is set to something other than “Auto”, check the
resolutions with which your monitor is compatible at GUI menu
“Information” – “HDMI Information” – “Monitor 1” and “Monitor 2”
and set accordingly (vpage 48).
Setup
Auto (Dual) Monitor 1
Monitor 2
When “YCbCr” is selected under “Color Space”, “RGB Range” will
have no effect.
 Loading...