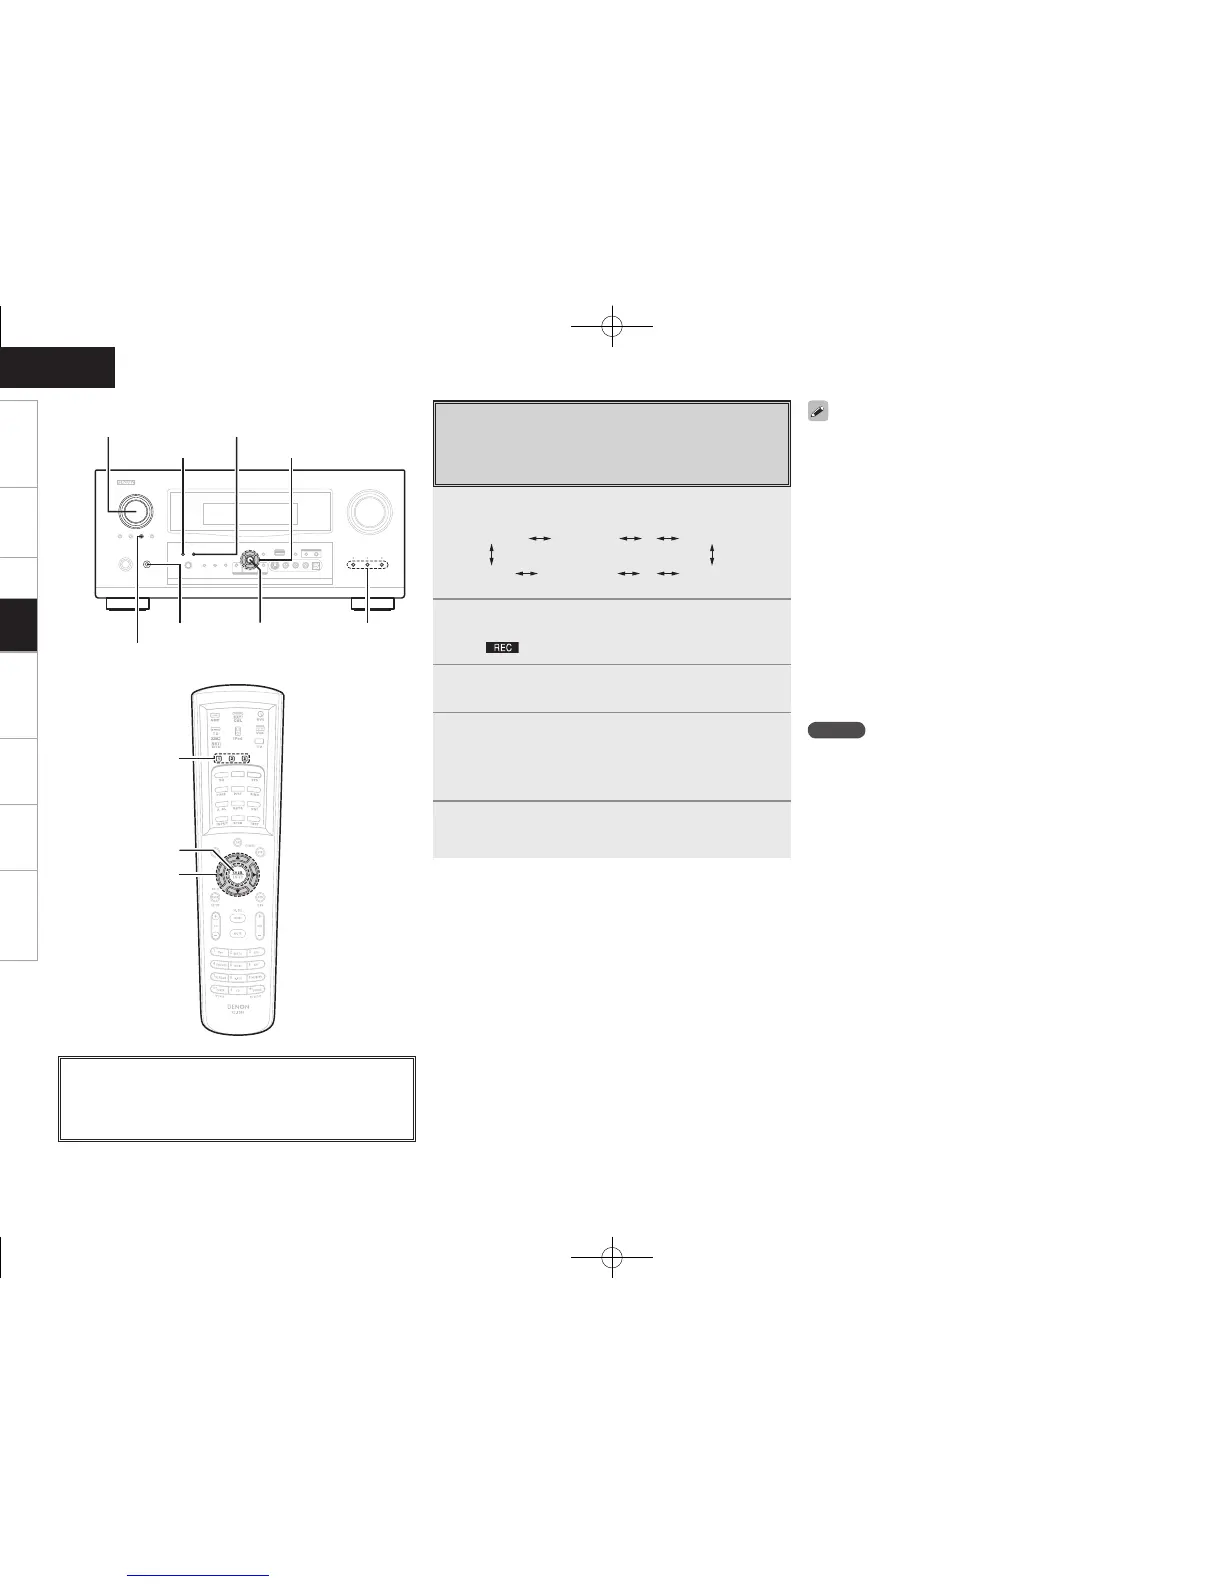
2
Turn <SOURCE SELECT> until “RECOUT SOURCE”
is displayed.
The “ ” indicator lights.
3
Turn <SOURCE SELECT> to choose the input source
to be recorded.
4
Play the program source.
For operating instructions, refer to the respective equipment’s
operating instructions.
To record FM or AM broadcasts, select the broadcast (vpage
50).
5
Start recording.
For operating instructions, refer to the respective equipment’s
operating instructions.
• To cancel, press <ZONE2/3/4 / REC SELECT>, then turn <SOURCE SELECT>
until “ZONE2 SOURCE” is displayed.
• Make a test recording before starting the actual recording.
• Signals are only output to the analog REC OUT connectors when
the digital signals input to the digital input connectors (OPTICAL/
COAXIAL) are PCM (2-channel) signals.
• Digital audio signals input to the DENON LINK or HDMI connectors
are not output to the REC OUT connectors, so connect using the
OPTICAL or COAXIAL connectors.
• Sources selected with the REC OUT mode are output from ZONE2
as well.
• In the REC OUT mode, the remote control unit’s ZONE2 mode
buttons cannot be operated.
• When the “Digital Out” setting is set to “ZONE4 Select”, the
OPTICAL3 output connector becomes the ZONE4 output. When
using for recording, set to “Rec Select”.
• The “DAB” digital audio output signals are not output from the
OPTICAL2 or OPTICAL3 output connectors. Also, network audio
signals (Internet radio, music server, USB) are not output if they are
copyright-protected.
NOTE
• Recordings you make are for your personal enjoyment and should
not be used for other purposes without permission of the copyright
holder.
• When “DENON LINK” is assigned at the GUI menu “Assign” setting,
the PCM signals, network audio signals (Internet radio, music server
and USB) and DAB signals input from the digital input connectors
cannot be output from the analog REC OUT connectors.
• Input sources for which “Delete” is selected at “Source Delete”
cannot be selected.
 Loading...