61
• From the Parameter screen press and hold the <MIDI> button.
The display reads something like:
NOTE: All presets have factory established CC Links. If the select-
ed Parameter is not linked, it will select the next available CC link
for assignment.
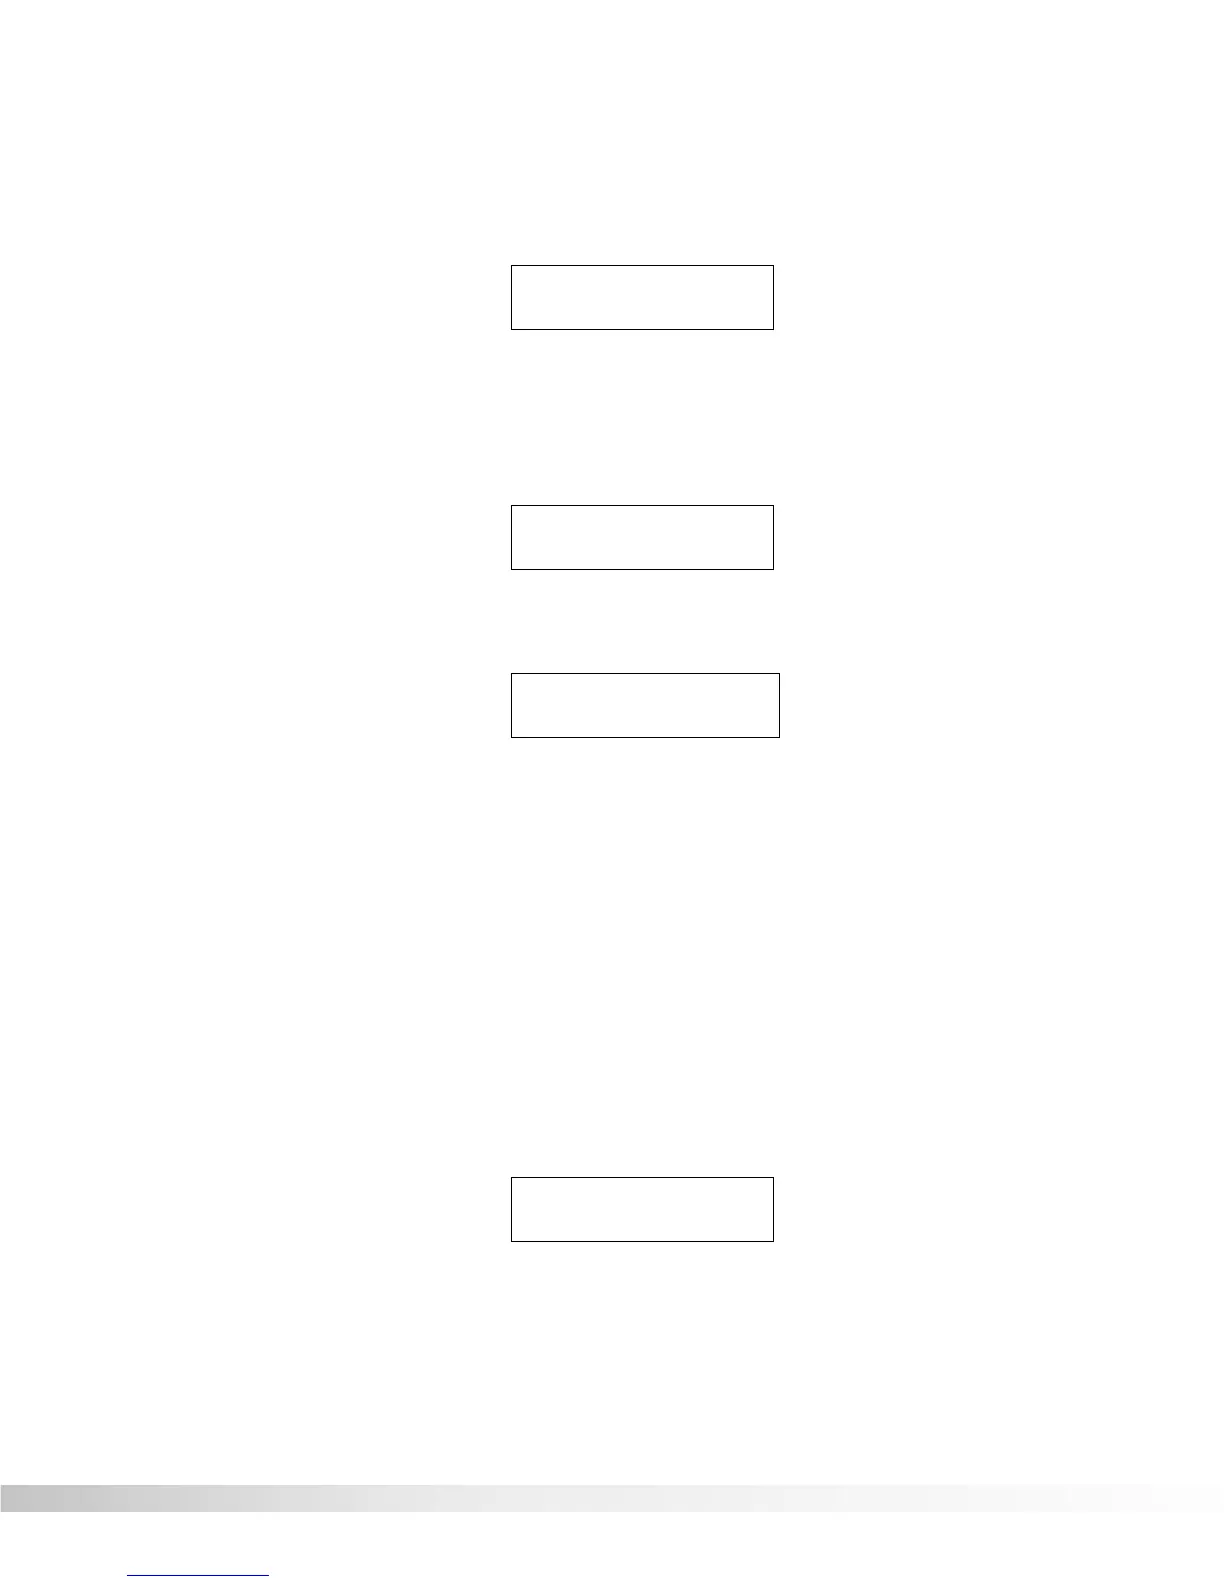
• Press Function button <MIX ™> once. The display reads:
NOTE: If you failed to pick a Parameter before attempting to
assign it, the display you will see, looks something like this:
This simply means, that the RP-12 has taken you to the first CC para-
meter link in the Program.
•
Option 1:
Press a pedal assigned as a toggle CC or move the
CC Pedal on the Pedalboard. The Parameter is now linked to the
CC# assigned to the pedal you selected.
•
Option 2:
Using the <UP/DOWN> Parameter buttons, select the
MIDI continuous controller number that will control the Parameter
[0-127, CHPRESS (channel pressure),CC PEDAL, or NO LINK].
After assigning a parameter, the minimum and maximum values can
be established. The procedure is as follows:
• Press the <RIGHT> Parameter button once. The display reads:
The value shown with this Parameter automatically defaults to the min-
imum Parameter value available.
Minimum CC Value
≤[PARAM VALUE] ≥
¡Link 1 =CCPedal
™New£Whammy Pedal
[PARAMETER NAME]
No Link ≥
¡Link # = Nolink
™Assign
Section 8 - MIDI Set-Up
RP-12 Owner’s Manual
 Loading...