EasyManua.ls Logo

DigiTech RP360 User Manual

DigiTech RP360
120 pages
To Next Page IconTo Next Page
To Previous Page IconTo Previous Page
Page #21 background imageLoading...
Page #21 background image
17
RP360 / RP360 XP
Storing/Copying/Naming Presets
The STORE button is used to store edits made
to a preset’s parameters� The STORE button’s
LED will light whenever a preset’s parameters
have been modified from their stored value� Any
parameter edits must be stored to a preset before
the processor is powered down or the preset is
changed in order for edits to be retained� Preset
edits can only be stored to a user preset
Plexi-Drive 1
LOOPER READY
1 lexi-Drive P
Plexi-Dri1 :
BACK TO CANCEL
STORE TO:
LETTER DEL/INS
<CURSOR>
memory location since factory presets cannot be overwritten� The RP360 and RP360XP have 99 user
preset memory locations� Factory presets can be edited and then stored to a user preset location�
When storing a preset you will have the option to change the preset’s name�
To store/copy/rename a preset:
1
Press the STORE button to initiate the store procedure
2 If you do not want to change the name of the preset, go to step 3� To modify or change the
name, use the 3
EDIT knobs� Turning the EDIT 1 (LETTER) knob will edit the selected on-
screen character Turning the
EDIT 2 (CURSOR) knob selects the character you want to edit�
Turning the
EDIT 3 (DEL/INS) knob clockwise will insert space to the left of the selected
character; turning it counter-clockwise will delete characters to the left of the selected
character The preset name can contain up to 16 characters�
3 If you do not want to change the preset location go to step 4� To select a new preset location,
turn the
SELECT knob until the desired user preset memory location is displayed below the
name
4 Press the STORE button a second time, or press the SELECT button, to confirm the store
procedure� The LCD display will briefly display “Storing���” then the preset will be stored�
NOTE: Pressing the BACK button at any time during the above store procedure will abort the
procedure�

Table of Contents

Other manuals for DigiTech RP360

Question and Answer IconNeed help?

Do you have a question about the DigiTech RP360 and is the answer not in the manual?

DigiTech RP360 Specifications

General IconGeneral
Looper40 seconds
Drum Patterns60
DisplayLCD
USBYes
Power Supply9V DC
Footswitches3
TypeMulti-effects
Effects TypesDistortion, Overdrive, Chorus, Flanger, Phaser, Delay, Reverb, Wah
Inputs1 x 1/4" Instrument
Headphones1/8" Stereo
Expression ControlYes

Summary

COMPLIANCE & SAFETY INSTRUCTIONS

General Safety Precautions

Covers essential safety guidelines for operating the device, including usage, cleaning, and environmental conditions.

Electromagnetic Compatibility

Details FCC compliance requirements and recommendations for shielded interconnecting cables.

DECLARATION OF CONFORMITY

Product Compliance and Specifications

Lists product specifications, regulatory directives met, and manufacturer details.

WARRANTY AND TECHNICAL SUPPORT

Product Warranty Terms

Outlines the warranty coverage, limitations, registration process, and claim procedures.

Technical Support and Service Procedures

Provides guidance on obtaining technical assistance and returning the product for service.

OVERVIEW AND FEATURES

Introduction to RP360/RP360XP

Introduces the guitar effects processors and their main capabilities, including effects and presets.

Key Product Features

Lists the primary features and specifications of the RP360 and RP360XP units.

USER INTERFACE AND CONNECTORS

Top Panel Layout and Controls

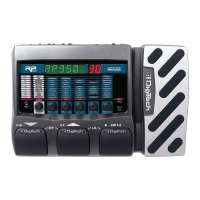
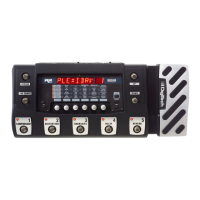
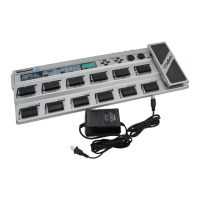
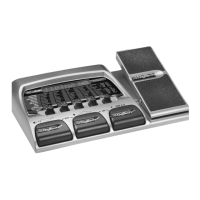
Describes the LCD display, knobs, buttons, and footswitches on the top panel.

Rear Panel Connections

Details all available input and output connectors on the rear of the device.

CONNECTION DIAGRAMS

Mono Amplifier Setup

Illustrates how to connect the RP360/RP360XP to a single guitar amplifier.

Stereo Amplifiers Setup

Shows the connection diagram for using two amplifiers in stereo.

Direct Connection to Mixer/PA

Explains how to connect directly to a mixer or PA system for performance.

Computer Recording Setup

Details the process of connecting the unit to a computer for recording via USB.

Headphone Practice Setup

Describes how to set up the unit for practicing with headphones.

OPERATING INSTRUCTIONS

Basic Operation Overview

Covers fundamental operations like Performance State, editing presets, and system settings.

Managing Presets

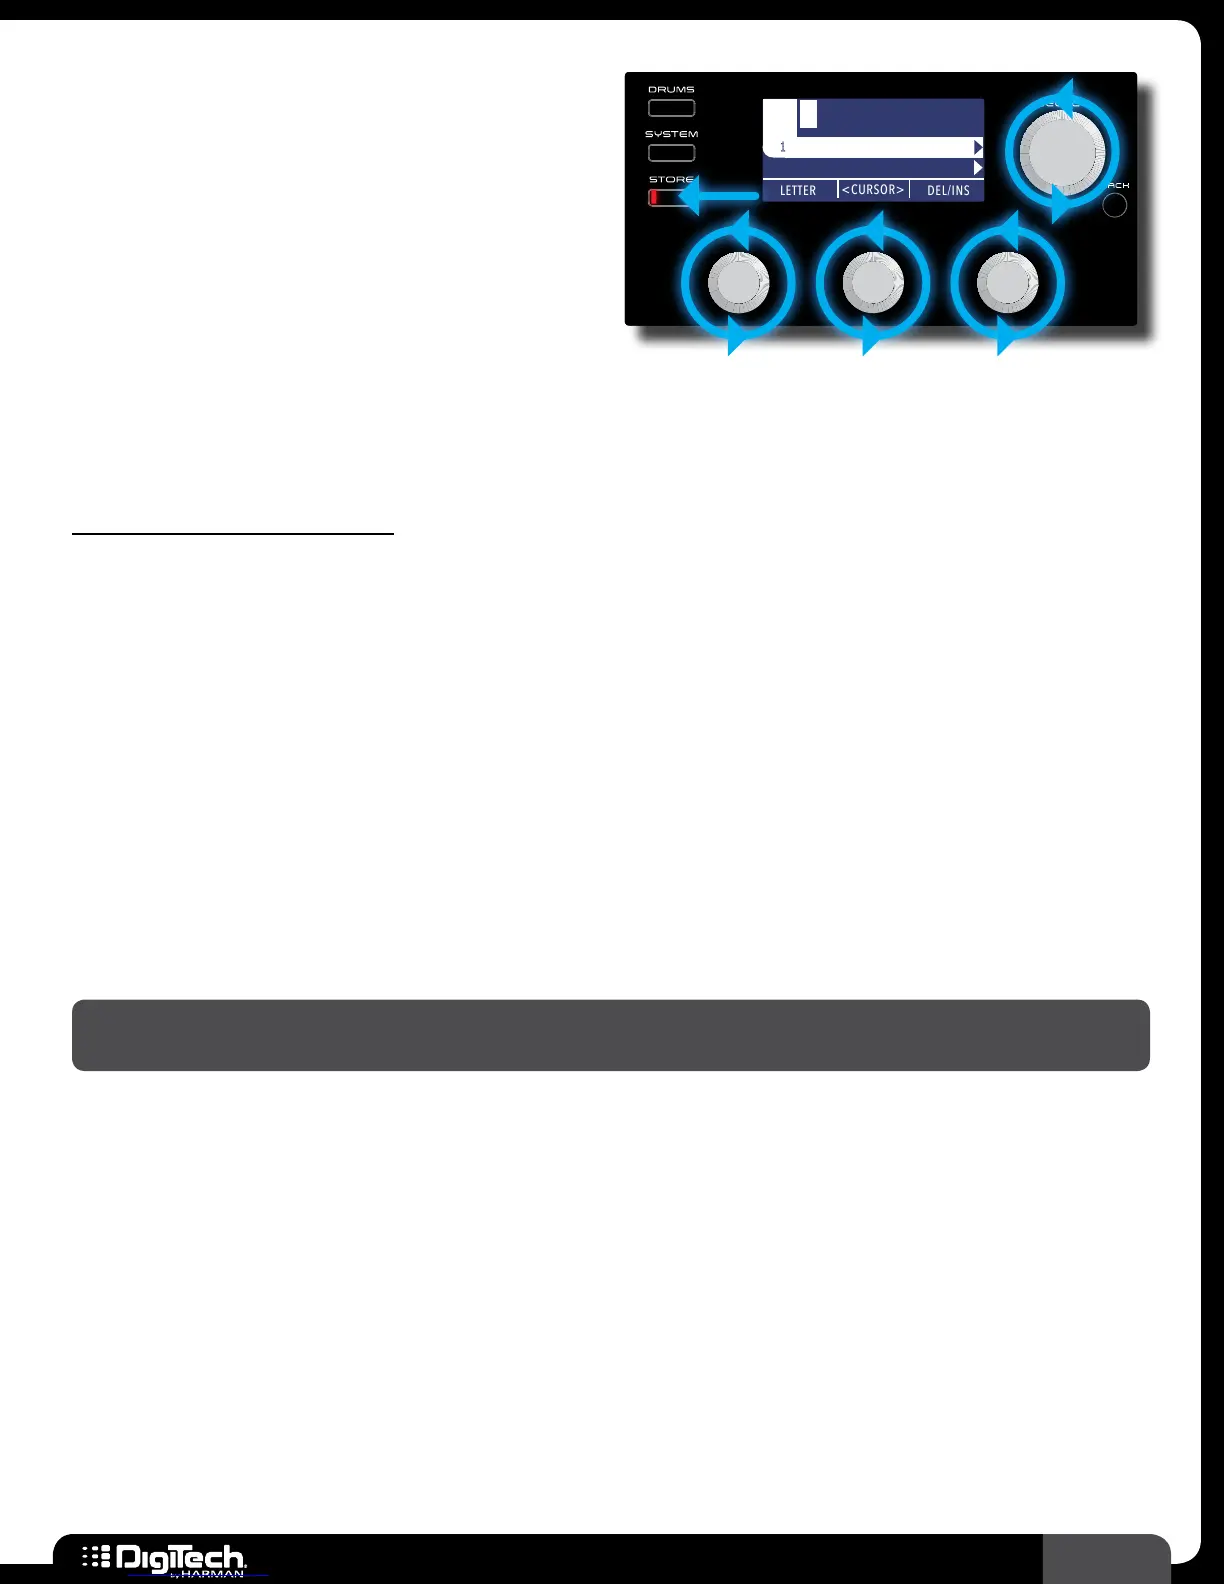
Explains how to navigate, store, copy, and name presets within the device.

Working With Effects

Guides on editing effect parameters, changing, reordering, adding, and deleting effects.

Built-in Tuner and Looper

Instructions on using the integrated guitar tuner and phrase looper functions.

Drum Machine and Aux Input

Details on using the drum machine and connecting external audio devices via Aux Input.

Advanced Operational Features

Covers Tap Tempo, Expression Pedal control, and LFO assignment.

SYSTEM SETUP

Footswitch Mode Configuration

Explains how to configure the footswitches for different operational modes.

Output and Connectivity Settings

Covers output routing, mode selection, USB levels, and control input options.

Device Management and Maintenance

Details phrase sampler settings, pedal calibration, factory restore, and firmware checks.

EFFECTS AND PARAMETERS

Effect Edit Menu and Icons

Overview of the effect editing interface and available icons for parameter adjustment.

Amp and Cabinet Modeling

Explains amp modeling technology and lists available amp models and their parameters.

Effect Types and Parameters

Detailed descriptions of various effects like Compression, Delay, Distortion, EQ, Modulation, etc.

NEXUS EDITOR/LIBRARIAN SOFTWARE

Nexus Software System Requirements

Information on system requirements for using the companion Nexus editor/librarian software.

PRESET LIST

EXPRESSION PEDAL & LFO ASSIGNABLE PARAMETERS

SPECIFICATIONS

Related product manuals