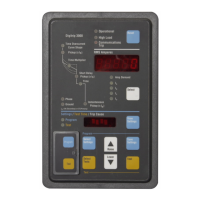
3.6 “Info” key – Check LED Assignments
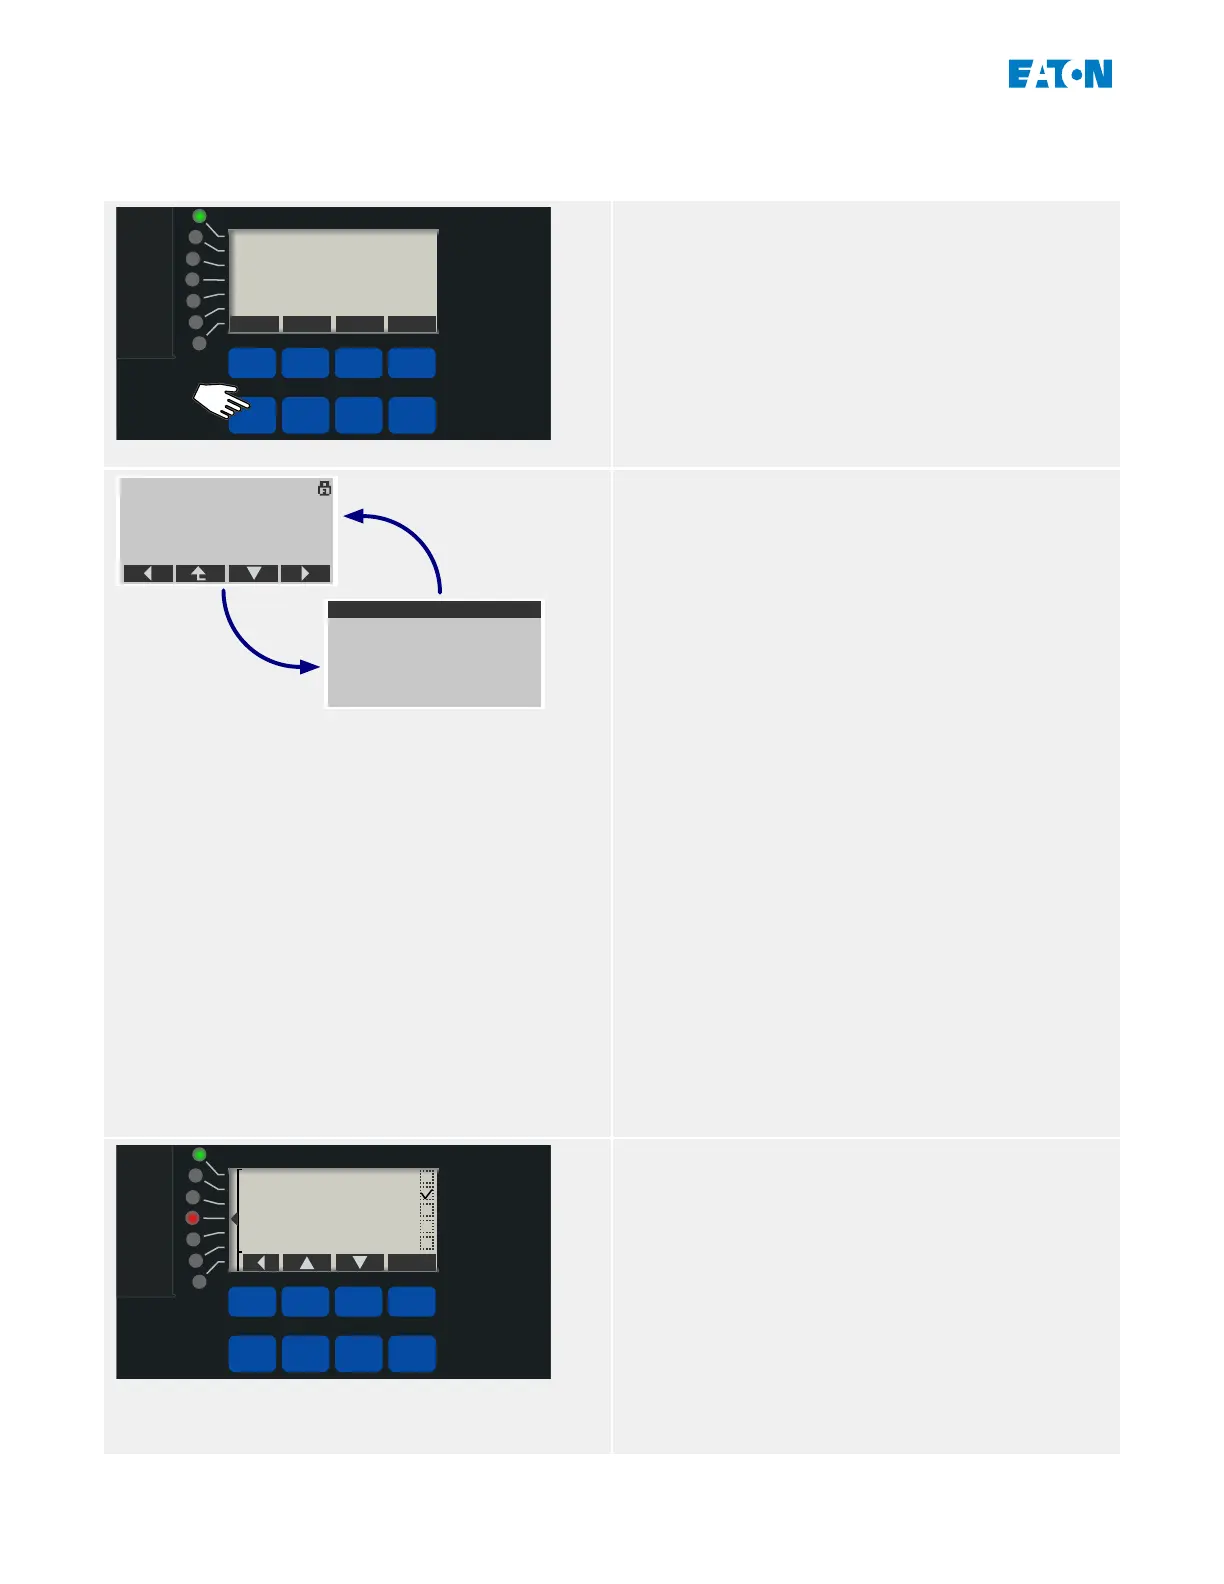
Operational
Info
Ack/Rst
Ok
CTRL
By pressing the »Info« key you get immediate
information about the active LED assignments.
Press the »Info« key once to see the
assignments of all LEDs that are positioned left
to the display.
Press the »Info« key again to see the
assignments of all LEDs that are positioned on
the right side of the display (if available).
QA1.TripCmd
Prot.Pickup
50P[1].TripCmd
-.-
-.-
LED Info
QA1.TripCmd
Prot.Pickup
50P[1].TripCmd
-.-
-.-
-.-
...
...
E_FAA
Prot.Active
• Each LED assignment is listed in one line•
of text per LED, so that you get 7 lines for
the 7 LEDs in a column.
• Devices with a small display feature only•
a maximum of 7 lines, which means there
is not enough room for all assignments
plus heading plus Softkey assignments.
Therefore these small displays toggle
every second between two layouts,
one with visible heading and Softkey
assignments (covering some of the LED-
related lines), and the other with heading
and Softkeys being hidden.
• Devices with a big display do not need this•
toggling, because the display has enough
room for displaying everything.
• For each LED, only the rst assignment is•
shown (or “-.-” if there is none). If there
is more than one signal assigned to an
LED, this is indicated by 3 dots at the right
margin: “...”
• Such multiple assignments can be checked•
by highlighting the respective line and
pressing the “ ▶” (Enter) Softkey.
Operational
Info
Ack/Rst
Ok
CTRL
E_FAB
50P[2].TripCmd
50P[1].TripCmd
-.-
-.-
-.-
This takes you to a new screen, which is
dedicated to only one LED.
Press the Softkeys “▲” (Up) or “▼” (Down) to
select the previous or next LED, respectively.
A (ticked “☑” / unticked “☐”) checkbox next to
each assigned signal indicates whether or not
the signal is currently active. (In the example
shown to the left, the signal »I[2] . TripCmd« is
active, so that LED4, to which the signal is
assigned, is lit.)
38 www.eaton.com E-Series Family Quick Start Guide
3 Quick Start – Operation via Panel
3.6 “Info” key – Check LED Assignments
 Loading...