Installation
26 Eaton Remote Power Panel (RPP) User’s Guide 164202125—Rev 5 www.eaton.com/powerquality
6. EMS option only. Verify that the display activates after approximately 30 seconds.
7. Check the phase rotation at the panelboard input breaker(s). Phase rotation should be A, B, C, left to right.
8. Verify and record the input voltages on the panelboard circuit breaker(s) in Table 8.
Note: If the input voltage is incorrect, check for wiring errors or improper transformer tap.
9. Turn on the panelboard circuit breaker(s).
If the breaker trips within one minute, contact your Eaton service representative for assistance.
Note: The control circuit is energized when the panelboard breaker is tripped or off.
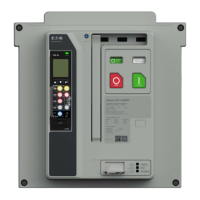
10. EMS option only. Verify that the On indicator is illuminated.
11. Check the phase rotation at the line side of the terminals of the panelboard breaker(s) and any subfeed
circuit breakers.
The rotation should be A, B, C, top to bottom. Note that the panelboard and subfeed breakers are rotated
90° counter-clockwise.
12. EMS option only. Set the options recommended in “Initial Configuration” on page 33.
13. Turn on the individual panelboard circuit breakers following the startup sequence recommended by the
load equipment manufacturer.
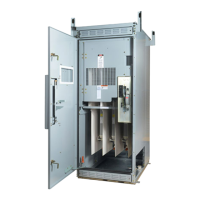
Replacing the Interior Barriers, Side Panels, and Doors
Note: The interior barriers must be replaced, the ground straps reconnected, and the side panels and
exterior doors replaced prior to placing the RPP in service.
To replace the interior barriers, side panels, and exterior doors:
1. Replace each interior barrier removed:
Place the barrier's movable hinge into the stationary hinge on the cabinet and squeeze the upper and
lower levers together (see Figure 4 on page 9). Turn the levers outward, then release the levers. The hinge
pins should spring into position, locking the barrier to the cabinet.
2. Reconnect the ground strap to each interior barrier.
3. Replace the side panels.
Note: Use extra care if installing the side panel next to a UCB to prevent damaging the board.
Reinstall the eight screws along the sides of the panel. Tighten the two bolts at the top of the panel.
4. Replace the exterior doors.
Place each door on its hinge. Replace each door's hinge pin.
5. Close the doors.
6. (Optional) Lock the doors using the supplied key.
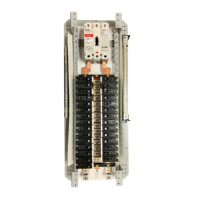
Table 8. Panelboard Circuit Breaker Input Voltages at Startup
Breaker
Phase Voltages
A-B B-C C-A A-N B-N C-N
1
2
3
4
 Loading...