Setting Up the File for Vector Cutting
Once we have our print file we need to add outlines to the registration marks and add vector cutting
lines over the print file.
1. Select the Registration Marks (Fiducials): First, select each
of the registration marks and give them an outline color.
Make sure the registration marks are a dierent color than
the cut lines. In this example we used the color blue.
Make sure you do not print these cutting lines on
your printed item. These lines are only used with
the laser!
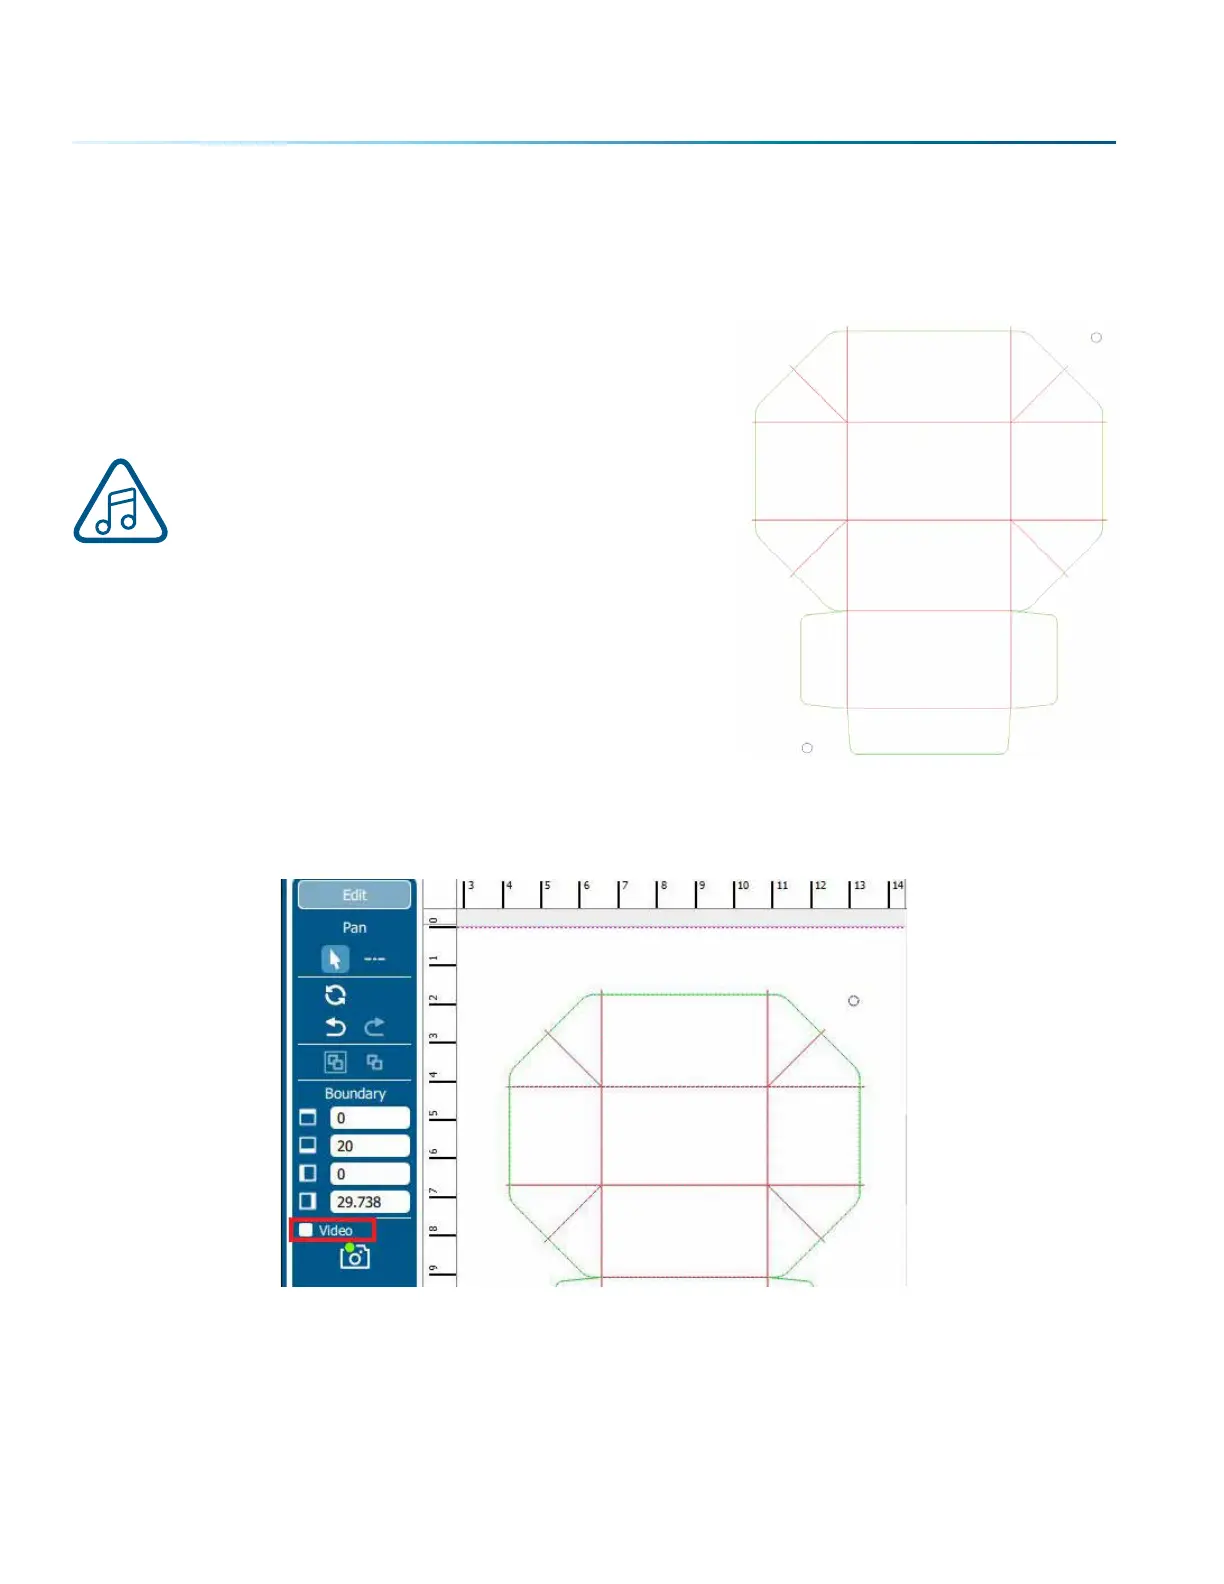
2. Create your vector lines and give them a separate color to
be color mapped. In this example we used green for our cut
lines and red for our score lines. If you have dierent lines
you would like to cut with dierent speeds and/or powers,
give each of the lines a dierent color.
3. When you have your vector file prepared, choose File > Print.
Print to the Epilog Engraver to open the Laser Dashboard.
4. For these steps we turned o the live view to see our graphic better, because the camera is not
needed for this part of the process. You may turn o live view by selecting the checkbox next to
“Video” on the le side tool bar.
- 120 -
SECTION 8: SYSTEM FEATURES
 Loading...


