5. Aer the install is complete, you will need to
activate PLP. Open the soware and click the
OK key on the pop-up screen.
6. Place any graphic on the page. This can be
an object, text, or an imported image. Print it
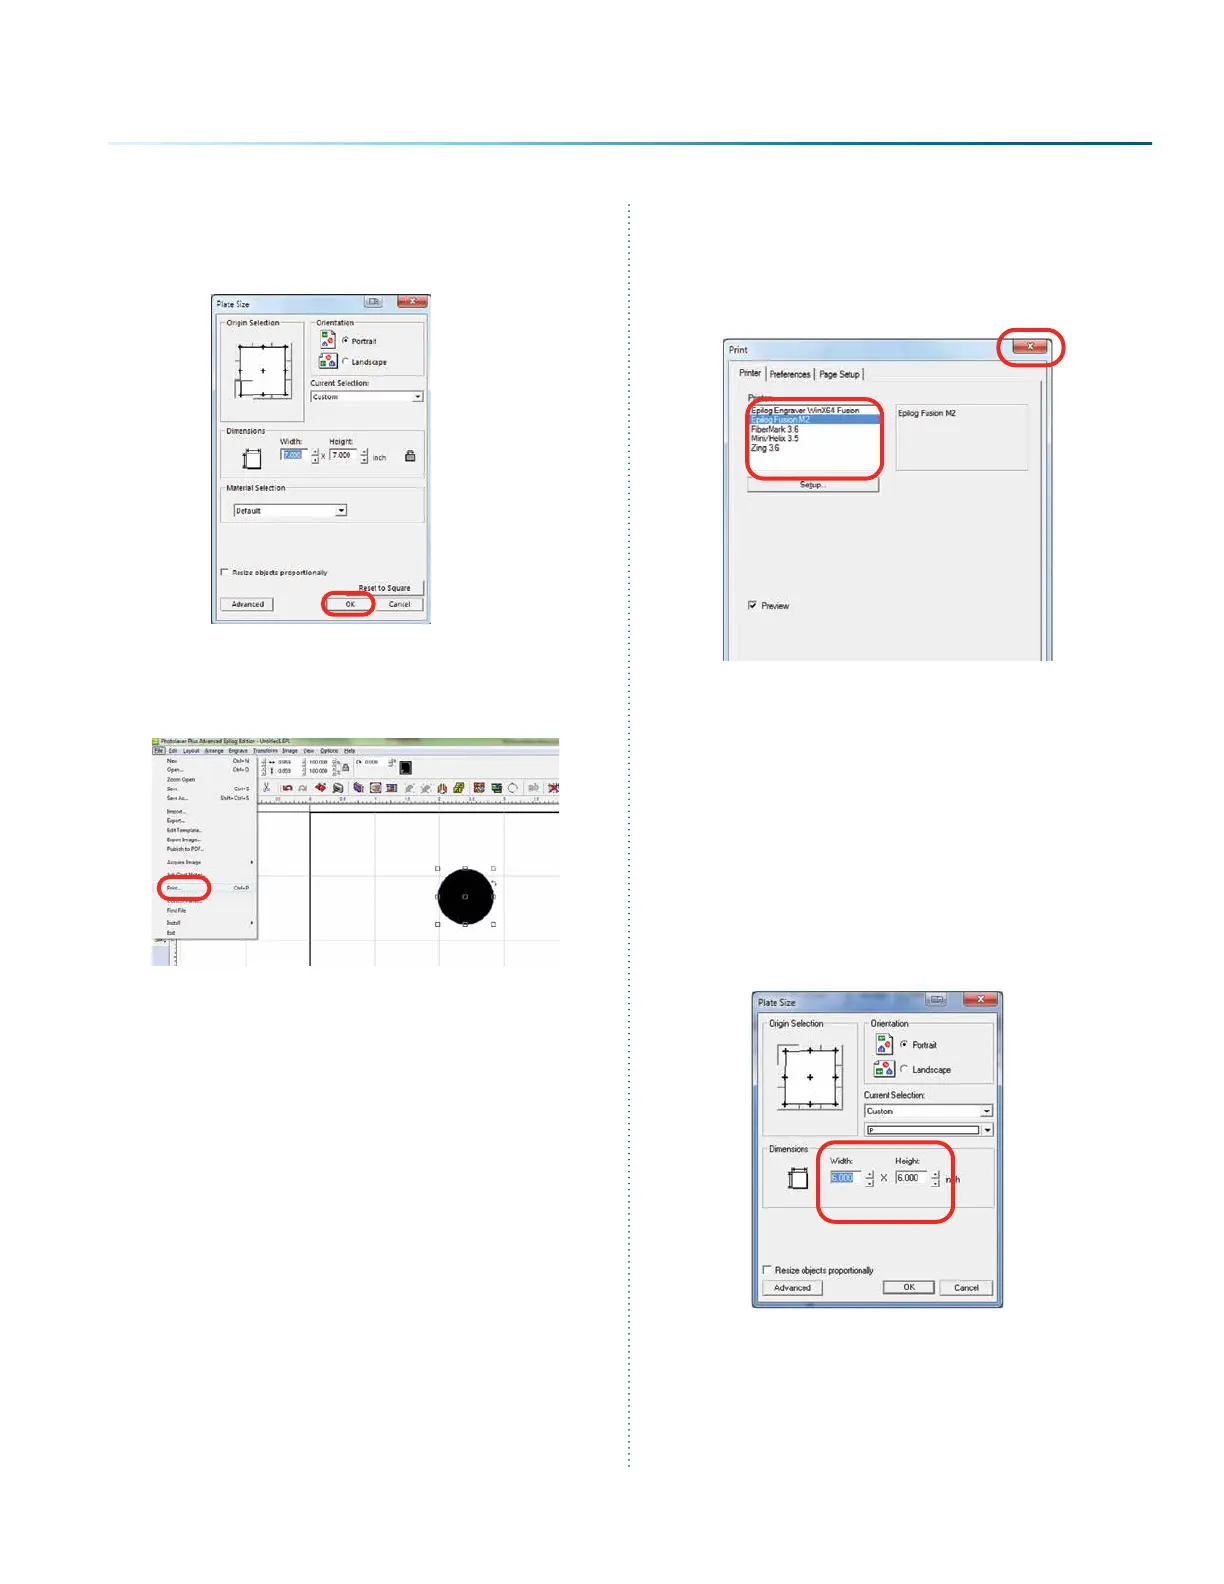
by going to File then Print.
7. Select your laser in the driver list. Make sure
this has the name Epilog in the driver, or
move back to step one. Next close the print
window by clicking the red X.
8. Close PLP, then reopen the soware and you
are ready to start using the soware.
PhotoLaser Plus Photograph
Transformation
When you first open PLP, your first step is to set
your plate size, which is your page size. You can
set this to match the material you are engraving,
or the size of the engraving table.
- 149 -
SECTION 9: OPTIONAL FEATURES
 Loading...


