5
Work Flow
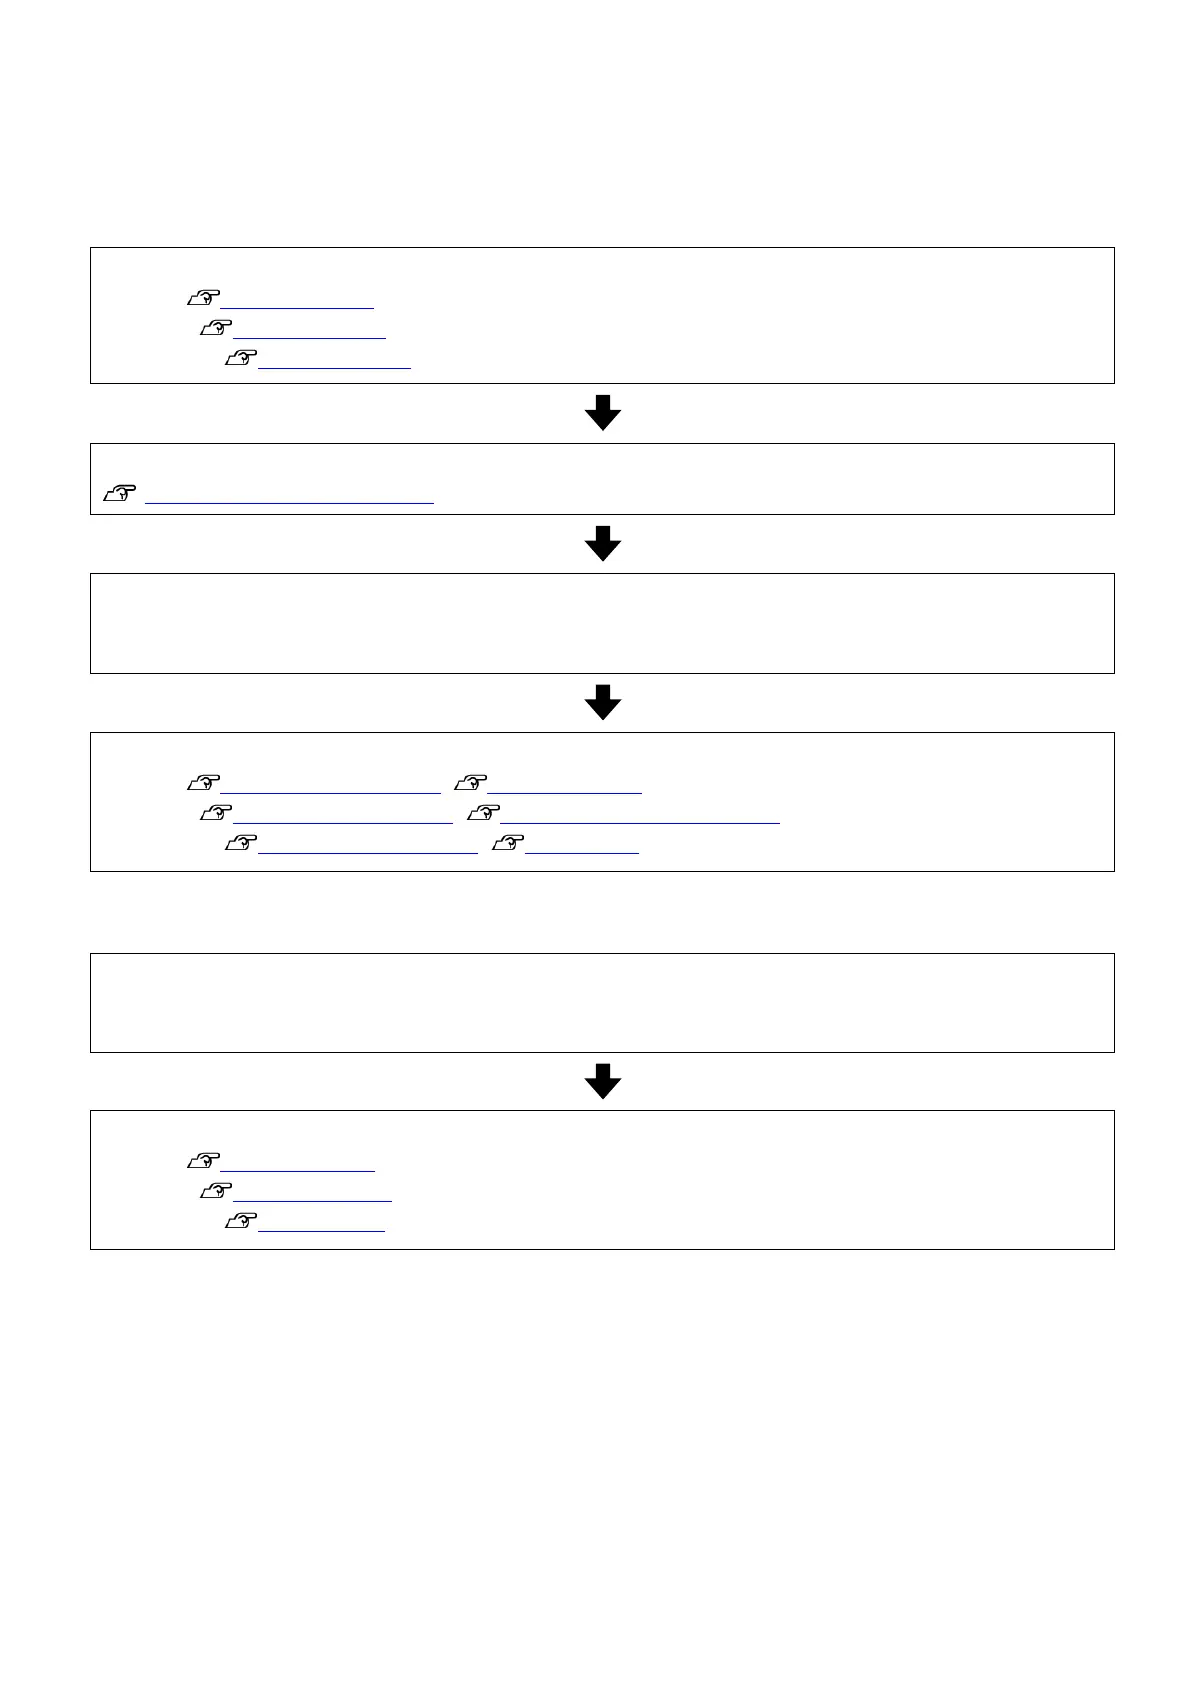
Once you complete the following steps, you can perform daily print operation easily.
1. Prepare Printing
1. Install and connect the software. (Steps vary depending on the RIP you use.)
ONYX rip "Install and Connect"
Caldera RIP "Install and Connect"
DINAX Mirage "Install and Connect"
2. Download the EMX file from Dashboard and register the media settings to the printer.
"Registering Media Settings (EMX File)"
3. Set the media on the printer and perform [Media Adjust].
Set the media correctly, and then perform [Media Adjust] using the media setting number registered in step 2.
For details on how to set media and [Media Adjust], see the "User's Guide" (PDF).
4. Import the print information to the RIP, and create a print mode. (Steps vary depending on the RIP you use.)
ONYX rip "Importing Print Information", "Creating Quick Sets"
Caldera RIP "Importing Print Information", "Create Configuration (Print Settings)"
DINAX Mirage "Importing Print Information", "Color Settings"
2. Printing Work
1. Set the media on the printer and select the registered media setting number.
Set the media properly and select the media number registered in the printer.
For details on how to set media and select the media setting number, see the "User's Guide" (PDF).
2. Open the file to be printed with RIP and print. (Steps vary depending on the RIP that is used.)
ONYX rip "Open and Print File"
Caldera RIP "Open and Print File "
DINAX Mirage "Print Procedure"
 Loading...