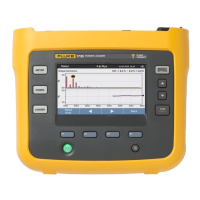
1736/1738
Users Manual
16
Power ON/OFF
The Logger has several options for power: mains,
measurement line, and battery. The front panel LED
shows the status. See Table 5 for more information.
Mains Power Source
1. Attach the power supply to the Logger or use the dc
power cord to connect the power supply to the Logger.
2. Move the slide-cover on the power supply to access
the mains socket and connect the power cord into the
Logger.
The Logger automatically turns on and is ready to use
in <30 seconds.
3. Push to turn on and turn off the Logger.
Measurement Line Power Source
1. Attach the Power Supply to the Logger or use the dc
power cord to connect the Power Supply with the
Logger.
2. Move the slide-cover on the power supply to access
the safety sockets and connect these sockets with the
voltage input sockets A/L1 and N.
For 3-phase delta systems connect the safety sockets
of the power supply with the input sockets A/L1 and
B/L2.
Use the short test leads for all applications where the
measured voltage does not exceed the rated input
voltage of the power supply.
3. Connect the voltage inputs to the test points.
The Logger automatically turns on and is ready to use
in <30 seconds.
Caution
To prevent damage to the product, make sure
the measured voltage does not exceed the
input rating of the power supply.
Warning
To prevent injury, do not touch the metal parts
of one test lead when the other is still
connected to hazardous voltage.

 Loading...