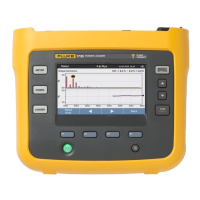
1736/1738
Users Manual
48
2. Copy the firmware file (*.bin) into this folder.
3. Make sure the Logger is powered from mains and
operating.
4. Plug the flash drive into the Logger. The USB Transfer
screen pops up and offers the firmware update.
5. Push to select the firmware update and push .
6. Follow the instructions. When the firmware update is
complete the Logger reboots automatically.
Note
A firmware update deletes all user data such as
measurement data and screen captures.
This firmware update works only when the firmware
version on the USB flash drive is newer than the installed
version.
To install the same version or an older version:
1. Push .
2. Push (Instrument Settings).
3. Push (Tools).
4. Push to select Firmware Update and push or
touch the Firmware Update target.
Note
If more than one firmware file (*.bin) is located in
the \Fluke173x folder, the newest version is used
for the update.
First-time Use/Setup Wizard
To start the Logger:
1. Install WiFi/BLE or WiFi only adapter (see page 6).
2. Attach the power supply to the Logger or use the dc
power cable to connect the Power Supply with the
Logger.
3. Connect the power cord into the power supply.
The Logger starts up in <30 seconds and the Setup
Wizard starts.
4. Pick the language (see page 43).
5. Push (Next) or to navigate to the next page.
6. Push (Cancel) to close the setup wizard. If you
cancel, the setup wizard starts again on next startup of
the logger.
7. Pick the work standards for your region. This action
selects the color codes and the phase descriptor (A, B,
C, N or L1, L2, L3, N).
This is the best time to apply the correlating decal on
the connector panel. The decal helps you to quickly
identify the appropriate voltage test lead and current
probe for the different phases and neutral.
8. Attach the color clips to the current probe cables.
9. Pick your time zone and date format. Confirm that the
correct date and time are shown on-screen.
10. Pick the currency sign or currency code.

 Loading...