86 4 Paper
Setting the Paper Sizes of the Paper Trays
If you load non-standard-size paper in the tray 1, 2, 3 or 4, set its paper type on the control
panel.
Note
• If you change the paper loaded in a tray from standard-size paper to non-standard-size paper, select
[Auto] in Step 8. The printer automatically detects the orientation of the paper.
• To print on non-standard size paper, set its size also on your print driver. For more information, refer to
"Loading Non-standard Size Paper" (P. 51).
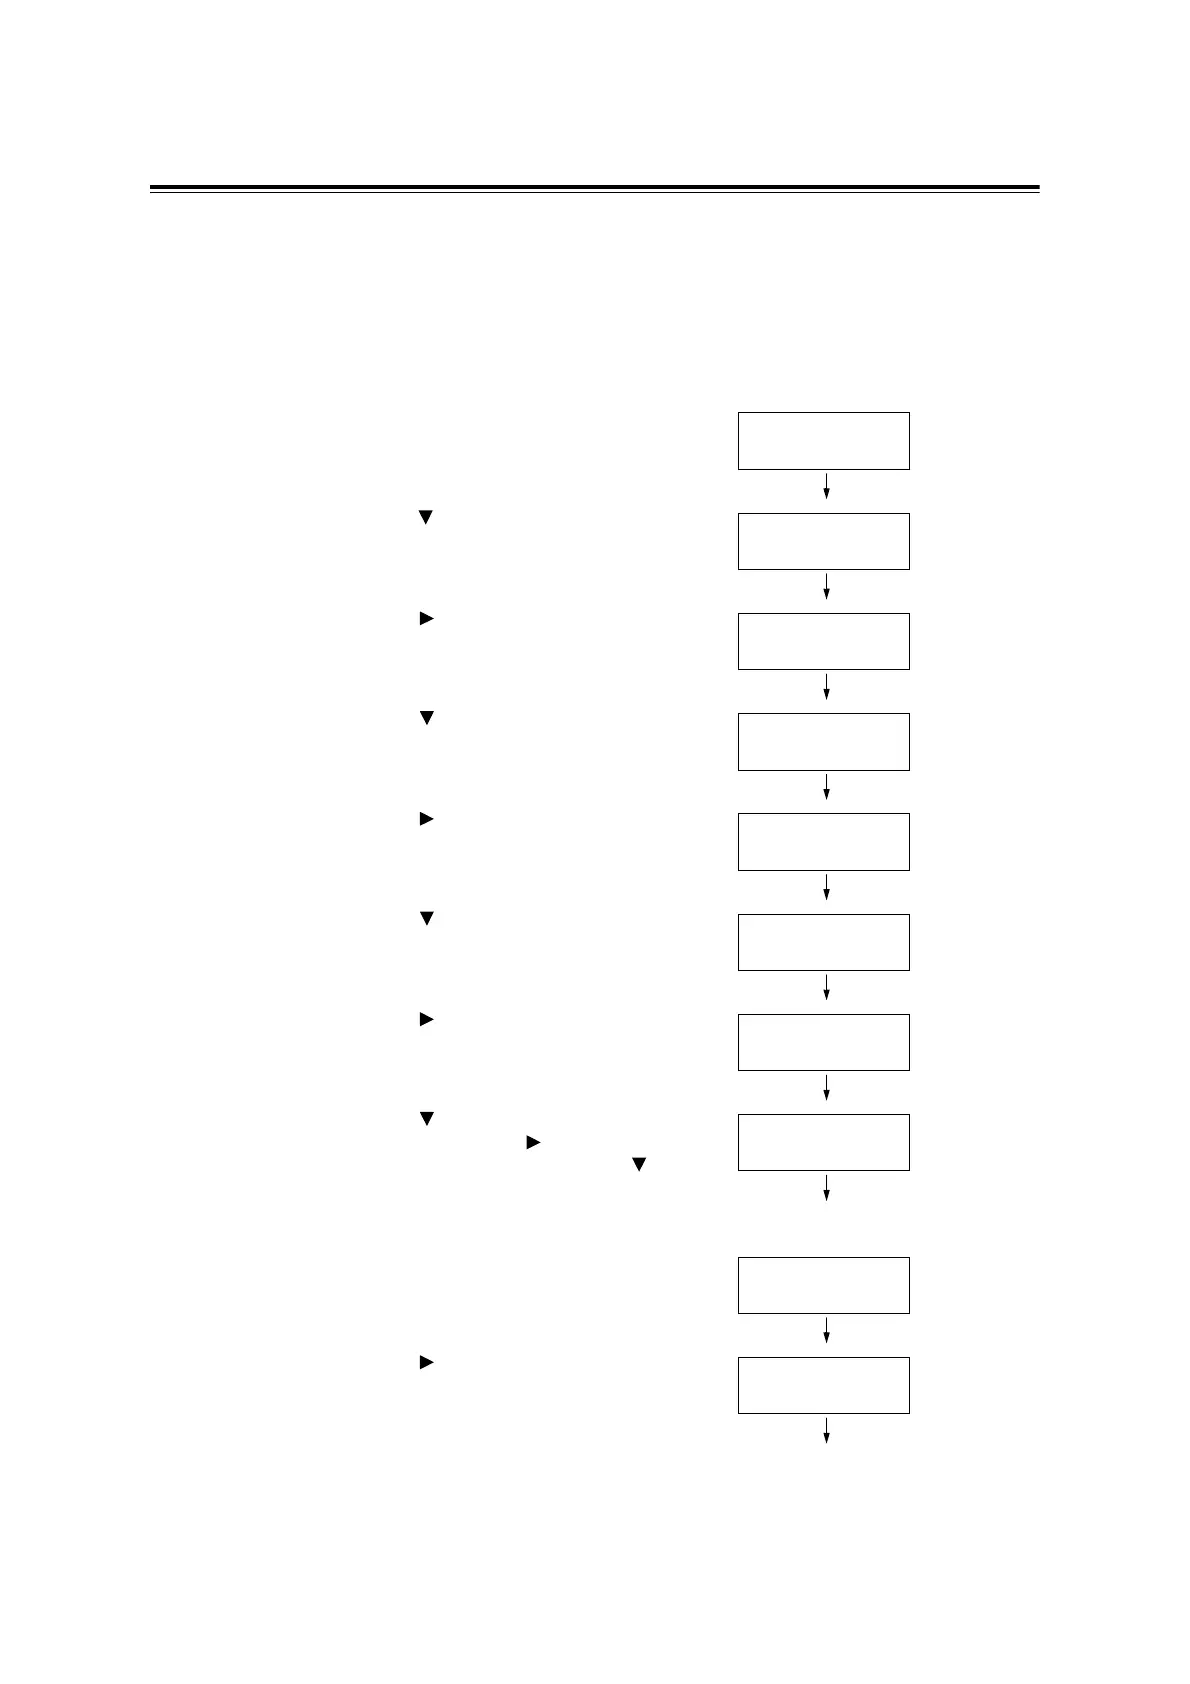
1. Press the <menu> button on the control
panel to display the menu screen.
2. Press the < > button until [Admin Menu] is
displayed.
3. Press the < > button to accept the
selection.
[Network/Port] is displayed.
4. Press the < > button until [Printer
Settings] is displayed.
5. Press the < > button to accept the
selection.
[Substitute Tray] is displayed.
6. Press the < > button until [Paper Size] is
displayed.
7. Press the < > button to accept the
selection.
[Tray 1] is displayed.
8. Press the < > button until the desired tray
is displayed. Press the < > button to move
to the right field and then press the < >
button.
[Tray 1 Custom] is displayed.
9. Press the <Eject/Set> button to confirm
your selection.
[Portrait (Y)] is displayed.
10. Press the < > button to select [Portrait
(Y)].
The current setting is displayed.
Menu
Print Language
Menu
Admin Menu
Admin Menu
Network / Port
Admin Menu
Printer Settings
Printer Settings
Substitute Tray
Printer Settings
Paper Size
Paper Size
Tray 1 Auto*
Paper Size
Tray 1 Custom
Tray 1 Custom
Portrait (Y)
Portrait (Y)
148mm*

 Loading...


