1. INITIAL SETTINGS AND ADJUSTMENTS
1-46
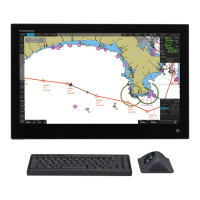
4. Select the appropriate equipment on the menu bar to activate the alert for each
equipment. For example, the alert number “153” can be activated for No.1 ECDIS
and deactivated for No.2 ECDIS. The following figure is the sample when the No.1
ECDIS is selected. The alerts are listed based on the alert definition of the equip-
ment.
5. Check the checkbox of the alert to activate.
6. To save the configuration, perform a consistency check, then save the configura-
tion data on the [Save and Sync] menu.
1.8.6 How to add an alert definition
An alert definition can be added newly. The maximum number of alert definition is
1,000.
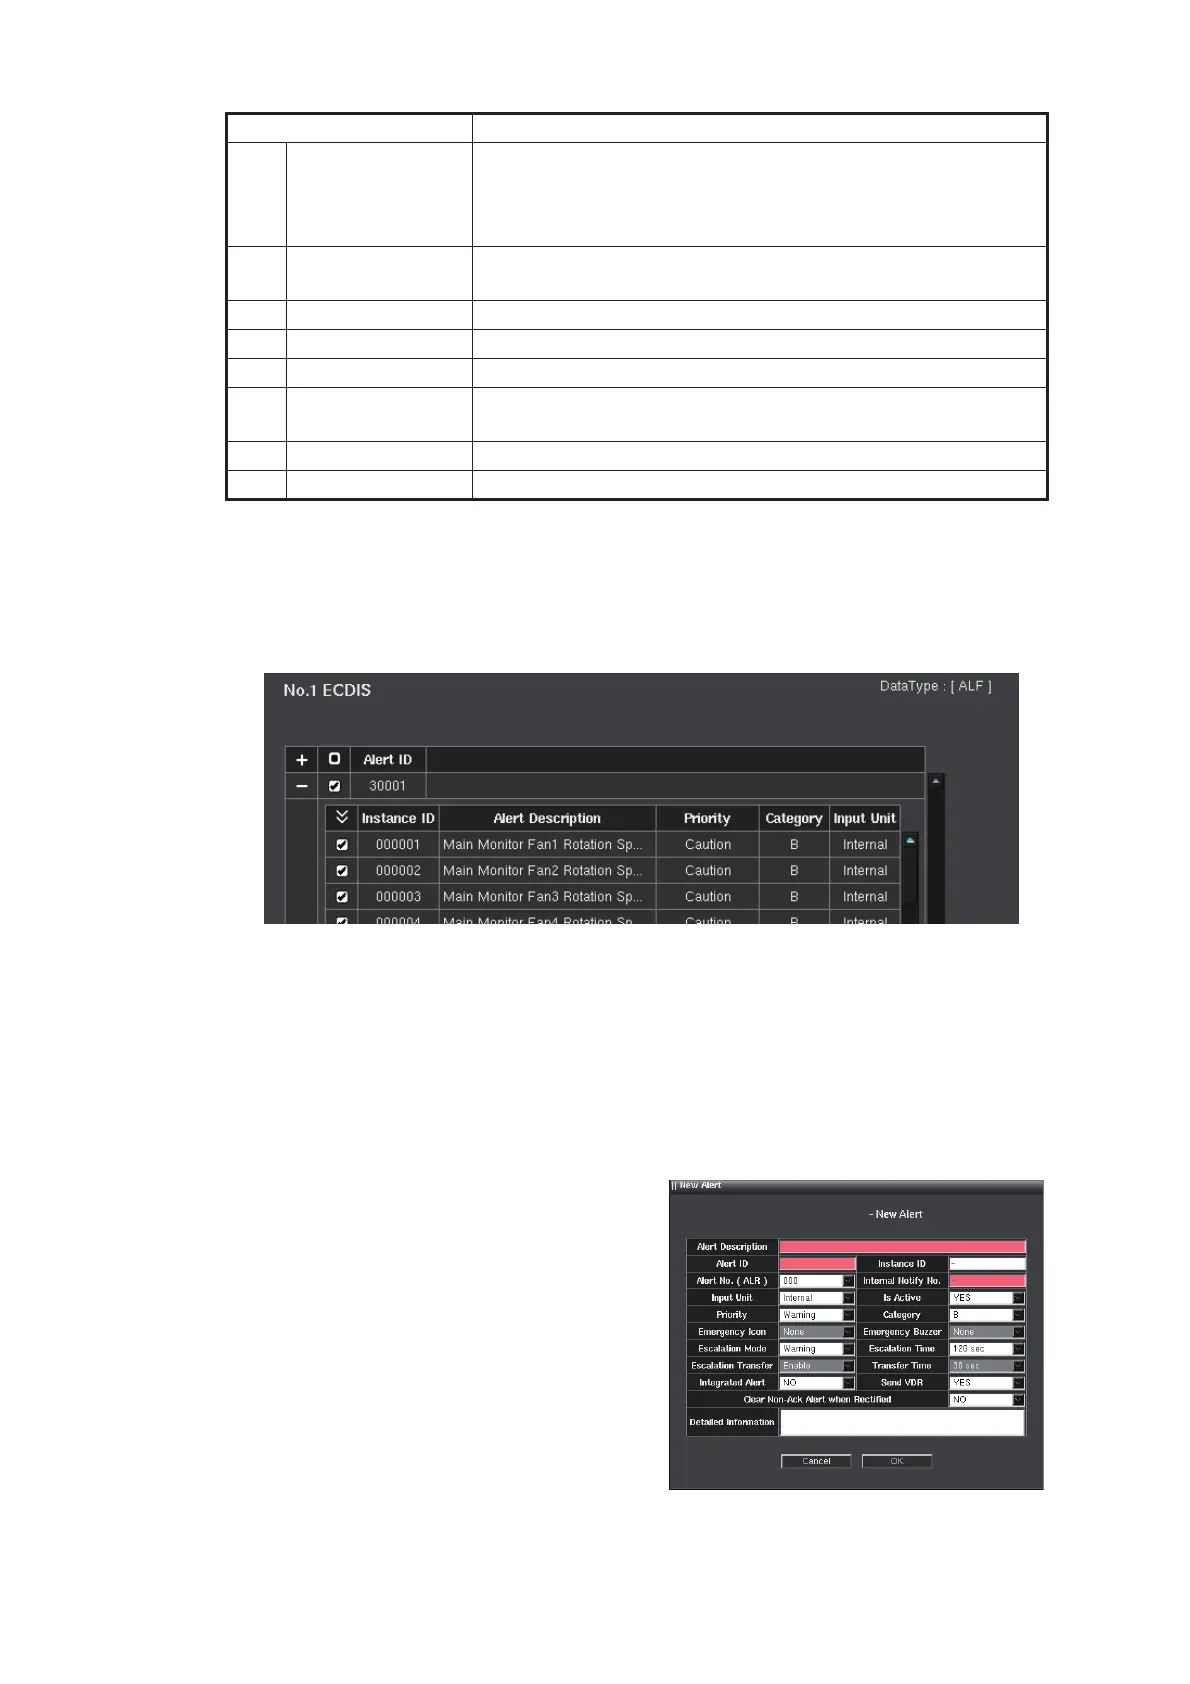
1. Click the [New Alert] button on the alert
definition window referring to the figure
in step 2 of section 1.8.5. The [New
Alert] window is shown.
Note: The 1,000 alert definitions have
been registered, the message "Too
many alert. Please delete any alert." is
shown. If this occurs, delete any alert
definition to make space for the new
alert definition.
12 [Alert Name]
(ALR)
[Alert Description]
(ALF)
Alert name (editing possible)
13 [Priority] The priority of the alert group (Alarm/Warning/Caution), pos-
sible to edit.
14 [Category] The category of the alert group (A to C), possible to edit.
15 [Input Unit] The unit which input the alert.
16 [Details] button Show the detail window for the alert. See section 1.8.7.
17 [Edit] button Edit the alert number. This appears when the alert notifica-
tion sentence is ALF.
18 [Import] button Import the alert definition for currently displayed equipment.
19 [Export] button Export the alert definition for currently displayed equipment.
Item Remarks
㻲㻹㻰㻙㻟㻝㻜㻜
 Loading...