1. INTRODUCTION
1-13
1.15 The Settings Menu
The [Settings] button gives you access to the user profiles and the [Settings] menu.
The [Settings] menu has facilities for screenshot management, file management, di-
agnostic tests and customizing. See chapter 22.
1.16 How to Manage User Profiles
Ten sets of [Chart Display], [Symbol Display] and [Chart Alert] menu settings can be
stored in user profiles for later retrieval.
1.16.1 How to create a profile
1. Set the [Chart Display], [Symbol Display] and [Chart
Alert] menus as desired.
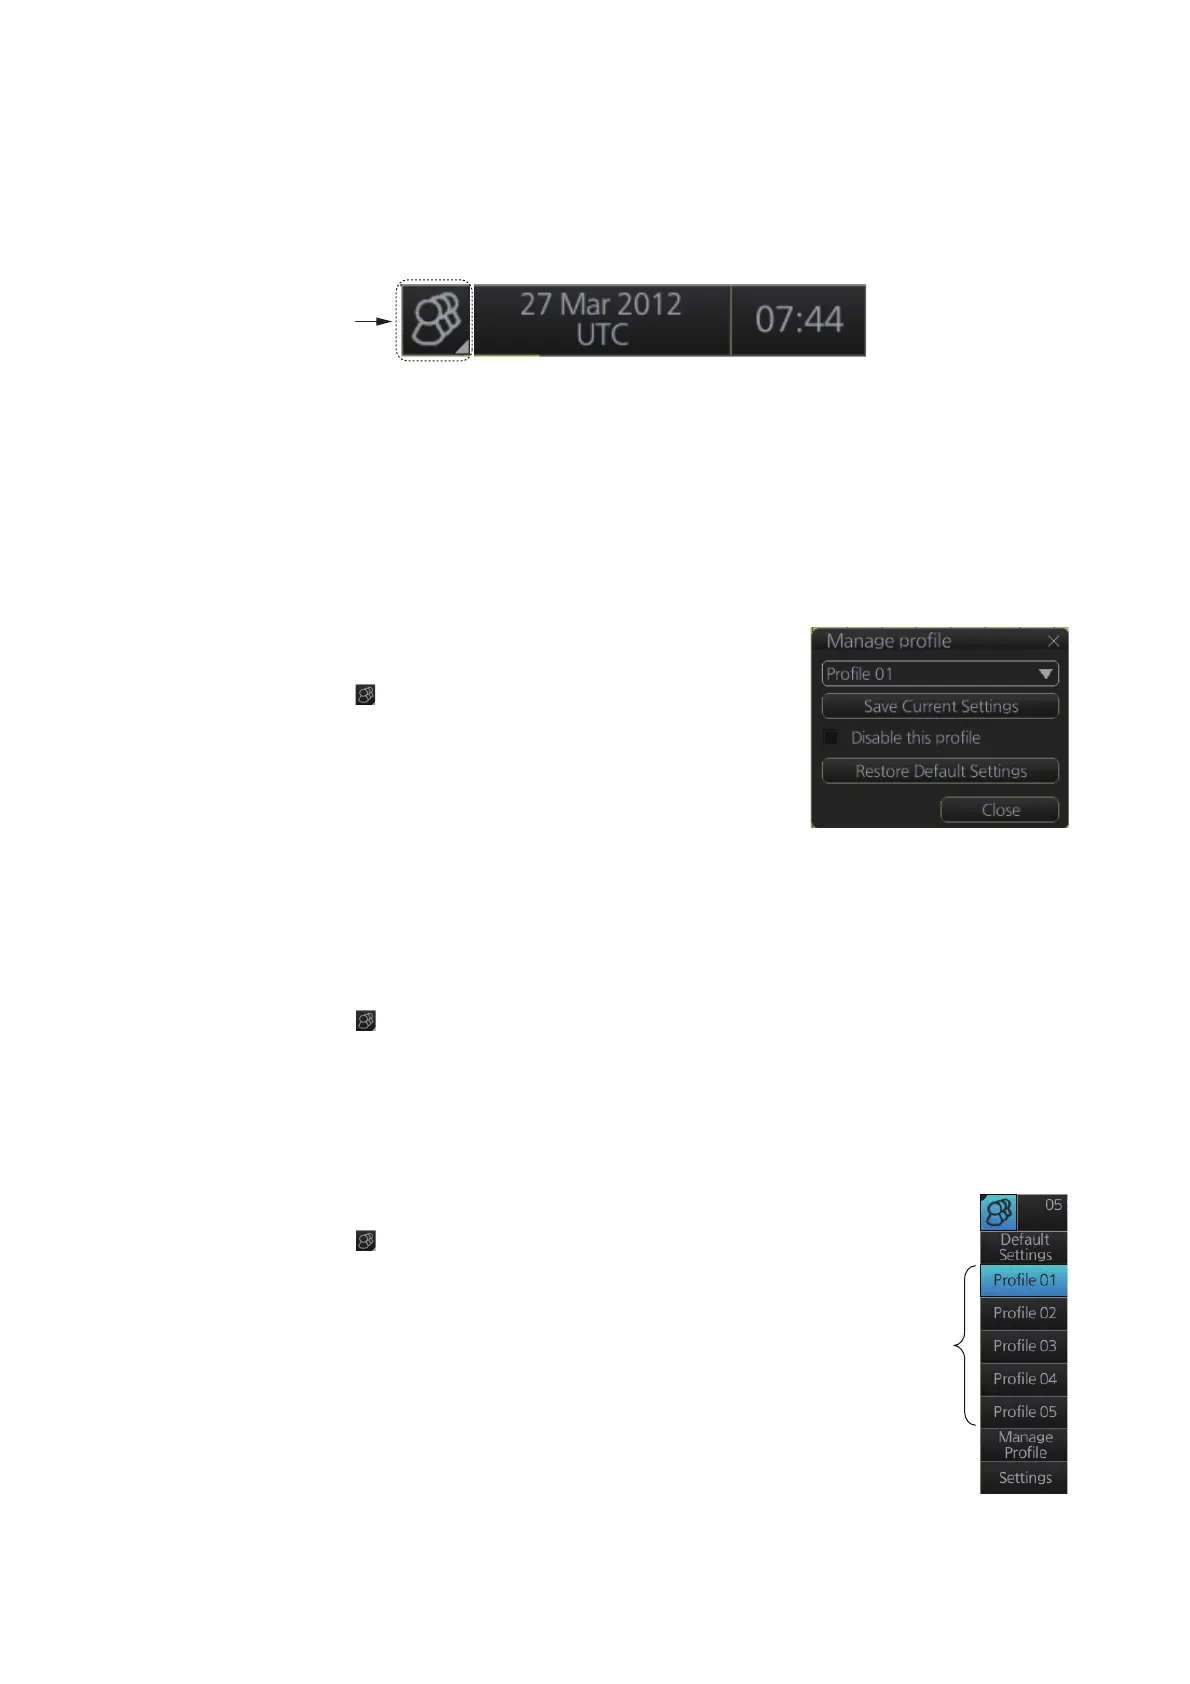
2. Click [ ] on the Status bar then click [Manage Pro-
file].
3. Select a profile number from the “Profile” drop-down
list.
Note: Profiles 06-10 are disabled in the default set-
ting. To enable a disabled profile, select the profile
to enable from the “Profile” drop-down list then uncheck [Disable this profile].
4. Click [Save Current Settings].
1.16.2 How to disable a profile
1. Click [ ] on the Status bar then click [Manage Profile].
2. Select a profile number from the “Profile” drop-down list.
3. Check [Disable this profile].
The profile enabled at section 1.16.3 cannot be disabled.
1.16.3 How to activate a profile
1. Click [ ] on the Status bar then click the profile number
to activate.
2. Click the profile number you wish to activate.
The confirmation message "Settings will be changed to
Profile xx. Do you wish to continue?" appears.
3. Click [Yes] to activate the selected profile. Click [No] to
cancel.
Profiles
(enabled)
 Loading...