Harman® • P42i Pellet Insert Installation Manual • 2023 -___ • 08/2323 8742-901D
B. Beginning the Installation
Theuseoftheoptionalservicerailkit(Part#1-00-574354)
is highly recommended for installation.
Locatethe3/8”hexheadshippingbolts(oneperside)that
secure the stove to the mounting frame and use a 3/8”
socket or nut-driver to loosen and remove these screws;
these screws will not be reused and can be discarded.
Figure 5.4
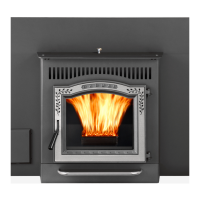
Removing the Center Medallion
1. Liftuponthe2bottomcornersofthemedallionuntilitis
higherthanthetopoftheameguide.
2. Pullthebottomedgeofthemedallionfrontapproximately
1 inch.
3. Pull downward on the corners of the medallion until the
top is released from the retainer that keeps the top aligned
when in place. Figure 5.3.
Note:Theheatexchangercoverswilltilttothefrontwhen
the center medallion is removed.
Figure 5.3
1
st
- UP ↑
2
nd
- OUT
3
rd
- DOWN ↓
Figure 5.4
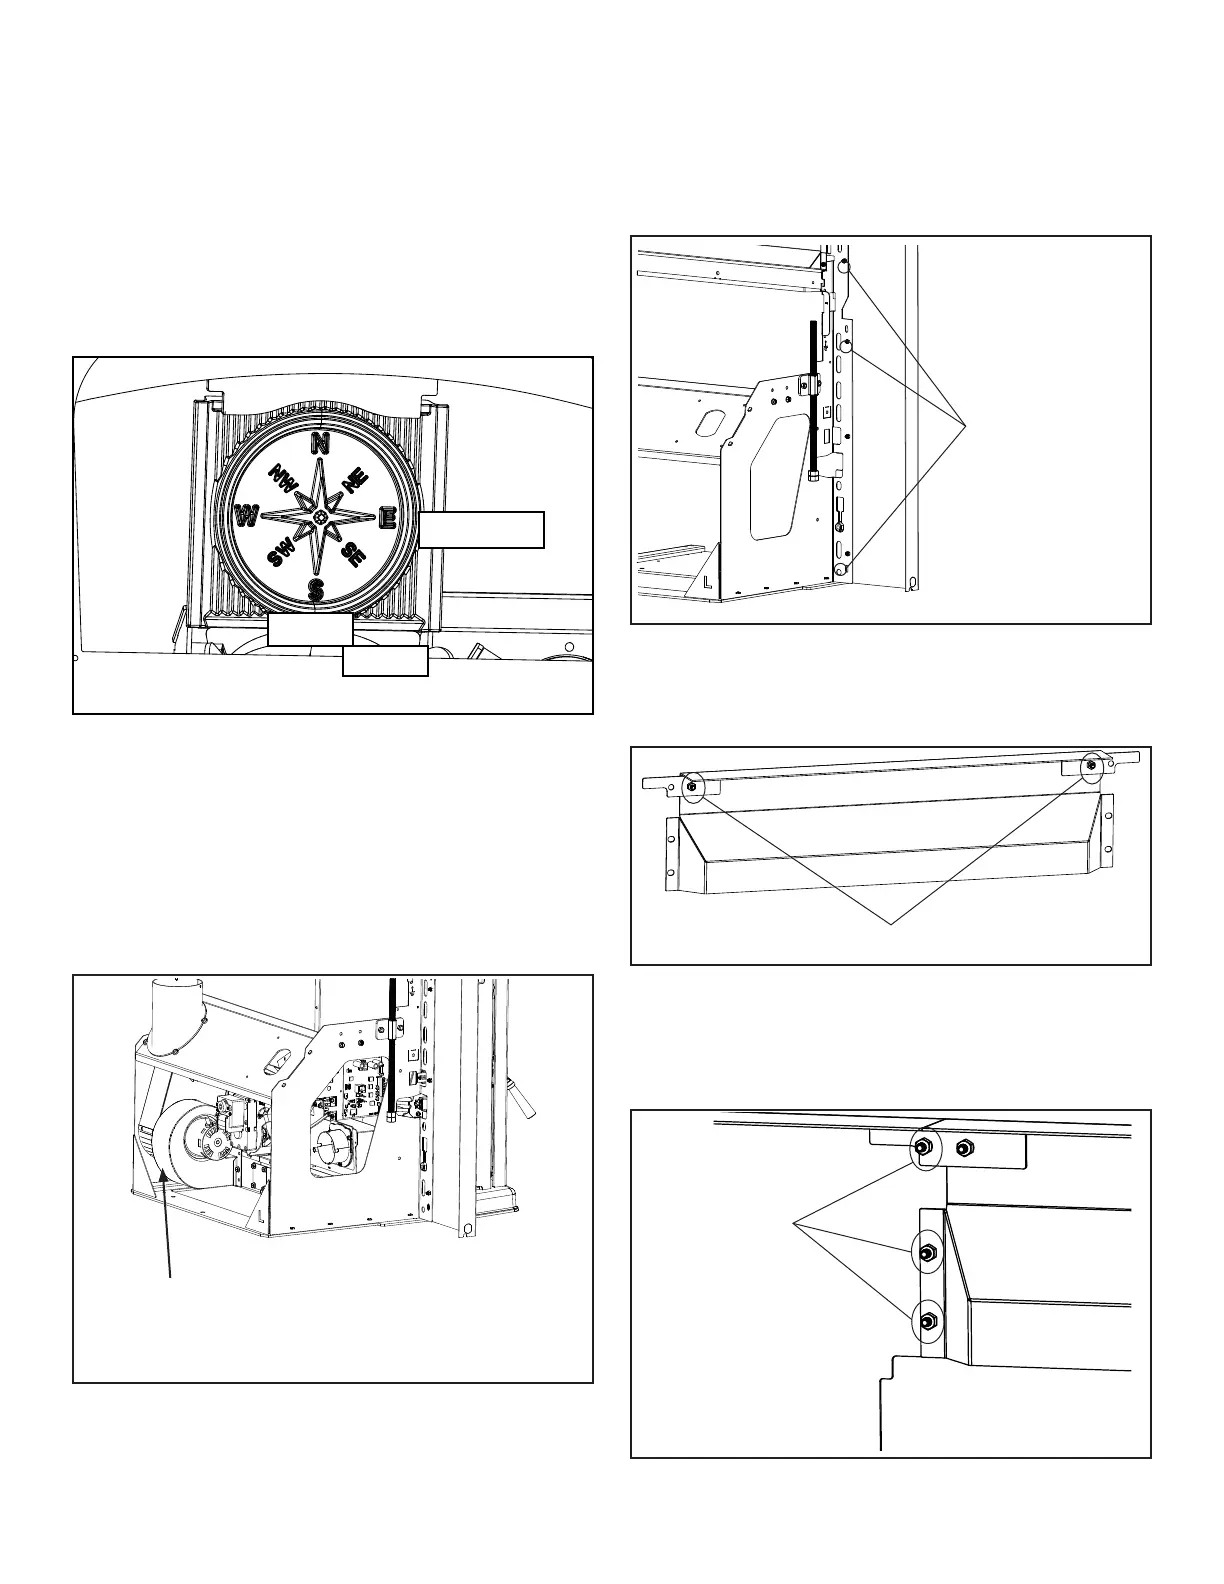
Note: The Distribution blower extends through the
mountingframeintherearapproximately7/8".Theoverall
depthofthemountingframeis15”,thisincludesthe7/8”
overhang referenced in Figure 3.1.
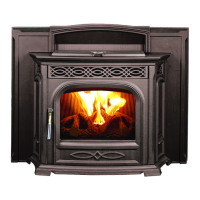
Releasethespringlatcheslocatedbehindthesidepanels
on both sides of the insert and remove insert from frame.
Using (6) 10-24 nuts and studs, install the left and right
surroundpanelstothemountingframe.Leavethesebolts
loose until the entire surround assembly has been adjusted
for proper clearance. Figure 5.5
Figure 5.5
(3)10-24
MachineNut
Next,locatethecentertopsurroundsectionandinstallfour
10-24MachineNut&Studs into the holes shown below using
a3/8”wrenchornutdriver.Figure5.7.
Slidethecentersurroundsectionontothemountingframe
andinstalla10-24nutontoeachofthefourstuds.These
nuts should remain loose until the entire surround has been
installed and adjusted. Figure 5.8.
Figure 5.7
Install(2)10-24Nuts
Figure 5.8
Install10-24Nut

 Loading...