TUXEDOW INSTALLATION AND SETUP GUIDE
23
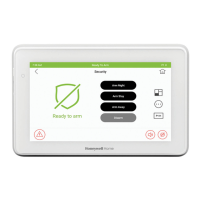
SYSTEM SETUP
Time/Date Setup
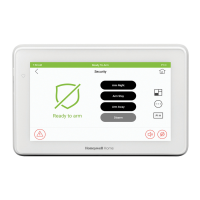
You can set the time and date from the Time / Date Setup screen.
• When the time is set, it is stored in the touchscreen and sent to the control panel when you touch the Apply
icon and
answer Yes to the “Set time on the security system as well?” prompt. Additionally, when using the touchscreen, the panel
downloads its time into the touchscreen periodically after the clock is set.
• If Get Time is touched, the keypad downloads the time and date from the control panel and exits the Set Time & Date
screen.
Setting Daylight Saving Time
To set the daylight savings time, do the following:
1. From the Home screen, touch the Setup and System Setup
icons.
2. Touch the Time/Date Setup icon; enter an Authorized Code.
3. Touch the DST icon if you want daylight savings time to affect
your system clock.
4. Set the “Start DST” time and then the “End DST” time by
touching the Month, Weekend and Hour that you want DST
to start.
5. Touch
to save settings.
If DST On is selected, the keypad adjusts
for Daylight Saving time at the month, week
and time chosen.
Make sure "DST On” is checked to enable
this feature.
Setting Current Time and Date
To set the current time, do the following:
1. Touch the Time/Date Setup icon; enter an Authorized Code.
2. Scroll to select the Year, Month, Day, Hour, Minute, AM or
PM to be displayed.
3. Use the drop-down menu to select a format for MMDDYY and
12 Hour or 24 Hour to be displayed.
4. Touch
to save settings.
After each selection the window closes
automatically, and the selection is
displayed.
Select if you want a 12-hour or 24-hour
format for your time display.
A confirmation screen is displays:
“Time Setting Confirmation”
“Set time on the security system as
well?”

 Loading...