Ultra HD IP Camera User Guide
42
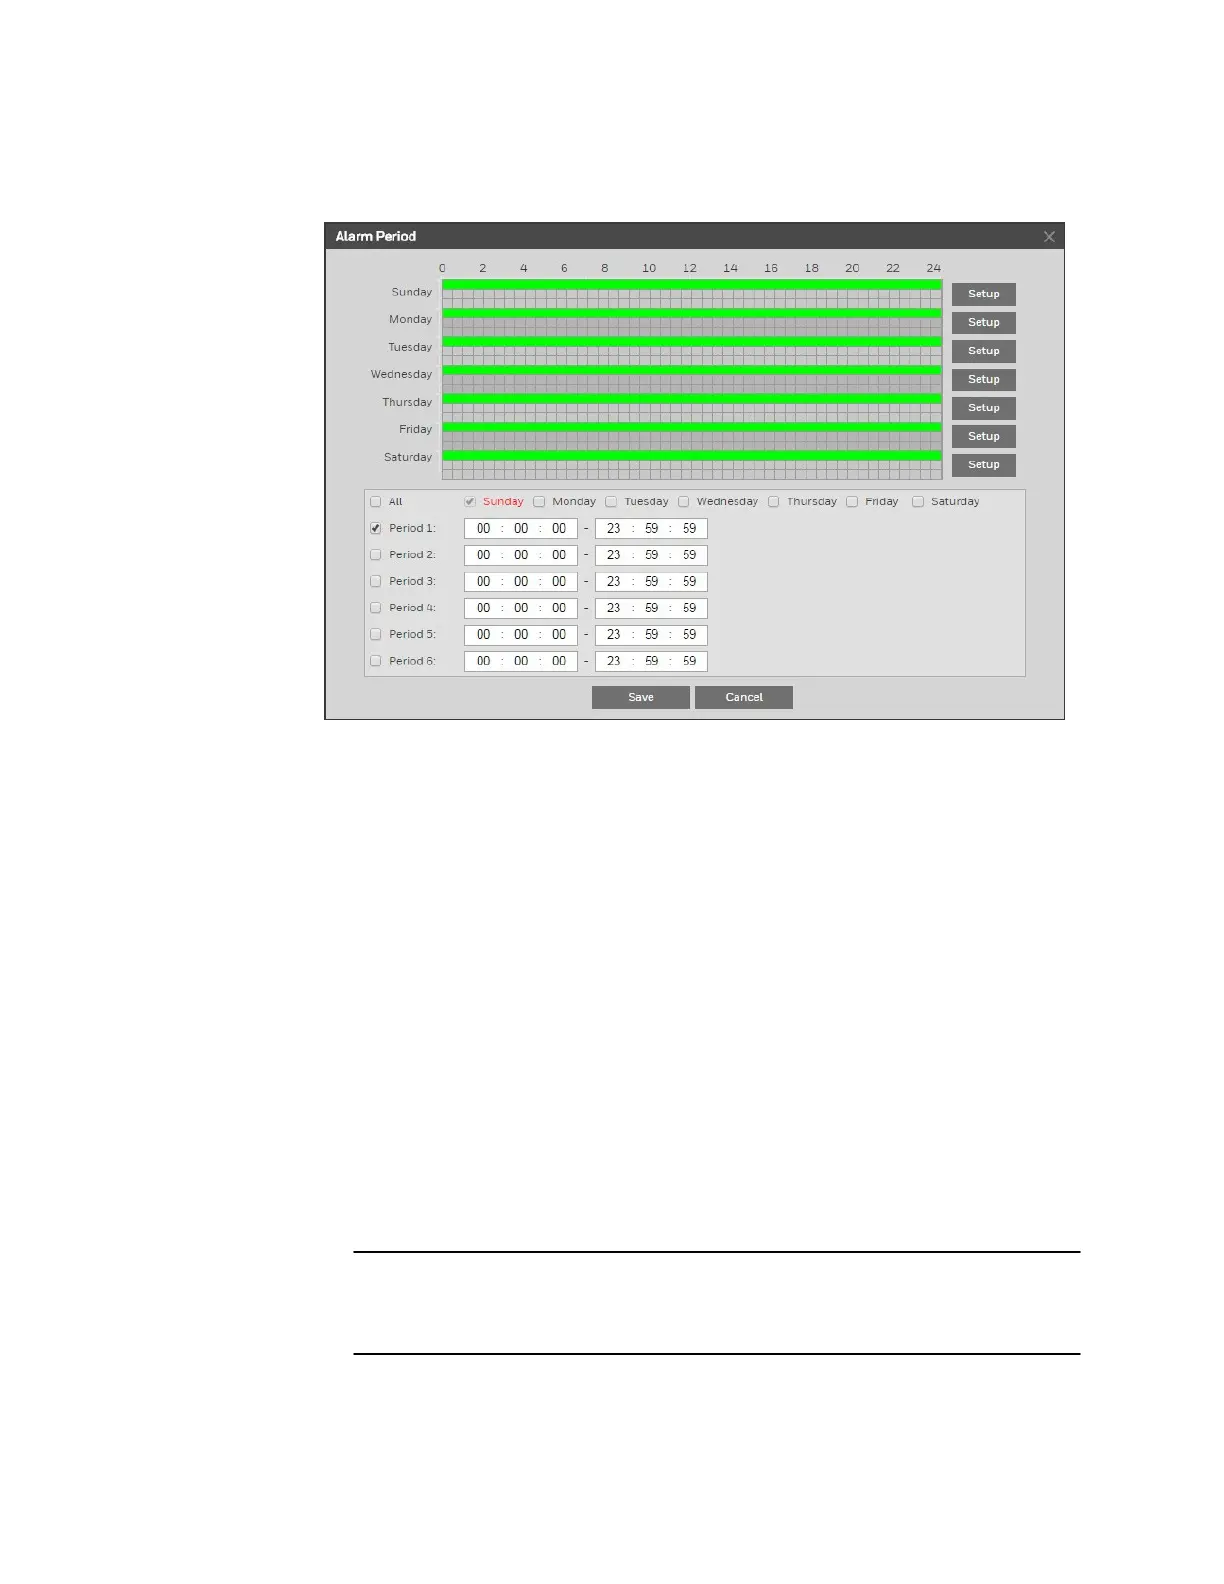
3. Next to Alarm Period, click Setup. The Alarm Period window opens.
4. Set the days and times when you want the alarm function to be active, and then click
Save.
5. In the Anti-Dither field, enter the anti-dither time in seconds. Enter a value between 0
and 100 seconds. The system will only allow one alarm event within this period.
6. Set Sensor Type to NO (normally open) or NC (normally closed), depending on the
alarm input type.
7. To start recording video when an alarm event is detected, select the Record check box.
8. In the Record Delay field, enter the number of seconds that the system will continue to
record video after an alarm event has ended. Enter a value between 10 and 300.
9. To generate an alarm output when an alarm event is detected, select the Alarm Output
check box and select the alarm output(s) to be activated.
10. In the Alarm Delay field, enter the number of seconds that the system will continue to
generate an alarm output after an alarm event has ended. Enter a value between 10 and
300.
11. To send an email notification when an alarm event is detected, select the Send Email
check box. Email settings must be configured in Setup > Network Setup > SMTP
(Email). See Configuring Email Settings on page 35.
12. To take a snapshot when an alarm event is detected, select the Snapshot check box.
Note For the snapshot to be attached to the email notification, the Attachment
check box must be selected in Setup > Network Setup > SMTP (Email).
See Configuring Email Settings on page 35.
13. Click Save to apply the settings.
 Loading...