10
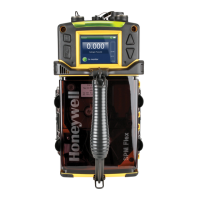
SPM Flex Gas Detector
Fixed detectors
• Install the wall-mount bracket and mount the detector to it (see “Standard
mounting bracket” on page 29)
• Wire in accordance with local electrical codes utilizing a trained electrician
(see “Wiring and tubing” on page 20)
• Input
• Honeywell-supplied power adaptor/charger (indoor, dry location use
only) or
• 24 VDC power supply
• Signal (as desired)
• 4-20 mA
• Relays
• Ethernet
• Open the detector’s cover
• Remove the rocker switch cover
• Turn the rocker switch to the on position
• Replace the rocker switch cover
• Remove the paper optics card from the gate (save the card for later use)
• Install a Chemcassette cartridge
• Configure the detector and begin to monitor (see “Navigation” on page 14 for
basic display
usage)
• See “Operation” on page 36 and “Accessories and Parts” on page 65
Additional accessories
• External dust filters (required on inlet for most gases; see “Detectable Gases”
on page 62�
• Tubing
• Sampling wand
• Mating signal connectors for fixed installations
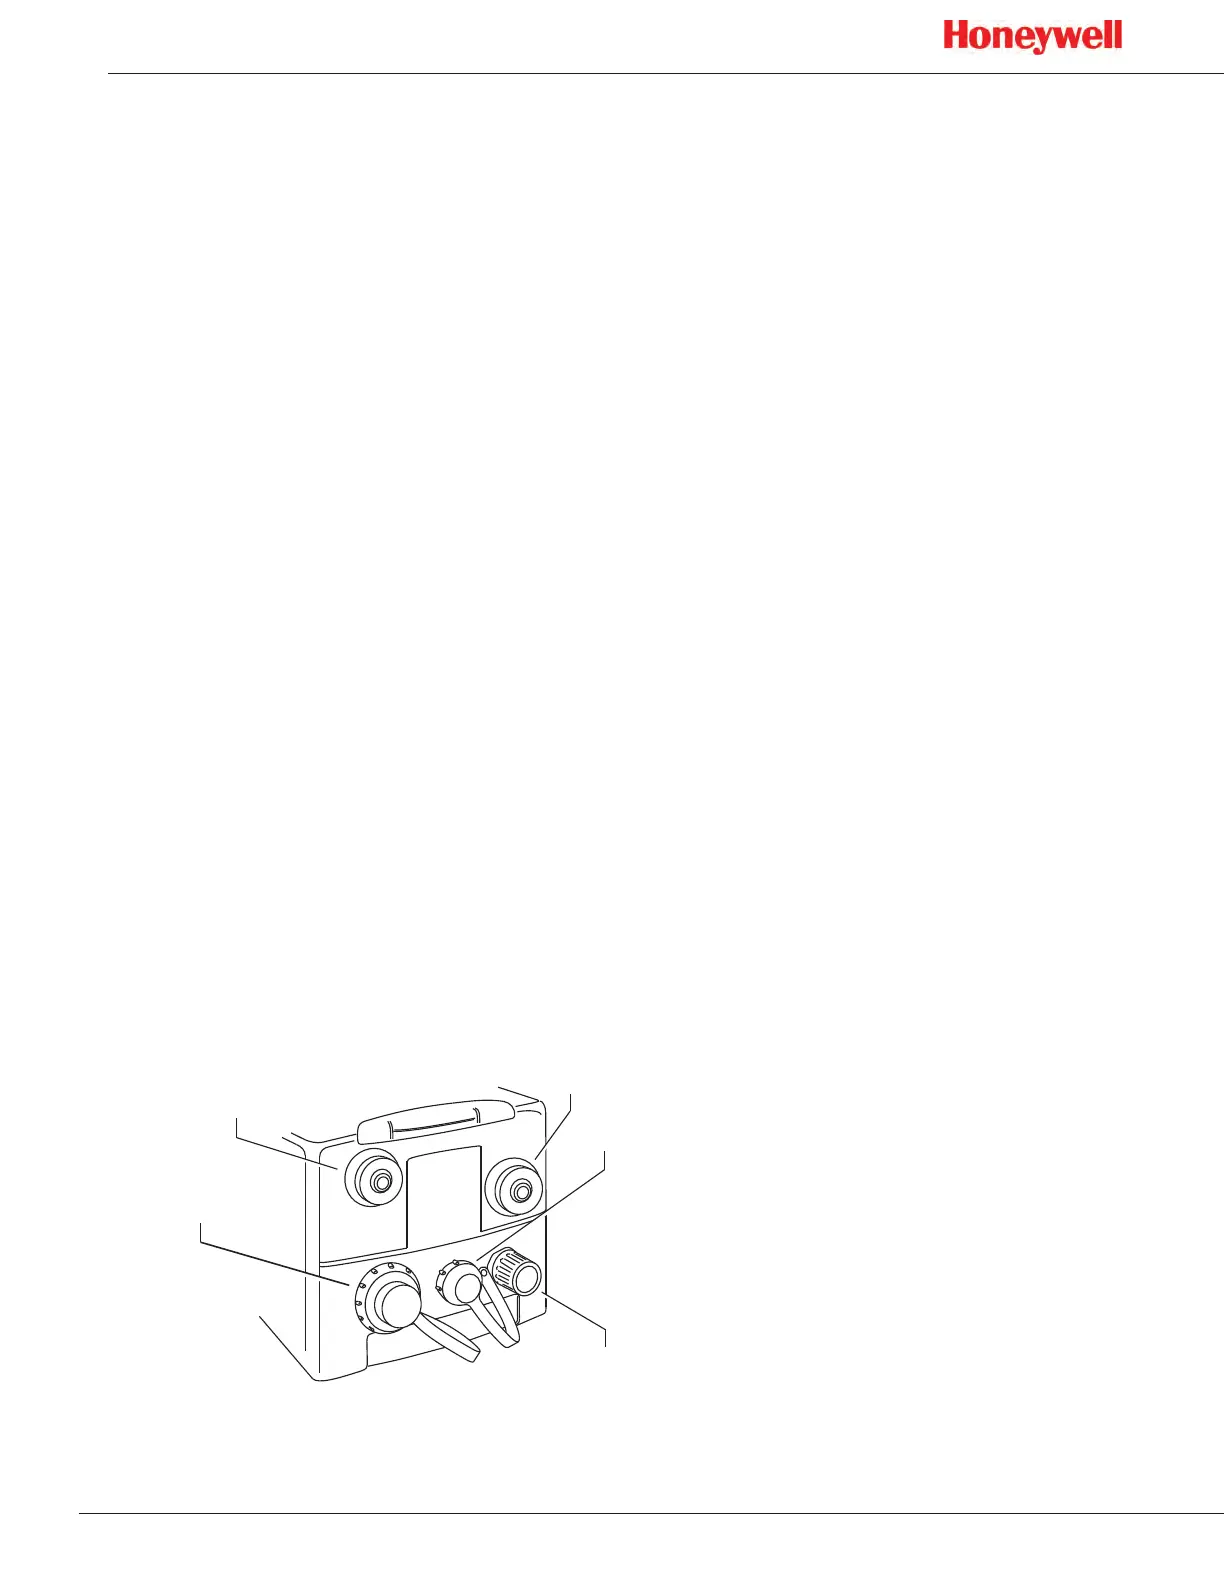
The connectors and ports of a typical installation are shown in the figure below�
Ethernet
connector
Power connector
Sample in port
Exhaust out port
Relays or 4-20 mA connector
Figure 1. Connectors and ports
 Loading...