Configuring the console switch 39
1.
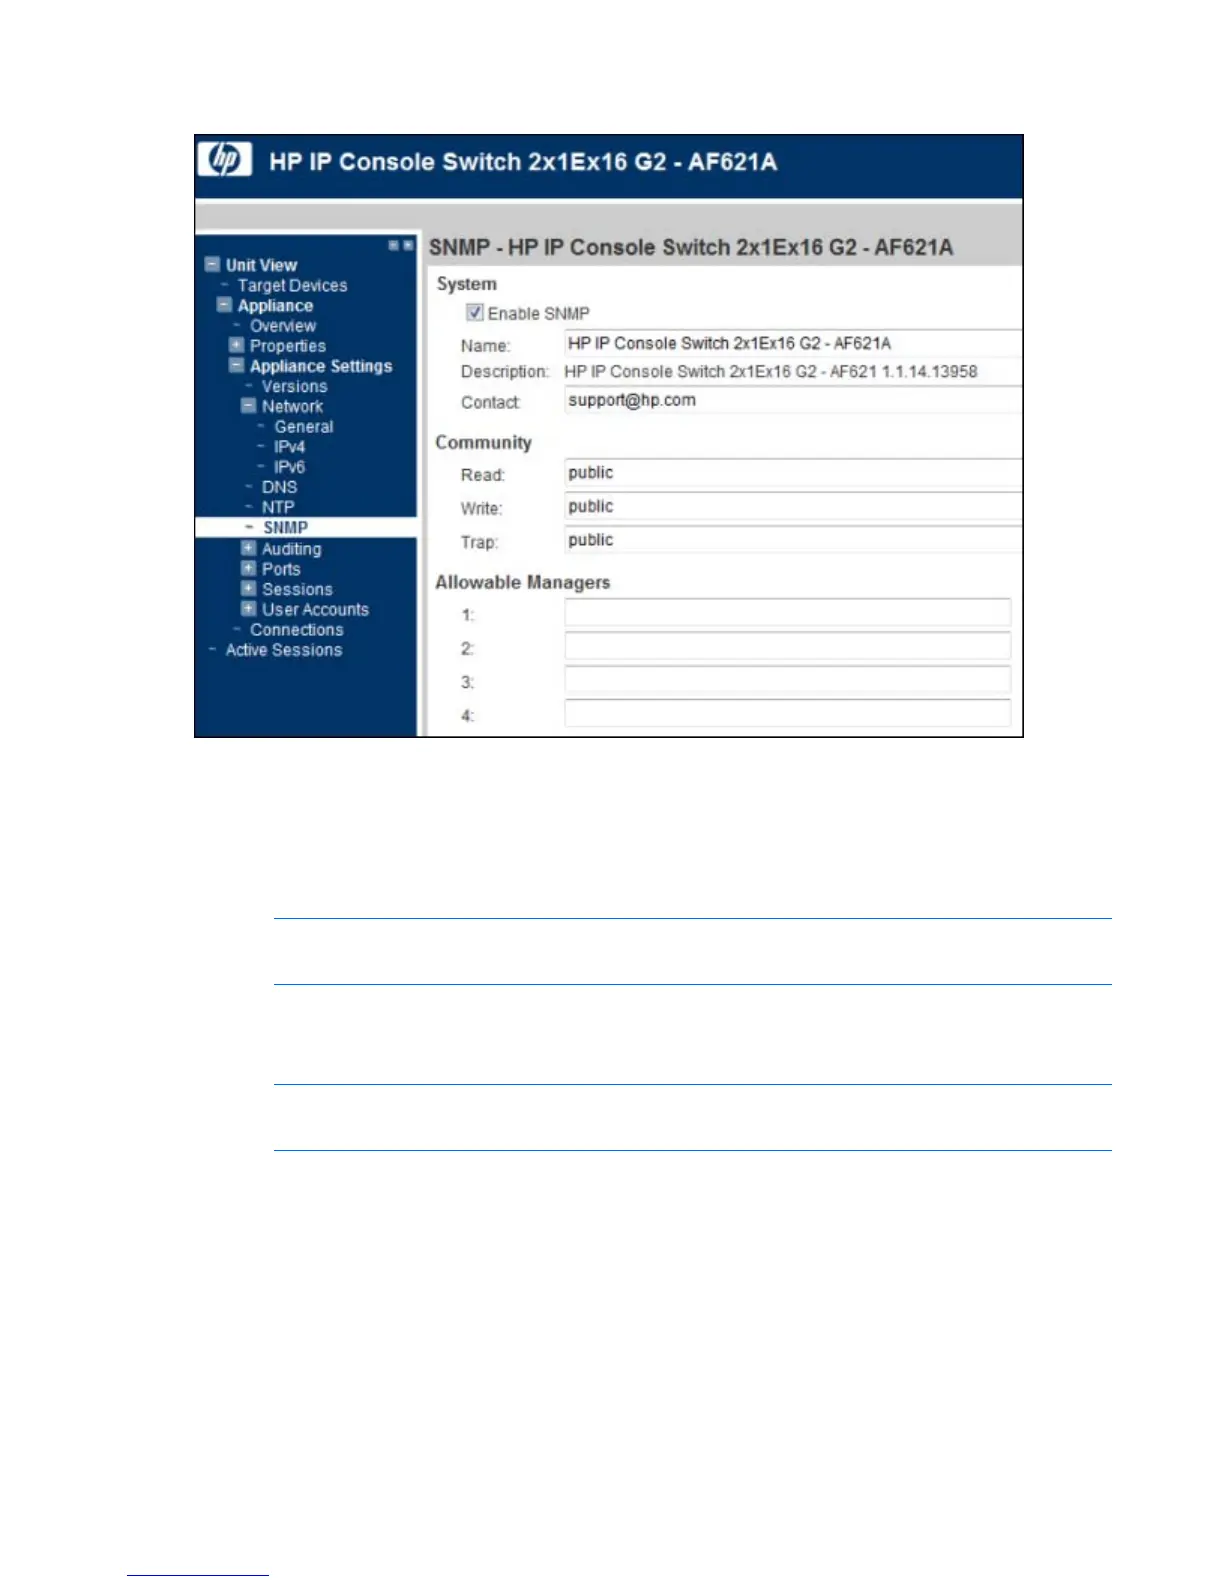
Select Unit View>Appliance>Appliance Settings>SNMP. The SNMP page appears.
2. To enable SNMP, select the Enable SNMP checkbox.
3. Enter the appropriate information in the following fields:
o Name
o Description
o Contact
NOTE: The community name fields can be up to 64 characters in length. If SNMP is enabled,
these fields cannot be left blank.
4. Enter the Read, Write, and Trap community names to specify the community strings that must be
used in SNMP actions. These community names only apply to SNMP over UDP port 161, and they
act as a password to protect the console switch.
NOTE: To enable any workstation to manage the console switch, leave the Allowable
Managers fields blank.
5. In the Allowable Managers fields, enter the addresses of up to four workstations that are allowed to
manage this console switch.
Enabling SNMP traps
An SNMP trap is a notification sent by the console switch to a management station indicating that an
event has occurred in the switch that might require attention.
To enable individual SNMP traps:
 Loading...