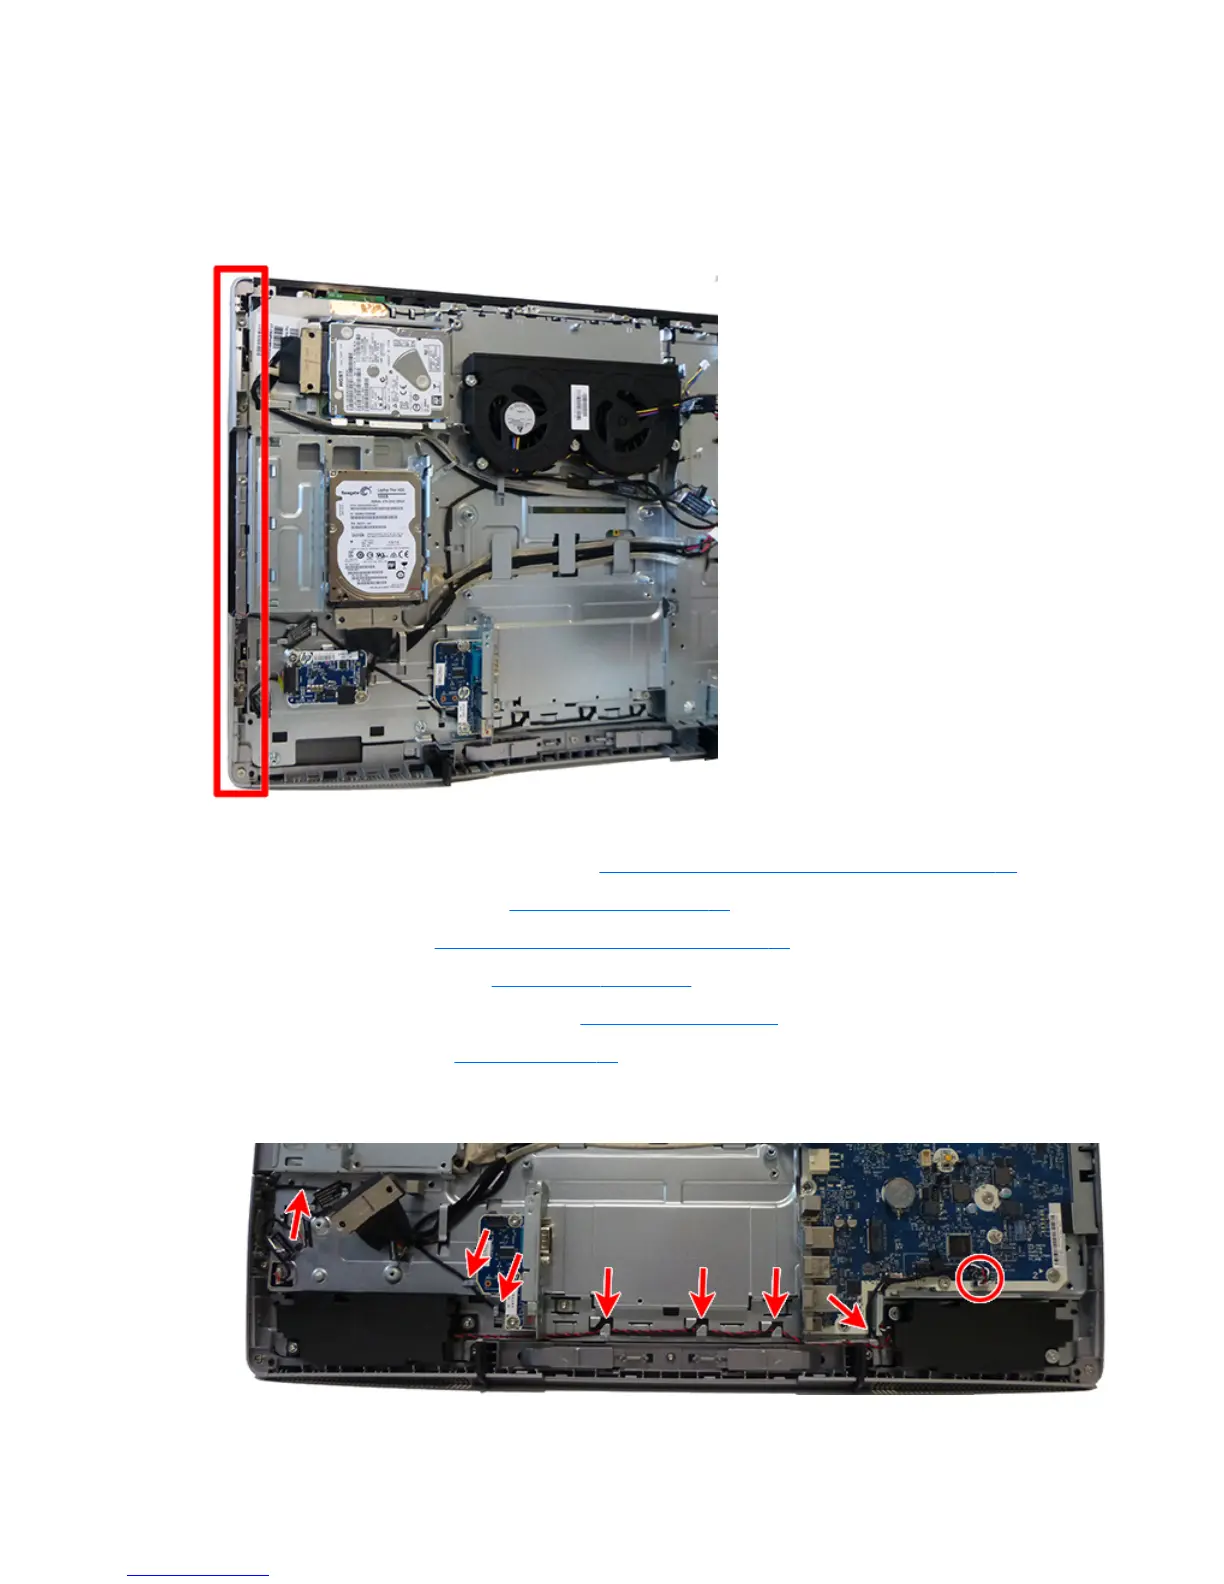
Right trim and ngerprint reader
The right trim can include an integrated ngerprint reader. One cable connects to the ngerprint reader, and
six Torx screws secure the trim. Two of the screws are located under a plastic piece at the mouth of the optical
drive on models so equipped.
To remove the right trim:
1. Prepare the computer for disassembly (see Preparing to disassemble the computer on page 31).
2. Remove the rear port cover (see Rear port cover on page 31).
3. Remove the stand (see Attaching and removing a stand on page 32).
4. Remove the access panel (see Access panel on page 37).
5. If installed, remove the optical drive (see Optical drive on page 41).
6. Remove the top trim (see Top trim on page 45).
7. If installed, disconnect the ngerprint reader cable from the system board and remove the cable from
the routing path near the bottom of the computer.
80 Chapter 4 Removal and Replacement Procedures
 Loading...