Local port operation 37
Accessing the Scan dialog box
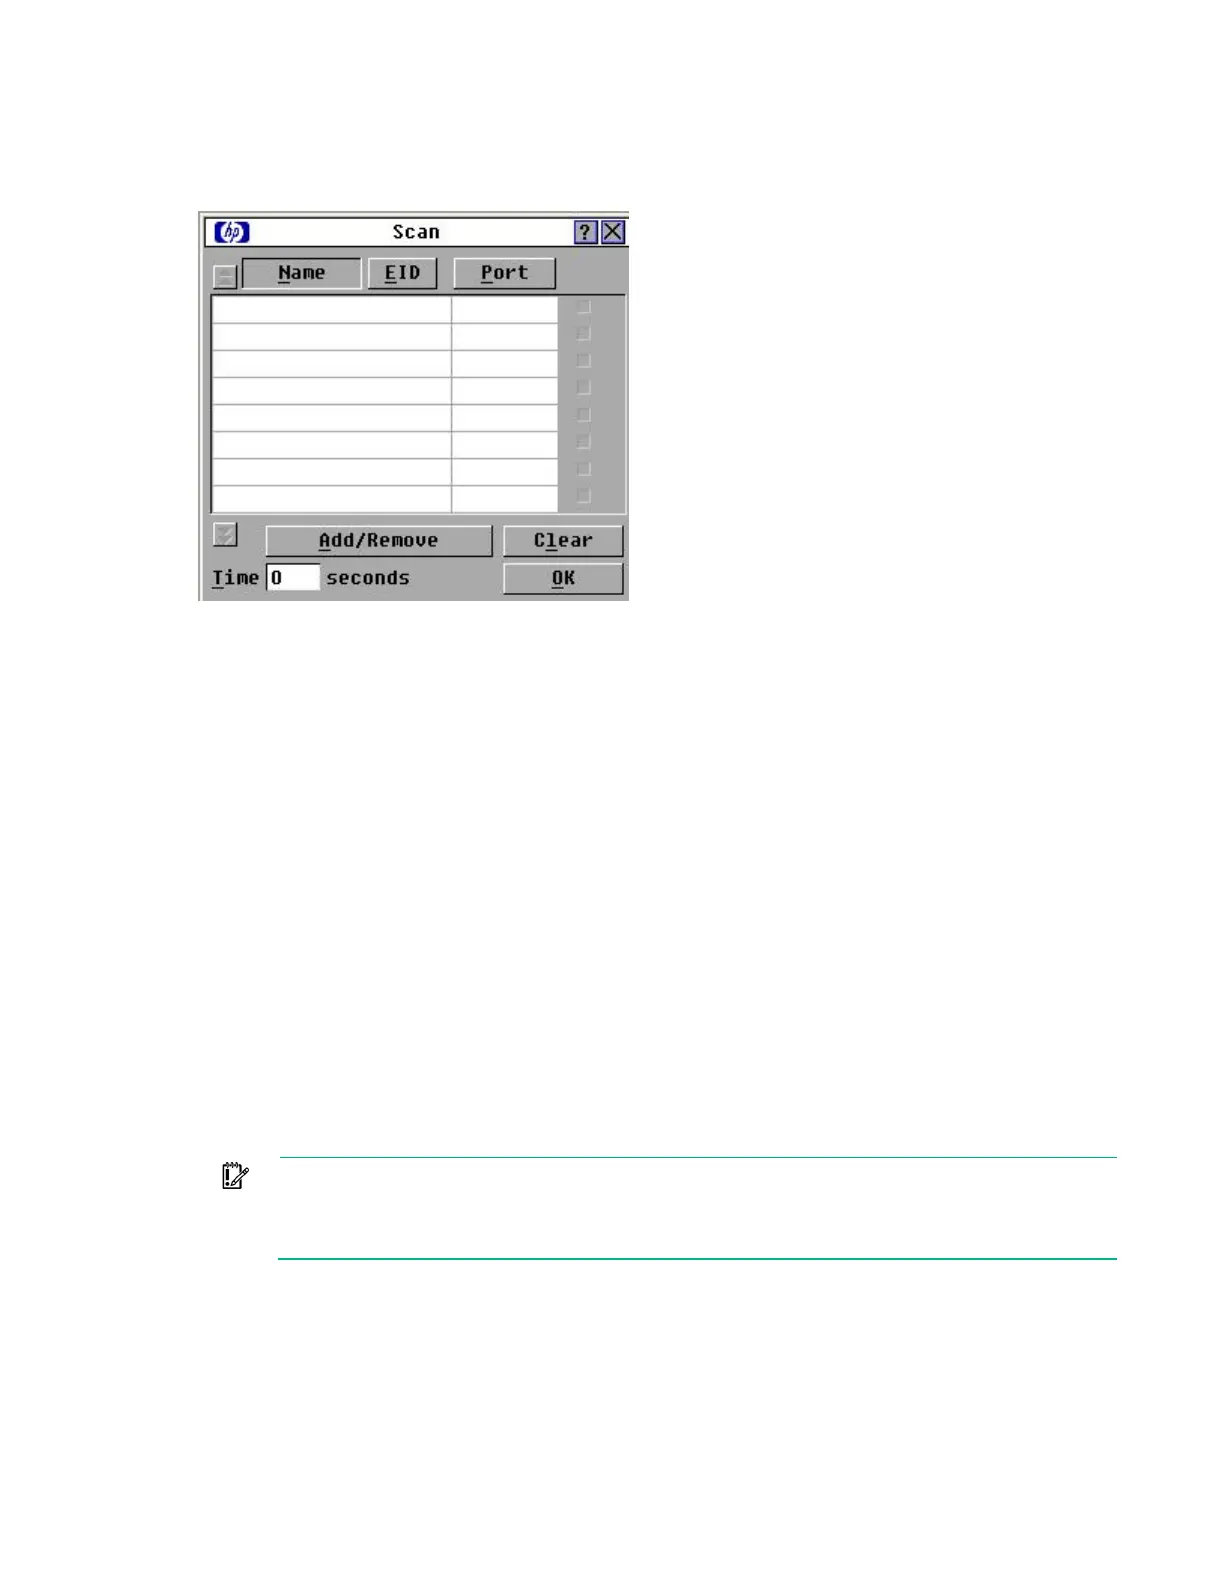
From the Main dialog box ("Accessing the Main dialog box" on page 22), click Setup>Scan. The Scan
dialog box appears.
Adding servers to the scan setup
1. From the Scan dialog box ("Activating Scan mode" on page 38), select the checkbox beside each
server to scan.
-or-
Double-click a server name or port.
Double-clicking a server name or port toggles whether or not to scan the server.
-or-
Press the Alt key plus the number of the server to scan. Select up to 16 servers.
Pressing the Alt key plus the number of the server toggles whether or not to scan the server.
-or-
Press the up or down arrow key to highlight a server, and then click the Add/Remove button.
The Add/Remove button toggles whether or not to scan the server.
2. In the Time box, enter the number of seconds (from 3 to 99) before the scan moves to the next server
in the sequence.
3. Click OK to save settings.
-or-
Click Clear to remove all servers from the scan setup.
IMPORTANT: Selecting the checkbox beside each server to scan sets up the scan pattern.
The creation of a scan pattern does not start the Scan mode. You must enable Scan mode
through the Scan Enable checkbox in the Commands dialog box ("Accessing the Commands
dialog box" on page 40).
Servers are scanned in the order they are added to the scan setup. Removing a server from the Device
Modify dialog box later might affect a custom scan pattern.
 Loading...