3-1
SECTION 3
DISASSEMBLY INSTRUCTION
M
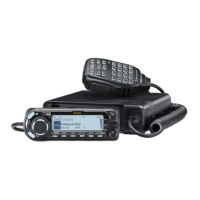
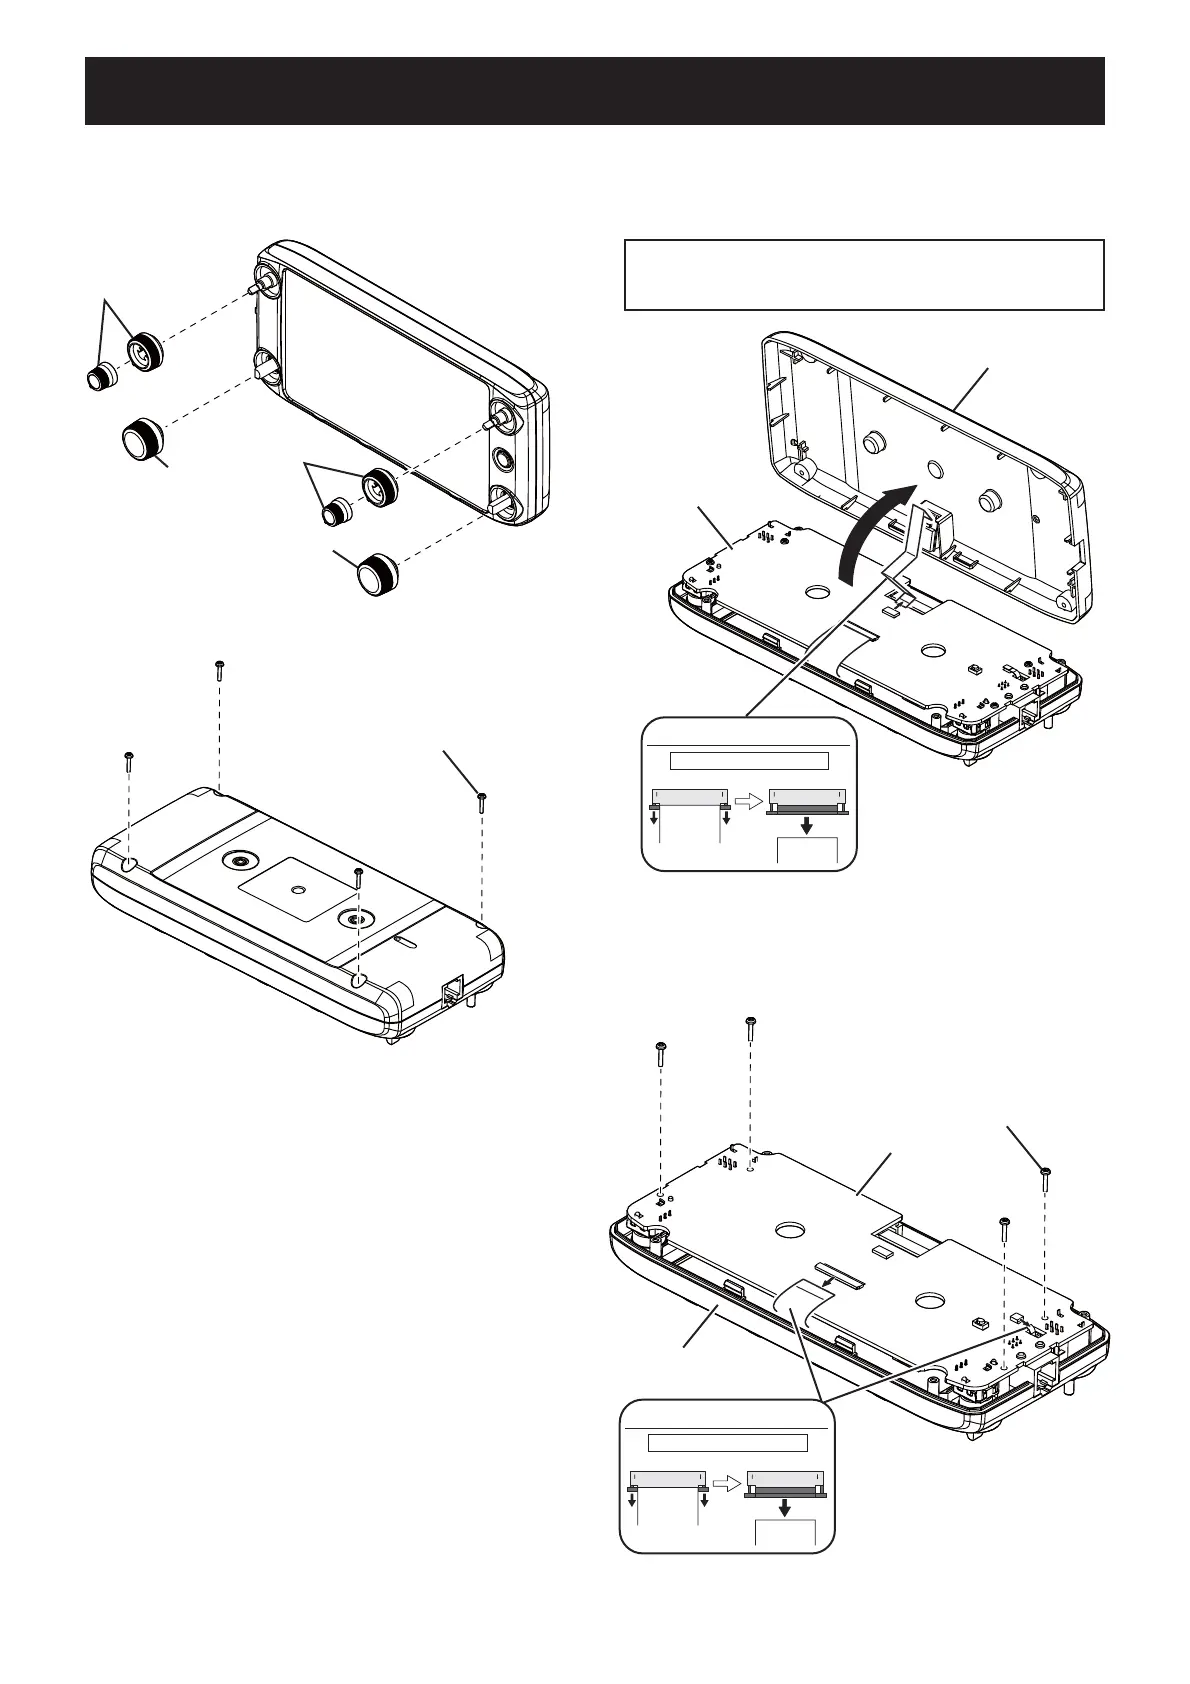
Removing the CONTROL UNIT from the controller.
1) Remove two dials and four knobs from the front
panel.
2) Remove four screws from the rear panel.
BE CAREFUL when you disassemble the rear panel from
the CONTROL UNIT. Otherwise the flat cable and the
connector may be cut.
Knob
Knob
Dial
Dial
Four screws
Rear panel
CONTROL UNIT
flat cable
Release the locks
Pull straight
FLAT CABLE
Flat cable
Flat cable
BE CAREFUL about the locks.
Four screws
CONTROL UNIT
FRONT PANEL
flat cable
Release the locks
Pull straight
FLAT CABLE
Flat cable
Flat cable
BE CAREFUL about the locks.
3) Take off the rear panel carefully in the direction of
the arrow, and then disconnect the fl at cable.
4) Disconnect two fl at cables.
5) Remove four screws from the CONTROL UNIT.
6) Remove the CONTROL UNIT from the front panel.
(Continued on the right above.)
 Loading...