VIII
QUICK REFERENCE GUIDE
N Your first contact
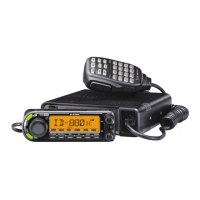
Now that you have your ID-E880 installed in your car or
shack, you are probably anxious to get on the air. We would
like to take you through a few basic operation steps to make
your first time “On The Air” an enjoyable experience.
1. Turning ON the transceiver
Before powering up your ID-E880, you may want to make
sure the audio volume and squelch level controls are set in
9–10 o’clock positions.
Although you have purchased a brand new transceiver, some
settings may be changed from the factory defaults because
of the Quality Control (QC) process. Resetting the CPU is
necessary to start from factory default.
[VFO/MHz] Partial reset[S.MW]
± While pushing and holding [S.MW] and [VFO/MHz] keys,
push and hold [
] for 1 sec. to reset the CPU.
2. Selecting the operating frequency band
The ID-E880 can use the 2 m or 70 cm amateur bands.
[BAND] [DIAL]
Frequency band initial is displayed.
± Push [BAND] then rotate [DIAL] to select the desired fre-
quency band.
• Push [BAND] again to return to the frequency indication.
Using the HM-133
You can select the desired frequency band from the HM-133.
Push
Push
• 144 MHz band
• 400 MHz band
QUICK REFERENCE

 Loading...