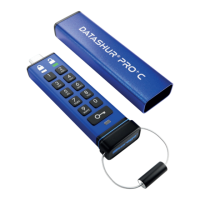
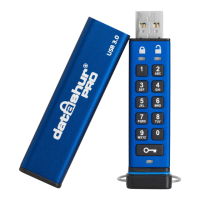
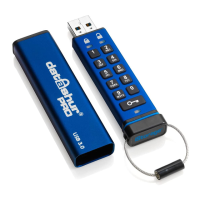
iStorage datAshur® PRO
+
C
User Manual v1.0
26
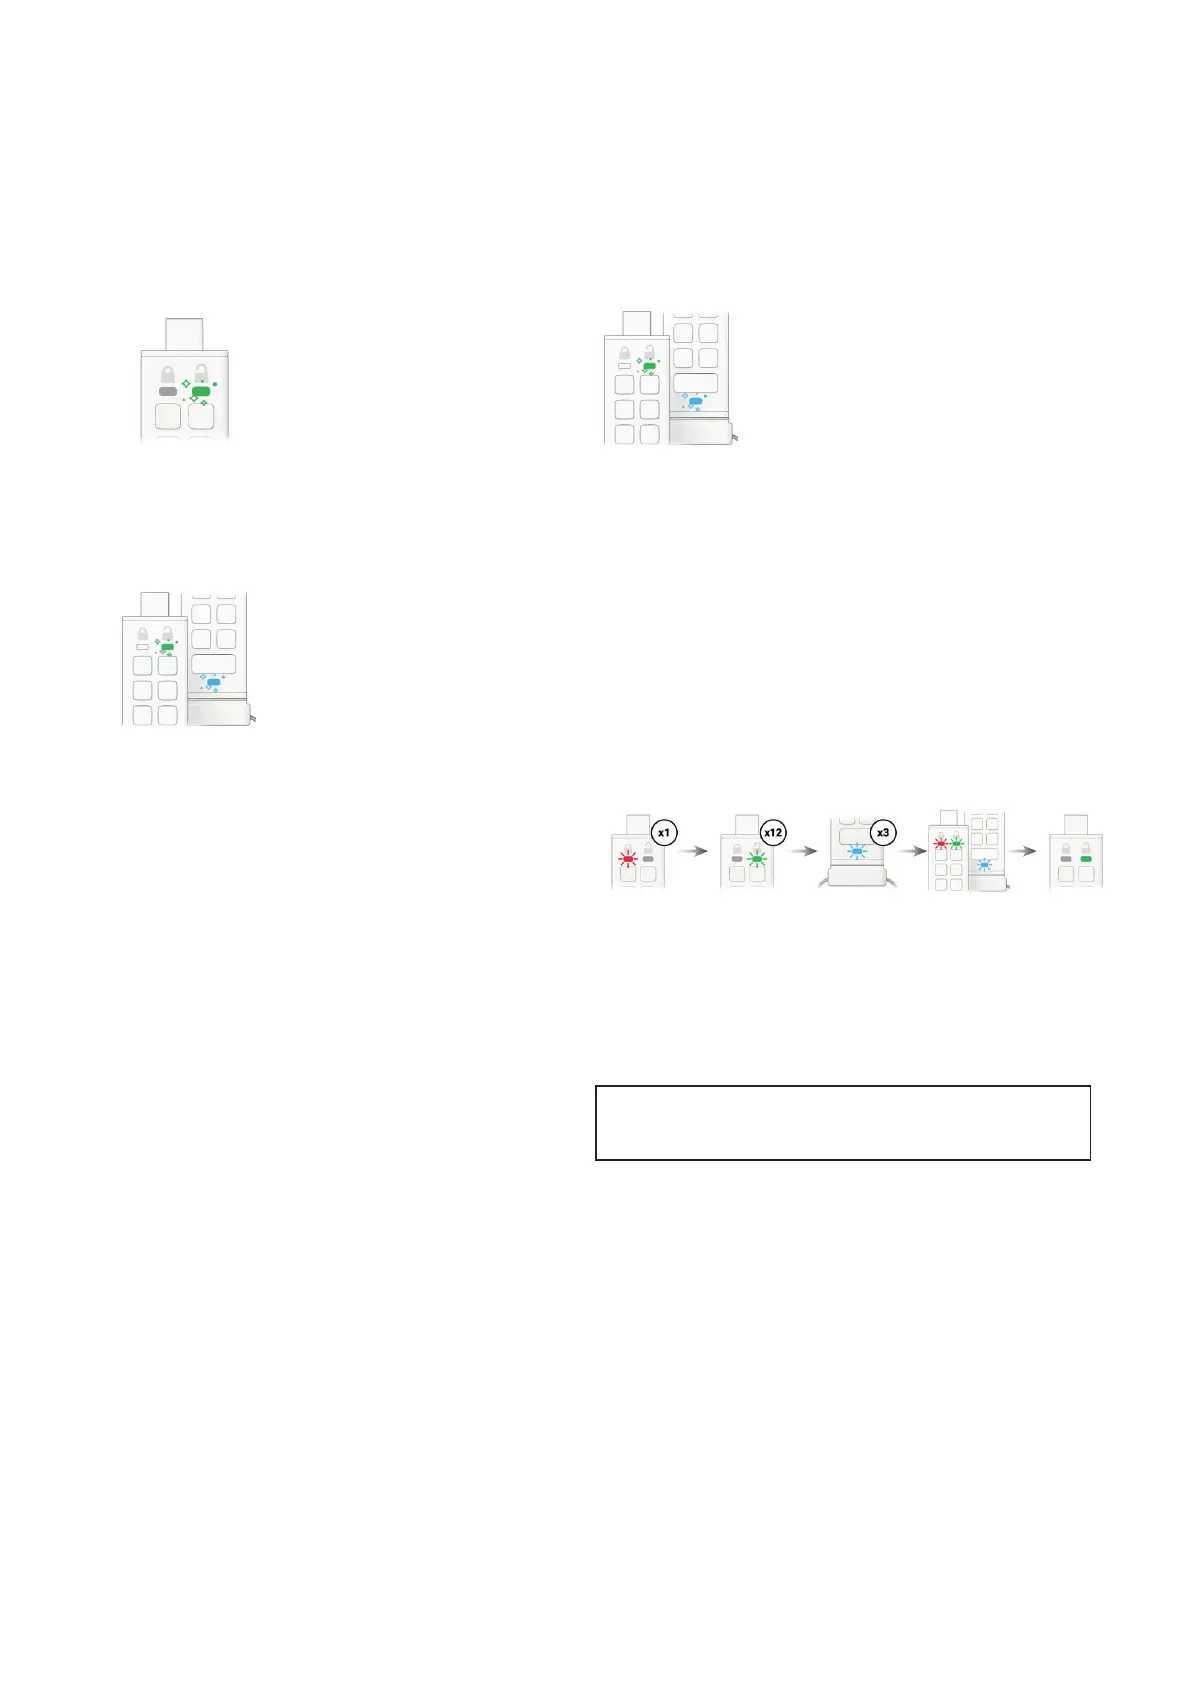
1. Unlock the datAshur PRO
+
C with your Admin PIN
GREEN LED will icker indicating successful Admin PIN entry.
2. Press the KEY button THREE times (triple-click)
GREEN and BLUE LEDs icker together.
3. Press button number 8 followed by the number 6 button (86)
GREEN and BLUE LEDs continue to icker together.
4. Press the KEY button once and then the following happens;
a. All LEDs (RED, GREEN & BLUE) will ash together once.
b. RED LED blinks indicating the integral part of the rmware revision number.
c. GREEN LED blinks indicating the fractional part.
d. BLUE LED blinks indicating the last digit of the rmware revision number.
e. All LEDs (RED, GREEN & BLUE) become solid for 1 second.
f. RED, GREEN & BLUE LEDs switch to a solid GREEN LED.
For example, if the revision number is ‘1.12.3’, the RED LED will blink once (1)
and the GREEN LED will blink twelve (12) times and the BLUE LED will blink
three (3) times. Once the sequence has ended the RED, GREEN & BLUE LEDs
will blink together once and then to solid GREEN.
20. How to set the Timeout Lock in Admin mode
To protect against unauthorised access in the event
the datAshur PRO
+
C is connected to a host and left
unattended, the datAshur PRO
+
C can be set to auto-
matically lock after a pre-set duration of time.
In its default state, the datAshur PRO
+
C Timeout Lock
feature is turned off. The Timeout Lock feature can be
set to activate (lock) an idle drive anywhere between
1 and 99 minutes. Admin Timeout Lock settings will
override User settings.
Caution: Entering the Admin PIN to access a locked drive will
clear (delete) the User PIN.
 Loading...