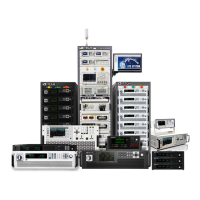
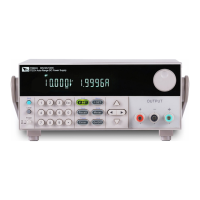
Functions and Features
4. After finishing the setting, press [Enter] key to confirm.
4.2.4 Set the Communication Information
This menu item is used to set the communication information between instru-
ment and PC. The standard communication interfaces for this series power sup-
ply are USB and LAN,. You can also select the non-standard interface GPIB or
RS232 based on personal requirement.
The procedures to set the menu item are as follows.
1. Press [Shift]+[Save] (System) to enter into the system menu interface.
2. Use left and right keys or rotate the knob to select Comm and press [Enter]
key to make the parameter in modification.
The menu displays the corresponding interface information automatically
based on the inserted communication board.
3. Use left and right keys or rotate the knob to adjust the values.
4. After finishing the setting, press [Enter] key to confirm.
• The default communication method is USB. If other communication method
is selected, the related parameters need to be set. For detailed parameter
description, refer to 2.6 Connect the Communication Interface.
• The instrument supports the non-standard RS232 and GPIB interfaces, and
the configuration items in the menu are dynamically displayed according to
the interface user selected.
4.2.5 Set the TRIG± Interface Status (Trig)
The TRIG± interface is located on the rear panel of the instrument. For details,
see 1.6 Rear-Panel Overview. The TRIG± interface allows a trigger signal to be
applied to the instrument or a trigger signal from the instrument.
• In: When the trigger source is set to Ext, shorting TRIG+ and TRIG- interface
can trigger the instrument.
• Out: When the trigger source is set to Keypad or Bus and the trigger hap-
pens, the TRIG± interface generates a high pulse trigger signal.
The procedures to set the menu item are as follows.
1. Press [Shift]+[Save] (System) to enter into the system menu interface.
Copyright © Itech Electronic Co., Ltd.
42
 Loading...