– 4 –
❶
❷
❹
❸
❸
❺
❺
❹
25 mm
❺
19 mm
2. INSTALLATION
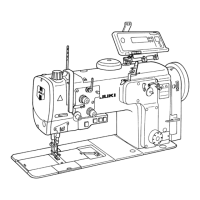
1) To prevent possible accidents caused by the full
of the sewing machine, perform the work by two
persons or more when the machine is moved.
2) Do not put protruding articles such as the
screwdriver and the like at the location where
the sewing machine is placed.
Do not hold the pulley and the reverse feed
lever.
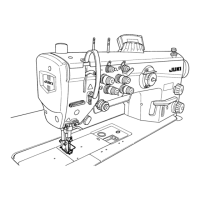
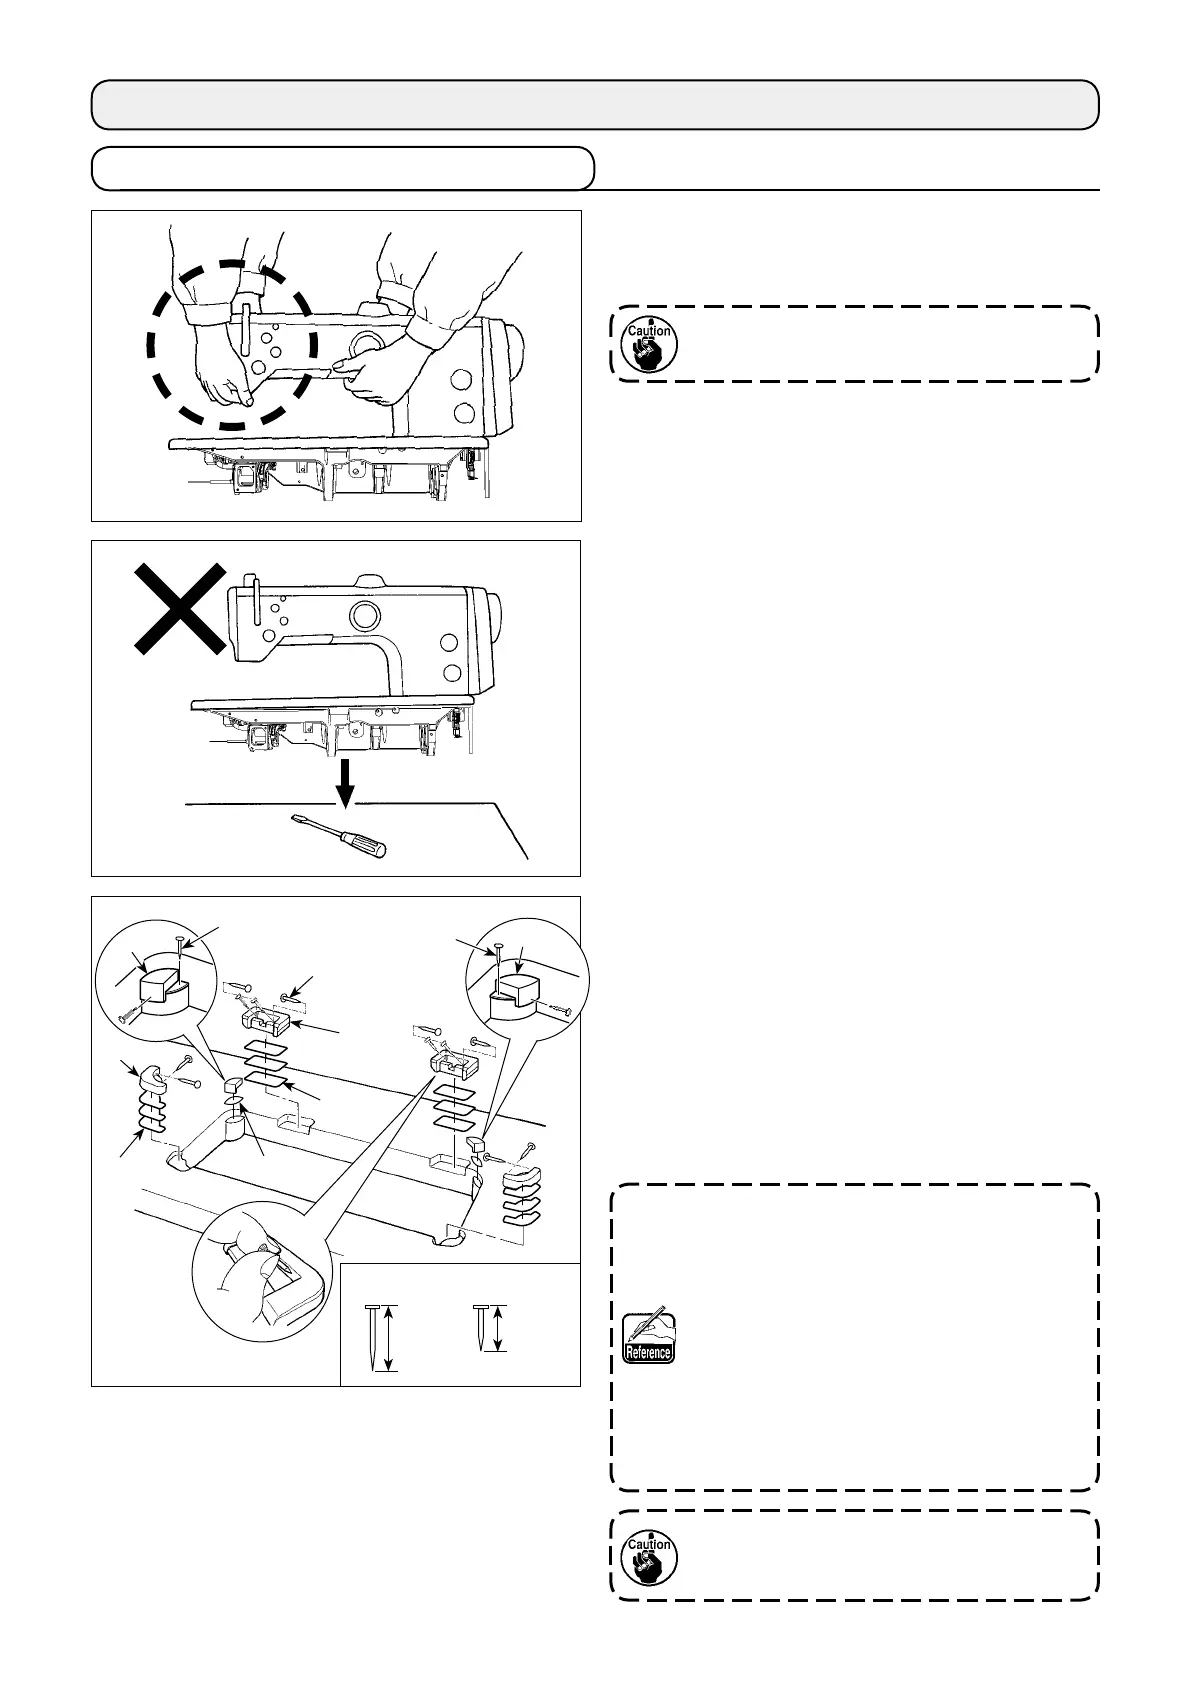
3) Attaching the hinge seats and the support rub-
bers of the machine head
Place sheets A and B (standard: three pieces)
and C (standard: one piece) between hinge seat
❶
and machine head support rubbers
❷
and
❸
.
Then, x them on the table with nail.
Use nail
❺
for sheet C. Use nail
❹
for other
sheets.
There are two different machine head support
rubbers
❸
; i.e., the rubber for the right and that
for the left. Be sure to check the types of the
support rubbers before xing them.
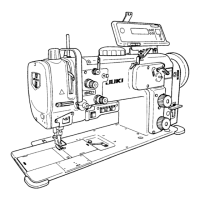
2-1. Installation of the sewing machine
Sheets A and B (eight pieces each) and
sheets C (four pieces) are supplied with the
machine as accessories.
For the sheets A and B, three sheets are
to be used as standard for each mounting
position. For the sheet C, one sheet is to be
used as standard. (The state shown in the
left gure)
The sheets A, B and C are used for adjust-
ing the height of the top surface of the bed.
Use one more sheet to increase the height,
or use only one sheet to decrease it.
Sheet B
Sheet C
Sheet A
Be sure to use a short nail
❺
for sheet C. If
long nail
❹
is used, the nail tip can pene-
trate the table giving rise to a risk of injury.
 Loading...