– 20 –
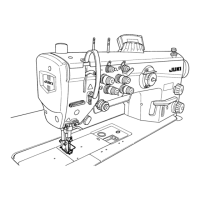
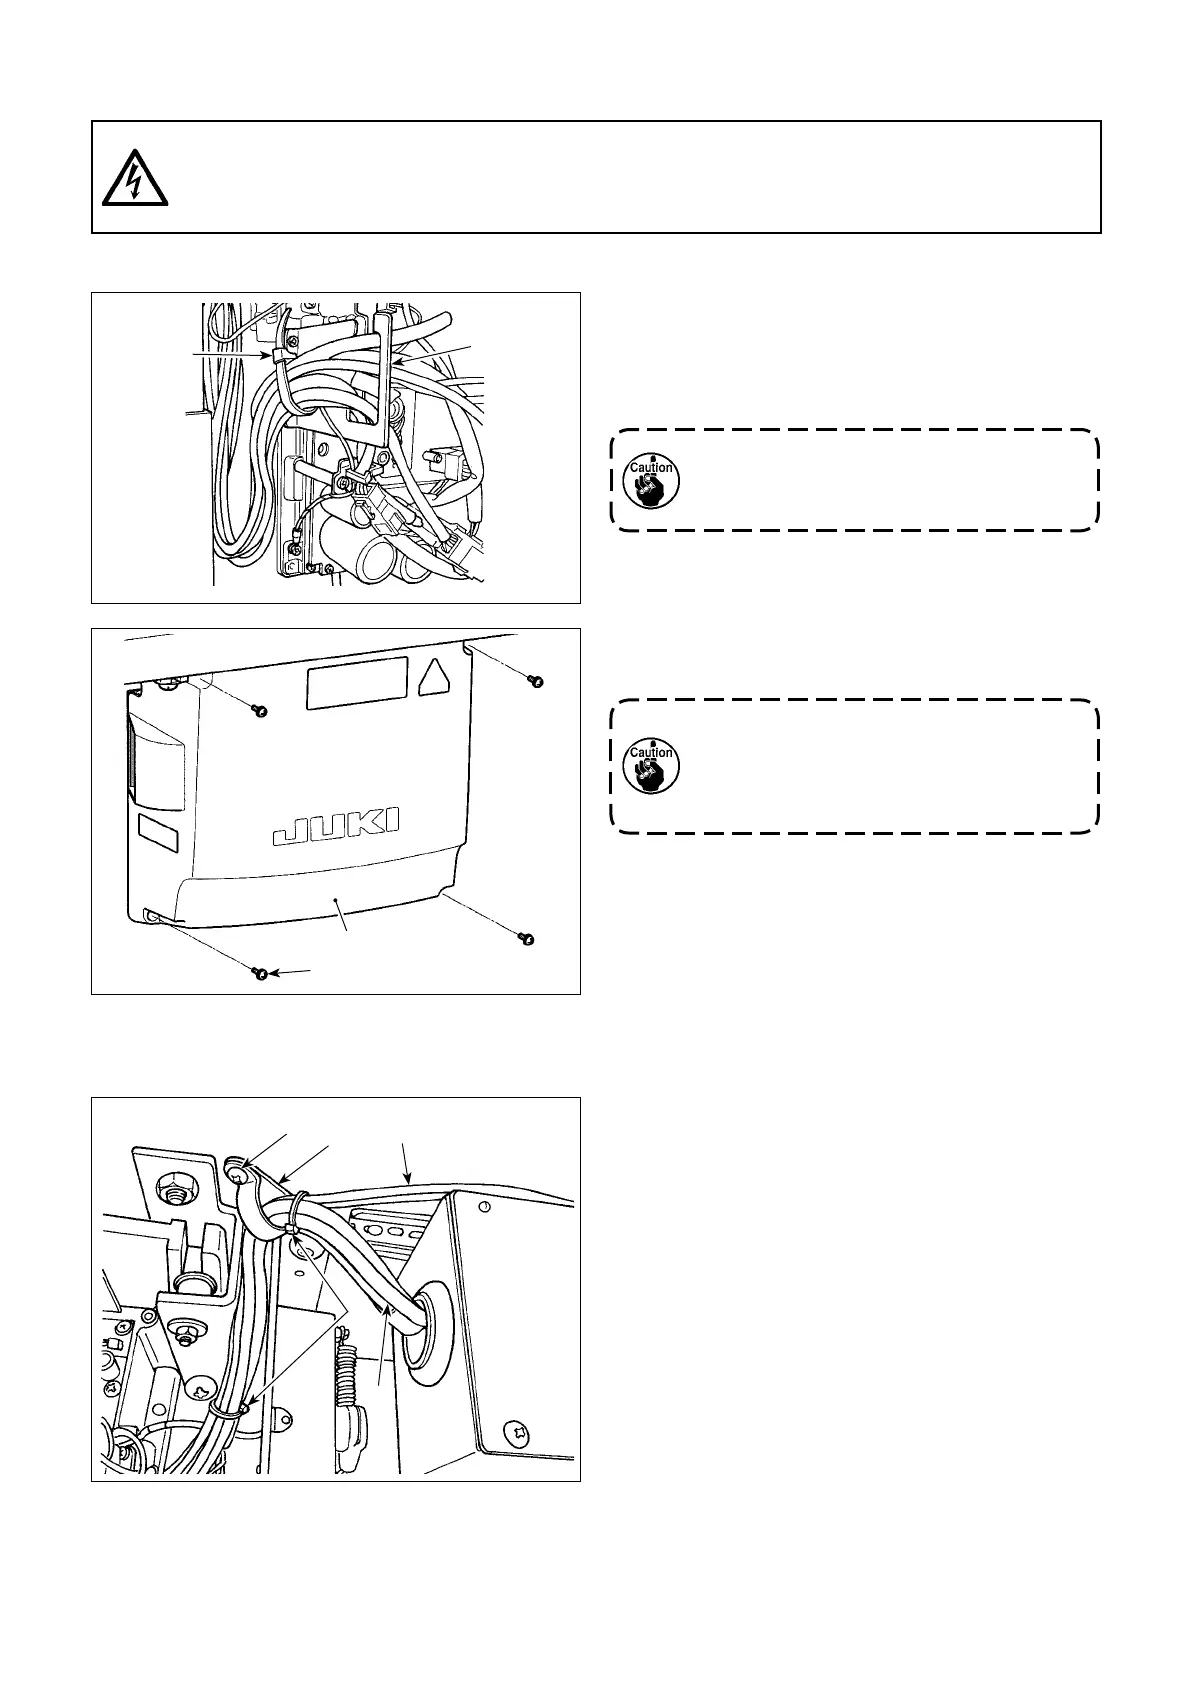
2-15 Handling the cords
1) Bring the cords under the table into the control
box.
2) Put the cord brought into the control box through
cord exit plate
and x cable clip band
.
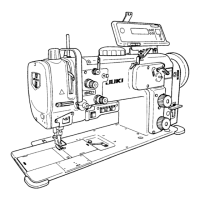
3) Install control box cover
with four setscrews
.
Arrange the cord so that it is not tensed
or hitched even when the machine head is
tilted. (See
section.)
For the purpose of preventing the cord
breakage, take care not to allow the cords to
be caught between the control box and con-
trol box cover
when attaching the latter.
DANGER :
1. To prevent personal injuries caused by electric shock hazards or abrupt start of the sewing machine,
carry out the work after turning OFF the power switch and a lapse of 5 minutes or more.
2. To prevent accidents caused by unaccustomed work or electric shock, request the electric expert or
engineer of our dealers when adjusting the electrical components.
2-15-1. Handling the cords coming from the control box
1) Fix cord
coming from control box
for the
stitch skipping detecting device and tube
coming from the solenoid valve to the table with
accessory cable clip
and wood screw
as
illustrated in the gure.
In addition, fasten cord
and tube
with ac-
cessory two 10 mm long cable clip bands
as
illustrated in the gure.
2-15-2. Handling the cords coming from the control box for stitch skipping detecting device
 Loading...