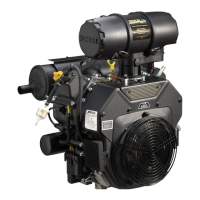
Install Flywheel End Oil Seal
Oil Seal Detail
B
A
A 4.5 mm (0.177 in.) B Oil Seal
1. Make sure seal bore of crankcase is clean and free
of any nicks or burrs.
2. Apply a light coat of clean engine oil to outside
diameter of oil seal.
3. Drive oil seal into crankcase using a seal driver.
Make sure oil seal is installed straight and true in
bore to depth shown.
Install Crankshaft
1. Lubricate crankshaft journals and connecting rod
bearing surfaces with engine oil.
2. Carefully slide fl ywheel end of crankshaft through
main bearing in crankcase.
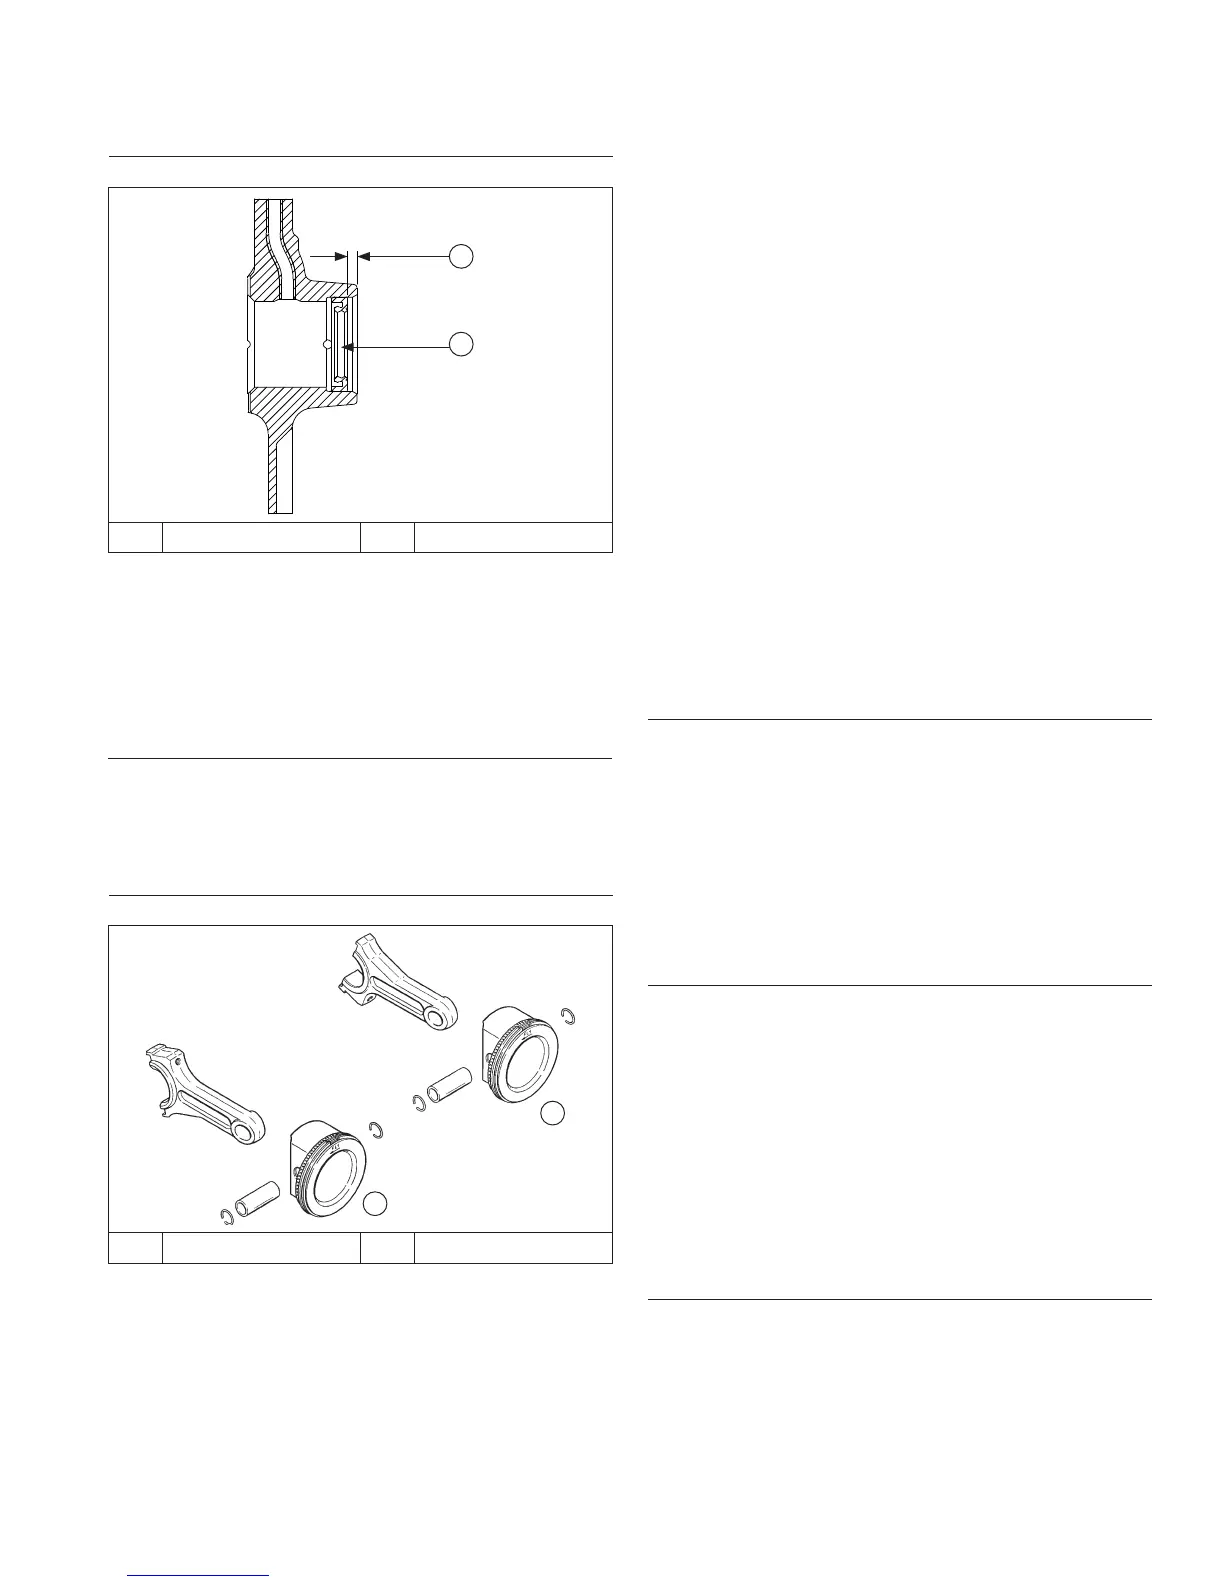
Install Connecting Rods with Pistons and Rings
Piston Detail
A
B
A Cylinder 1 B Cylinder 2
NOTE: Cylinders are numbered on crankcase. Make
sure to install piston, connecting rod and end
cap into its appropriate cylinder bore as
previously marked at disassembly. Do not mix
end caps and connecting rods.
NOTE: Proper orientation of piston/connecting rod
assemblies inside engine is extremely important.
Improper orientation can cause extensive wear
or damage. Be certain pistons and connecting
rods are assembled exactly as shown.
NOTE: Align chamfer of connecting rod with chamfer of
its mating end cap. When installed, fl at faces of
connecting rods should face each other. Faces
with raised rib should be toward outside.
1. If piston rings were removed, see Disassembly/
Inspection and Service procedure to install rings.
2. Lubricate cylinder bore, piston, and piston rings with
engine oil. Compress rings of cylinder 1 piston using
a piston ring compressor.
3. Make sure FLY stamping on piston is facing towards
fl ywheel side of engine. Use a hammer with a rubber
grip and gently tap piston into cylinder. Be careful oil
ring rails do not spring free between bottom of ring
compressor and top of cylinder.
4. Install inner rod cap to connecting rod using screws.
Torque in increments to 11.6 N·m (103 in. lb.).
Illustrated instructions are provided in service rod
package.
5. Repeat above procedure for other connecting rod
and piston assembly.
Install Governor Cross Shaft
1. Lubricate governor cross shaft bearing surfaces in
crankcase with engine oil.
2. Slide small lower washer onto governor cross shaft
and install cross shaft from inside of crankcase.
3. Install nylon washer onto governor cross shaft, then
start push-on retaining ring. Hold cross shaft up in
position, place a 0.50 mm (0.020 in.) feeler gauge on
top of nylon washer, and push retaining ring down
shaft to secure. Remove feeler gauge, which will
have established proper end play.
Install Camshaft
1. Liberally apply camshaft lubricant (see Tools and
Aids) to each cam lobe. Lubricate camshaft bearing
surfaces of crankcase and camshaft with engine oil.
2. Position timing mark of crankshaft gear at 12 o’clock
position.
3. Turn governor cross shaft clockwise until lower end
of shaft contacts cylinder. Make sure cross shaft
remains in this position while installing camshaft.
4. Slide camshaft into bearing surface of crankcase,
positioning timing mark of camshaft gear at 6 o’clock
position. Make sure camshaft gear and crankshaft
gear mesh, with both timing marks aligned.
Oil Pump Assembly
Oil pump is mounted inside closure plate. If service was
required, and oil pump was removed, refer to assembly
procedures under Oil Pump Assembly in Disassembly/
Inspection and Service.
Reassembly
12324 690 01 Rev. K KohlerEngines.com

 Loading...