bizhub 226 3-13
3.4 Specifying a destination
3
3.4.7 Address Book (List, search)
Pressing AddressBook displays the contents registered in one-touch dials and speed dials. Search for a
destination in the phone book to send a fax.
1 Load the original.
% For details on how to load the original, refer to page 3-5.
2 When necessary, specify a desired option for [QUALITY].
% For details on [QUALITY], refer to page 3-7.
3 Press AddressBook.
4 Use +, to select [LIST] or [SEARCH], and press the OK key.
% Selecting [LIST]: Displays the contents registered in one-touch dial and speed dial. Use +, to select
a destination, and press the OK key. Go to Step 7.
% Selecting [SEARCH]: Displays the screen to enter an index. Go to Step 5.
% If an optional Image Controller IC-209 or Network Card NC-504 is installed on this machine,
[LDAP SEARCH] appears to enable Address Search. However, to use Address Search, configure
LDAP settings in advance.
For details on Address Search, refer to page 5-5. For details on LDAP settings, refer to [User's Guide
Network Administrator].
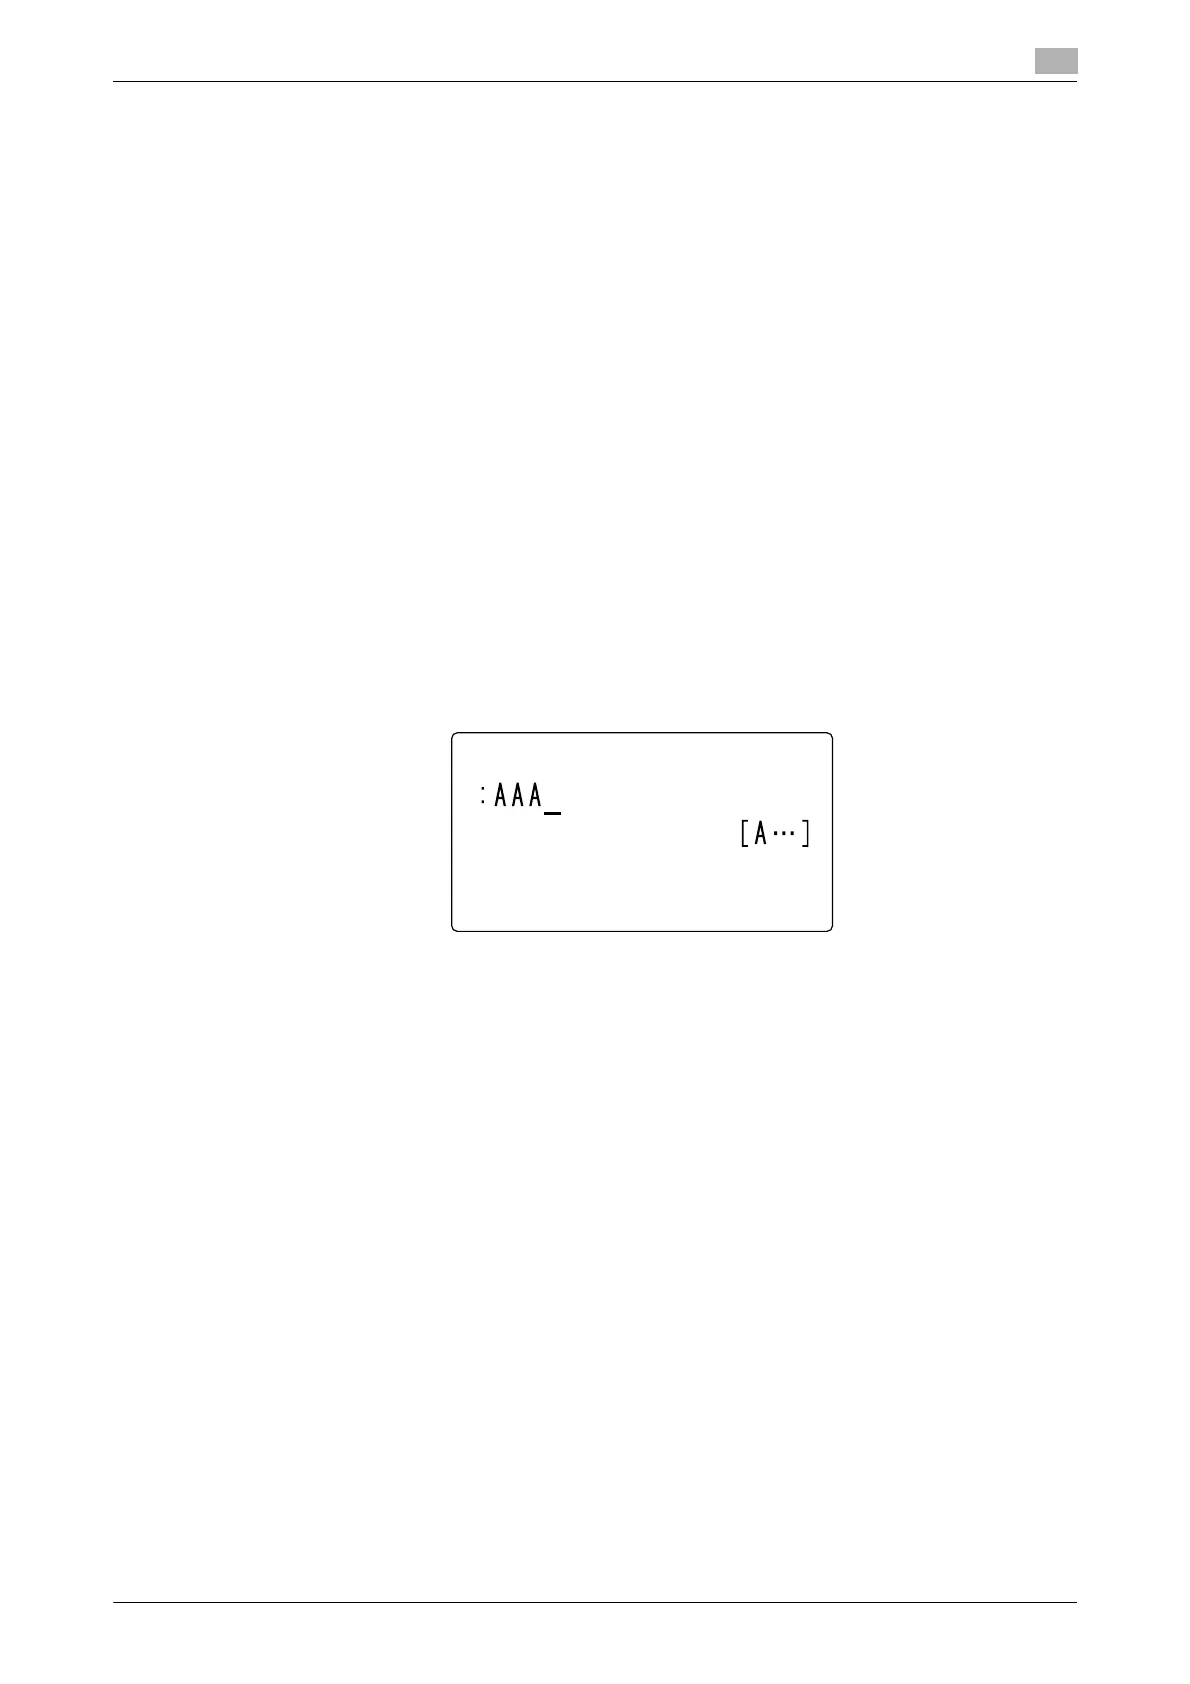
5 Enter the first characters of a registered destination name using the Keypad, and press the OK key.
% You can enter up to 10 characters.
This displays registered names beginning with the entered character string.
6 Use +, to select a destination, and press the OK key.
7 Press the Start key.
This starts scanning and sending.
 Loading...