Corrective maintenance
Reassembly
About this task
For safety reasons, always use the new screws and spare parts provided in the KR.
Procedure
1. Clean the dome and the air gap.
Make sure the air gap is perfectly clean before reassembly.
Use a blower or double face adhesive to remove any particle.
2. Place the same kind and number of shims that were initially present.
3. Carefully place the diaphragm, using the positive (red) connector as reference point.
4. Position the cover and turn it to align it with the screw holes.
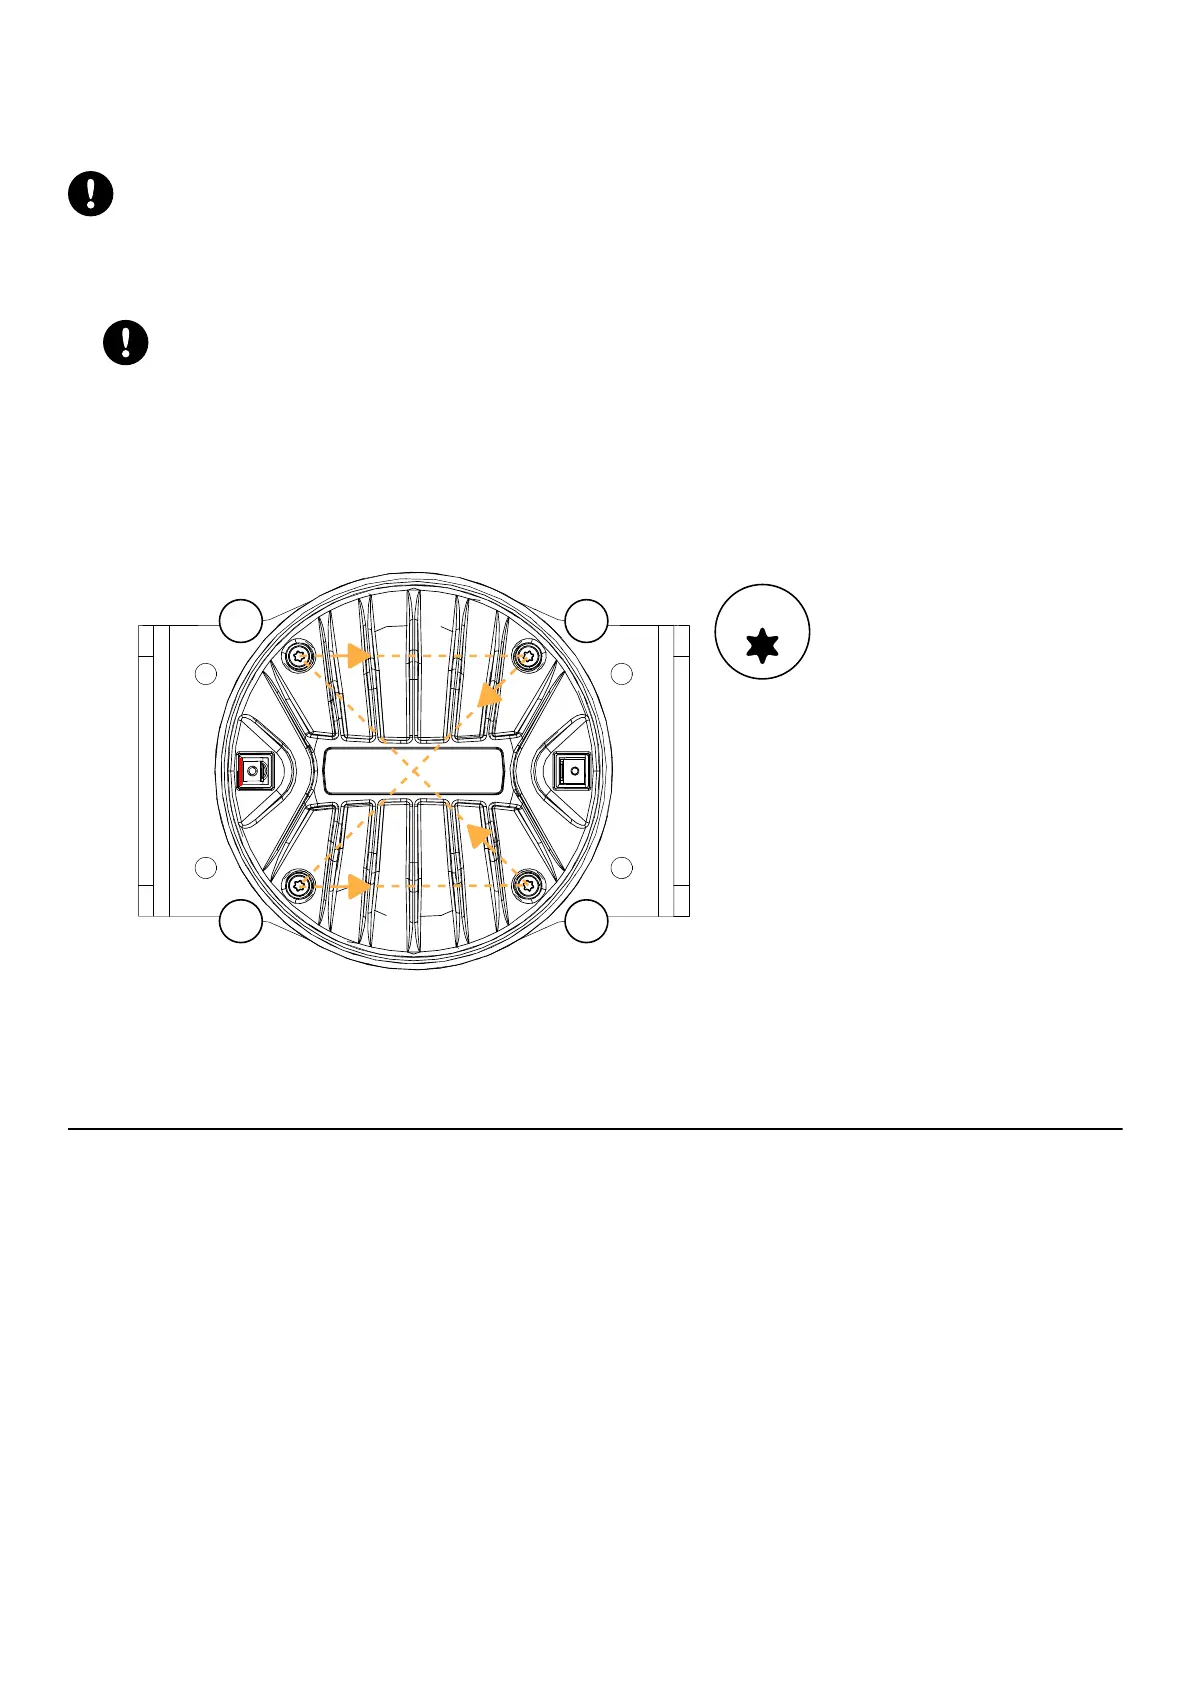
5. Secure the cover using four S18362 screws.
a) Gradually secure each screw following a star pattern.
Use the T20 Torx bit.
1
2
3
4
T20
b) Tighten the screws in the same order with the torque screwdriver.
Use the T20 Torx bit. Set the torque to 3 N.m.
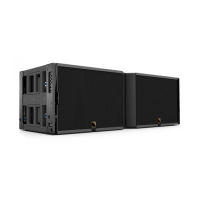
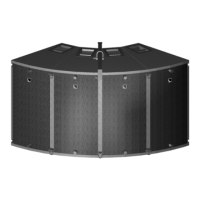
L2D
Introduction
This section contains the following maintenance procedures:
• D/R - Grill (p.110)
• D/R - Fin (p.113)
• D/R - LF speaker (p.115)
• D/R - Side panel (p.116)
• D/R - LC speaker (p.117)
• D/R - Connector plate (p.118)
• D/R - Rear grill (p.119)
• D/R - Trapdoors (p.120)
• D/R - HF driver (p.121)
• D/R - HF diaphragm (p.122)
For advanced maintenance, contact your L-Acoustics representative.
106 L2 owner's manual (EN) version 2.0
 Loading...