Installing a hot-swap power supply
This procedure applies only to server models that have hot-swap power supplies.
See “Installing a non-hot-swap power supply cage assembly (TD100 - some
models)” on page 135 for information about the installation of a non-hot-swap power
supply.
To install a hot-swap power supply, complete the following steps:
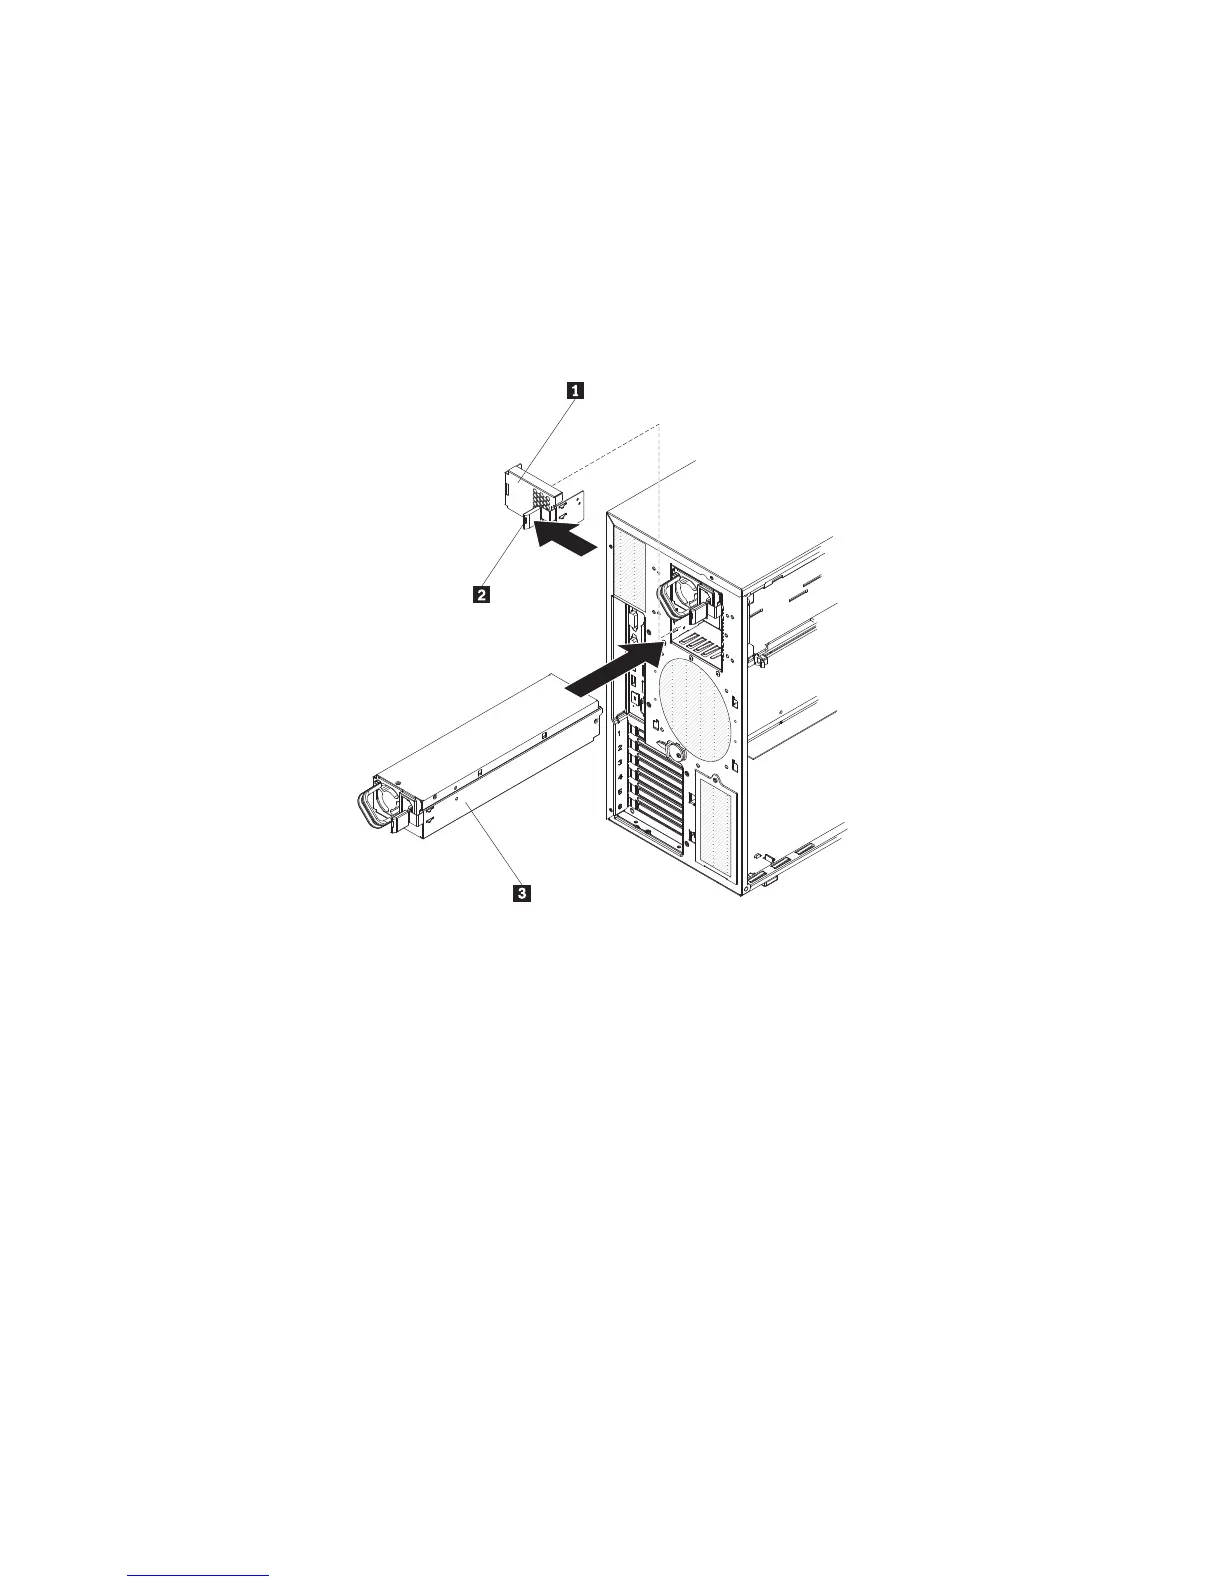
1. Remove the power supply filler.
2. Place the power supply into the bay guides.
1 Power supply filler
2 Release latch
3 Power supply
3. Using the handle, push the power supply toward the front of the chassis until it
locks into place.
4. Connect one end of the power cord into the connector on the back of the power
supply and connect the other end of the power cord into a properly grounded
electrical outlet.
5. Make sure that both the ac and dc power LEDs on the rear of the power supply
are lit, indicating that the power supply is operating correctly.
96 ThinkServer TD100 and TD100x: Hardware Maintenance Manual
 Loading...