OPERATION
AVTMTTR100-ENG Rev 6 Nov 2015
69
SAVED READINGS Screen
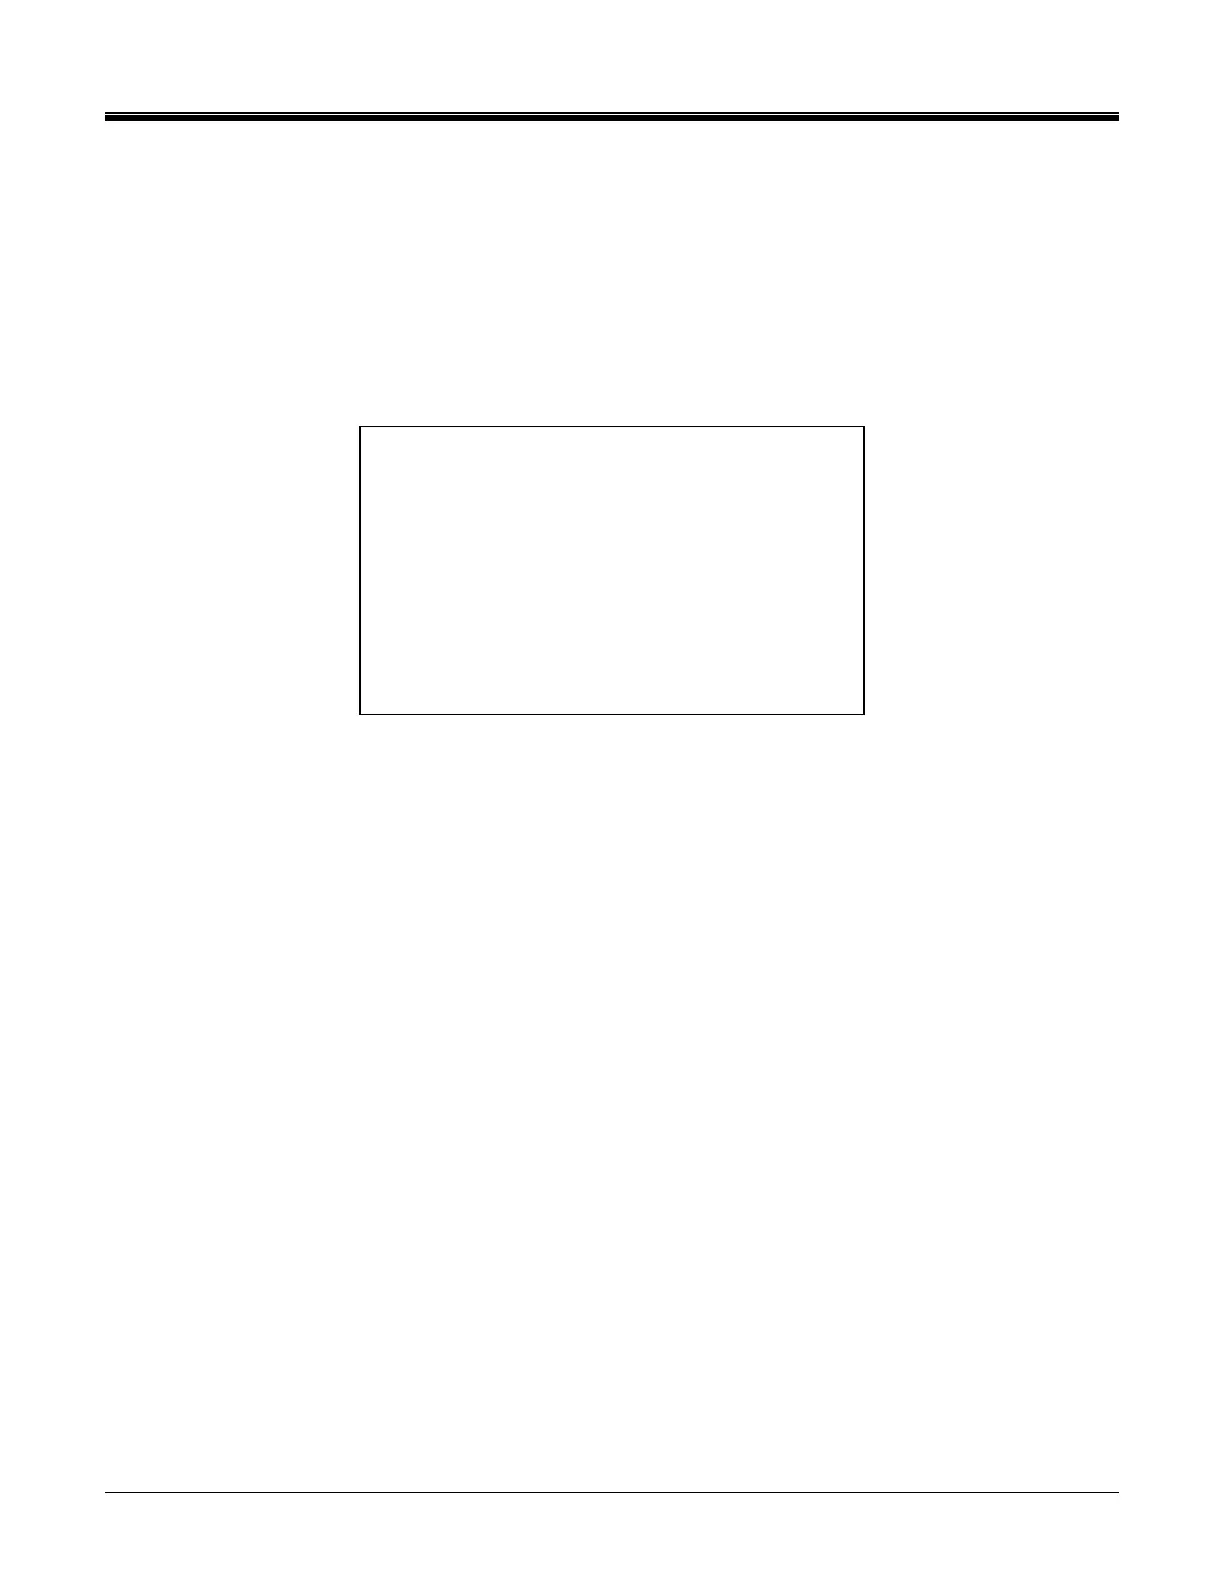
When 6, SAVED READINGS is selected on the MAIN MENU screen the SAVED
READINGS screen appears as shown in Figure 6-12. The total number of saved
readings is displayed on the MAIN MENU screen, following the SAVED
READINGS selection, and it is also displayed in the SAVED READINGS menu
screen.
Figure 6-12. SAVED READINGS Screen
1. VIEW READINGS: This selection allows one to view saved HEADER
information and associated test results. A prompt line will request the test
number to view. Enter the number and then depress the ENTER key. The first
screen shown is the HEADER screen containing information such as:
Company name, Substation name, equipment Manufacturer and etc. This
information should have been entered at the time of test. If it had not been
entered, the information can be entered or corrected at this time. In addition,
the test number and test date is also displayed on this screen.
The scroll keys will allow one to view the test result screens. The number of
available test result screens will vary depending on the type of device tested,
as well as the type of test conducted. The HEADER information and
associated test results can be printed from the final test result screen of the
selected test number.
To view the subsequent HEADER screen and associated test results, select
8. To view the previous HEADER screen and associated test results from a
HEADER screen, use the left scroll key. To exit the VIEW READINGS mode
and return to the SAVED READINGS screen, select 9.
2. DELETE READINGS: This selection allows one to DELETE saved header
information and associated test results. Prompt lines will be displayed at the
bottom of the screen. If all saved readings are to be deleted, enter 0; if a
specific test result is to be deleted enter the associated test number and
SAVED READINGS:13
1. VIEW READINGS
2. DELETE READINGS
3. PRINT READINGS
4. XFER READINGS TO PC
5. MAIN MENU
SELECT FROM KEYPAD
 Loading...