POWERHEAD
90-883728 JULY 2001 Page 4A-51
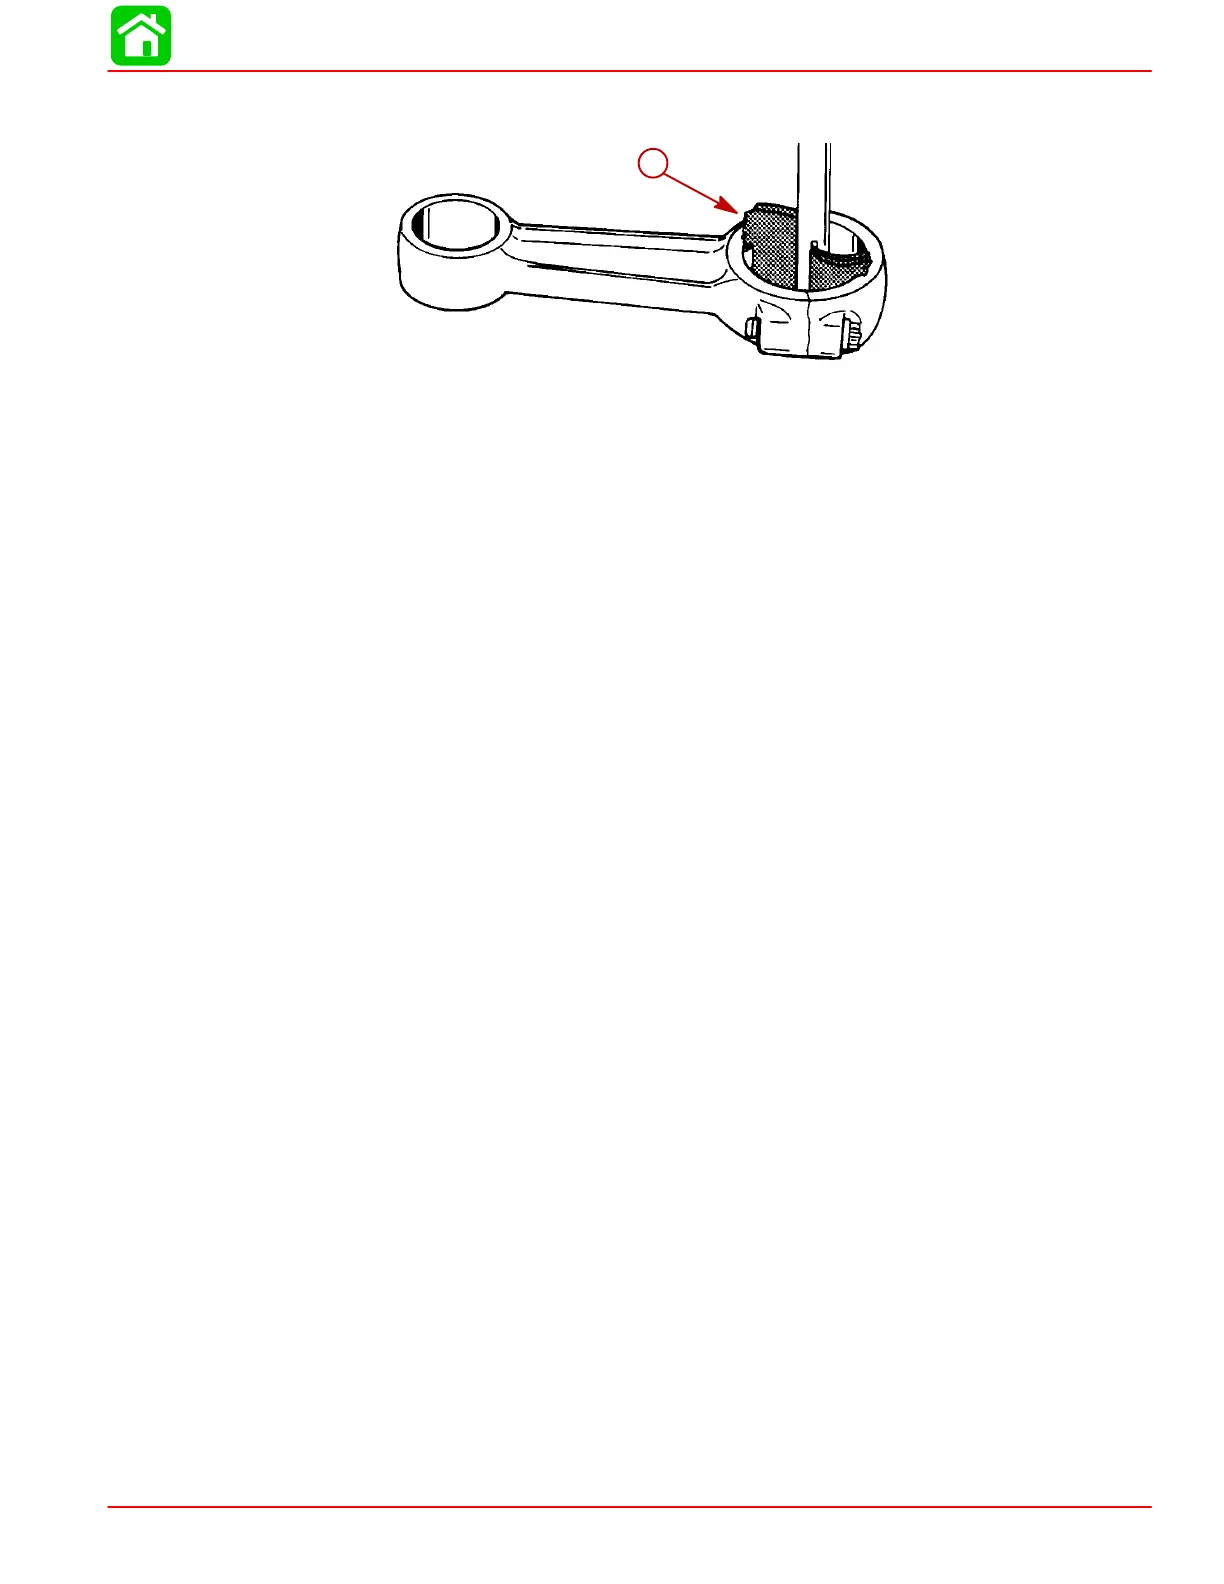
IMPORTANT: Clean connecting rod just enough to clean up bearing surfaces. DO
NOT continue to clean after marks are removed from bearing surfaces.
51083
a
a-Crocus Cloth
c. Clean PISTON PIN END of connecting rod, using same method as in Step “b”, pre-
ceding, but using 320 grit carborundum cloth instead of crocus cloth.
d. Thoroughly wash connecting rods to remove abrasive grit. Recheck bearing sur-
faces of connecting rods. Replace any connecting rod(s) that cannot be properly
“cleaned up.” Lubricate bearing surfaces of connecting rods (which will be re-used)
with light oil to prevent rust.
Powerhead Reassembly and Installation
General
Before proceeding with powerhead reassembly, be sure that all parts to be re-used have
been carefully cleaned and thoroughly inspected, as outlined in “Cleaning and Inspection,”
preceding. Parts, which have not been properly cleaned (or which are questionable), can
severely damage an otherwise perfectly good powerhead within the first few minutes of op-
eration. All new powerhead gaskets MUST BE installed during reassembly.
During reassembly, lubricate parts with Quicksilver 2-Cycle Outboard Lubricant whenever
“light oil” is specified. Quicksilver part numbers of lubricants, sealers and locking com-
pounds and tools are listed in “Powerhead General Information,” preceding.
A torque wrench is essential for correct reassembly of powerhead. DO NOT attempt to
reassemble powerhead without using a torque wrench. Attaching bolts for covers, housings
and cylinder heads MUST BE torqued by tightening bolts in 3 progressive steps (following
specified torque sequence) until specified torque is reached (see “Example,” following).
EXAMPLE: If cylinder head attaching bolts require a torque of 30 Ib. ft. (40.7 N·m), a) tighten
all bolts to 10 Ib. ft. (13.5 N·m), following specified torque sequence, b) tighten all bolts to
20 Ib. ft. (27 N·m), following torque sequence, then finally c) tighten all bolts to 30 Ib. ft. (40.7
N·m), following torque sequence.
 Loading...