© National Instruments | 1-23
NI cDAQ-9132/9133/9134/9135/9136/9137 User Manual
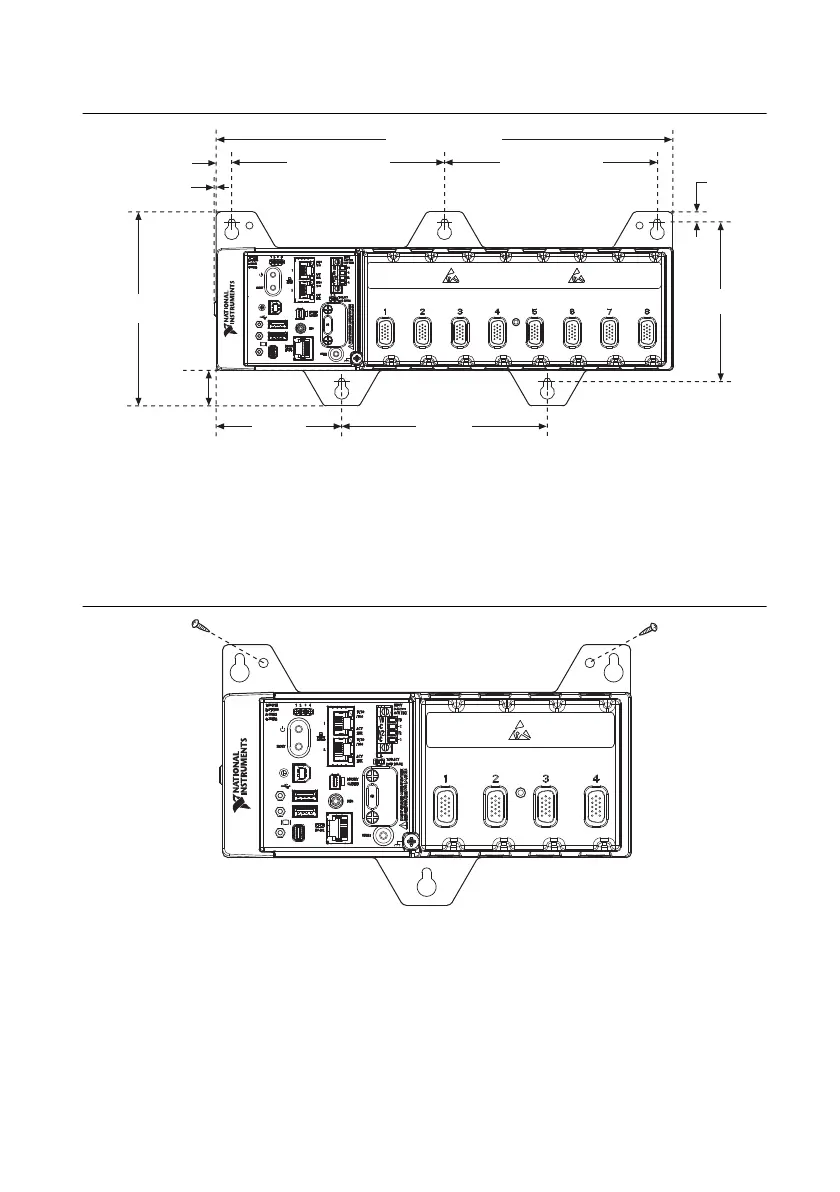
Figure 1-14. Dimensions of the cDAQ-9133/9135/9137 with Mounting Plate Installed
2. Fasten the mounting plate to the surface using the screwdriver and screws that are
appropriate for the surface. The maximum screw size is M4 or number 8.
Optionally, you can use two additional screws to attach the mounting plate to the panel or
wall permanently, preventing the controller from being removed.
Figure 1-15. Permanently Attaching the Mounting Plate to the Panel or Wall
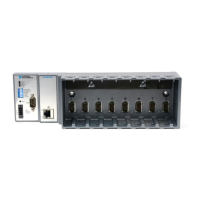
(cDAQ-9134 Shown)
327.03 mm (12.875 in.)
152.4 mm (6.000 in.)
11.11 mm (0.437 in.)
1.55 mm (0.061 in.)
138.94 mm
(5.470 in.)
25.41 mm
(1.000 in.)
89.85 mm
(3.537 in.)
147.32 mm
(5.800 in.)
152.4 mm (6.000 in.)
7.24 mm
(0.285 in.)
114.3 mm
(4.500 in.)
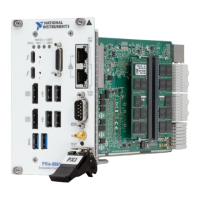
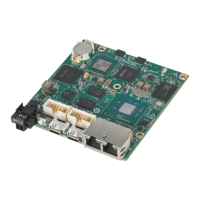
NI cDAQ-9135
NI CompactDAQ
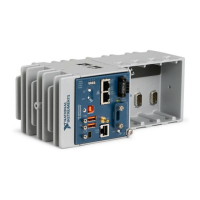
NI cDAQ-9134NI cDAQ-9134
NI CompactDAQNI CompactDAQ
 Loading...