Step 7: Check the installation
Before you apply power to the switch, perform the steps that are described in this
section.
To check the installation:
1. Inspect the equipment thoroughly.
2.
Verify again that all cables are installed correctly.
3.
Check cable routing to make sure that cables are not damaged or creating a safety
hazard.
4. Make sure that all equipment is mounted properly and securely.
Step 8: Apply AC power and check the LEDs
The switch does not provide an on/off switch. The power cord connection controls the
power.
Before connecting the power cord, select an AC outlet that is not controlled by a wall
switch, which can turn off power to the switch.
To apply AC power:
1.
Connect the end of the power cord to the AC power receptacle on the back of the
switch.
2. Plug the AC power cord into a power source such as a wall socket or power strip.
3.
Check to see that the LEDs on the front panel of the switch light correctly.
When you apply power, the Power LED on the switch front panel lights and the ports
LEDs for attached devices light. For information about the LEDs, see LEDs on page
14.
If the Power LED does not light, check to see that the power cord is plugged in
correctly and that the power source is good.
Hardware Installation Guide30Installation
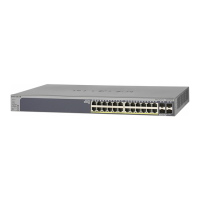
24-Port Gigabit (Hi-Power) PoE+ Ethernet Smart Managed Pro Switch with 2 SFP Ports
 Loading...
