26
Mounting the wall bracket
The Touch panel can be mounted on the wall using the integral wall-bracket.
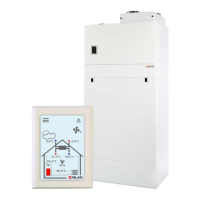
1. The wall bracket is fixed to the wall with two screws. 2.a. Insert the RJ45 plug into the wall bracket with the top of
the plug aligned with the dotted line in the wall bracket, and
with the RJ45 release tab facing away from the wall.
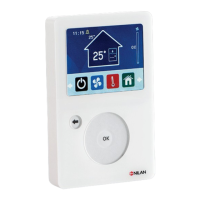
2.b. You can fit the RJ45 plug to the cable yourself. For this
purpose, a spacer is supplied.
The spacer is attached to the LAN cable which is located
behind the large door.
2.c. The top of the RJ45 plug must be flush with the dotted
line in the wall fitting. The spacer fits between the plug and
the cable relief bracket.
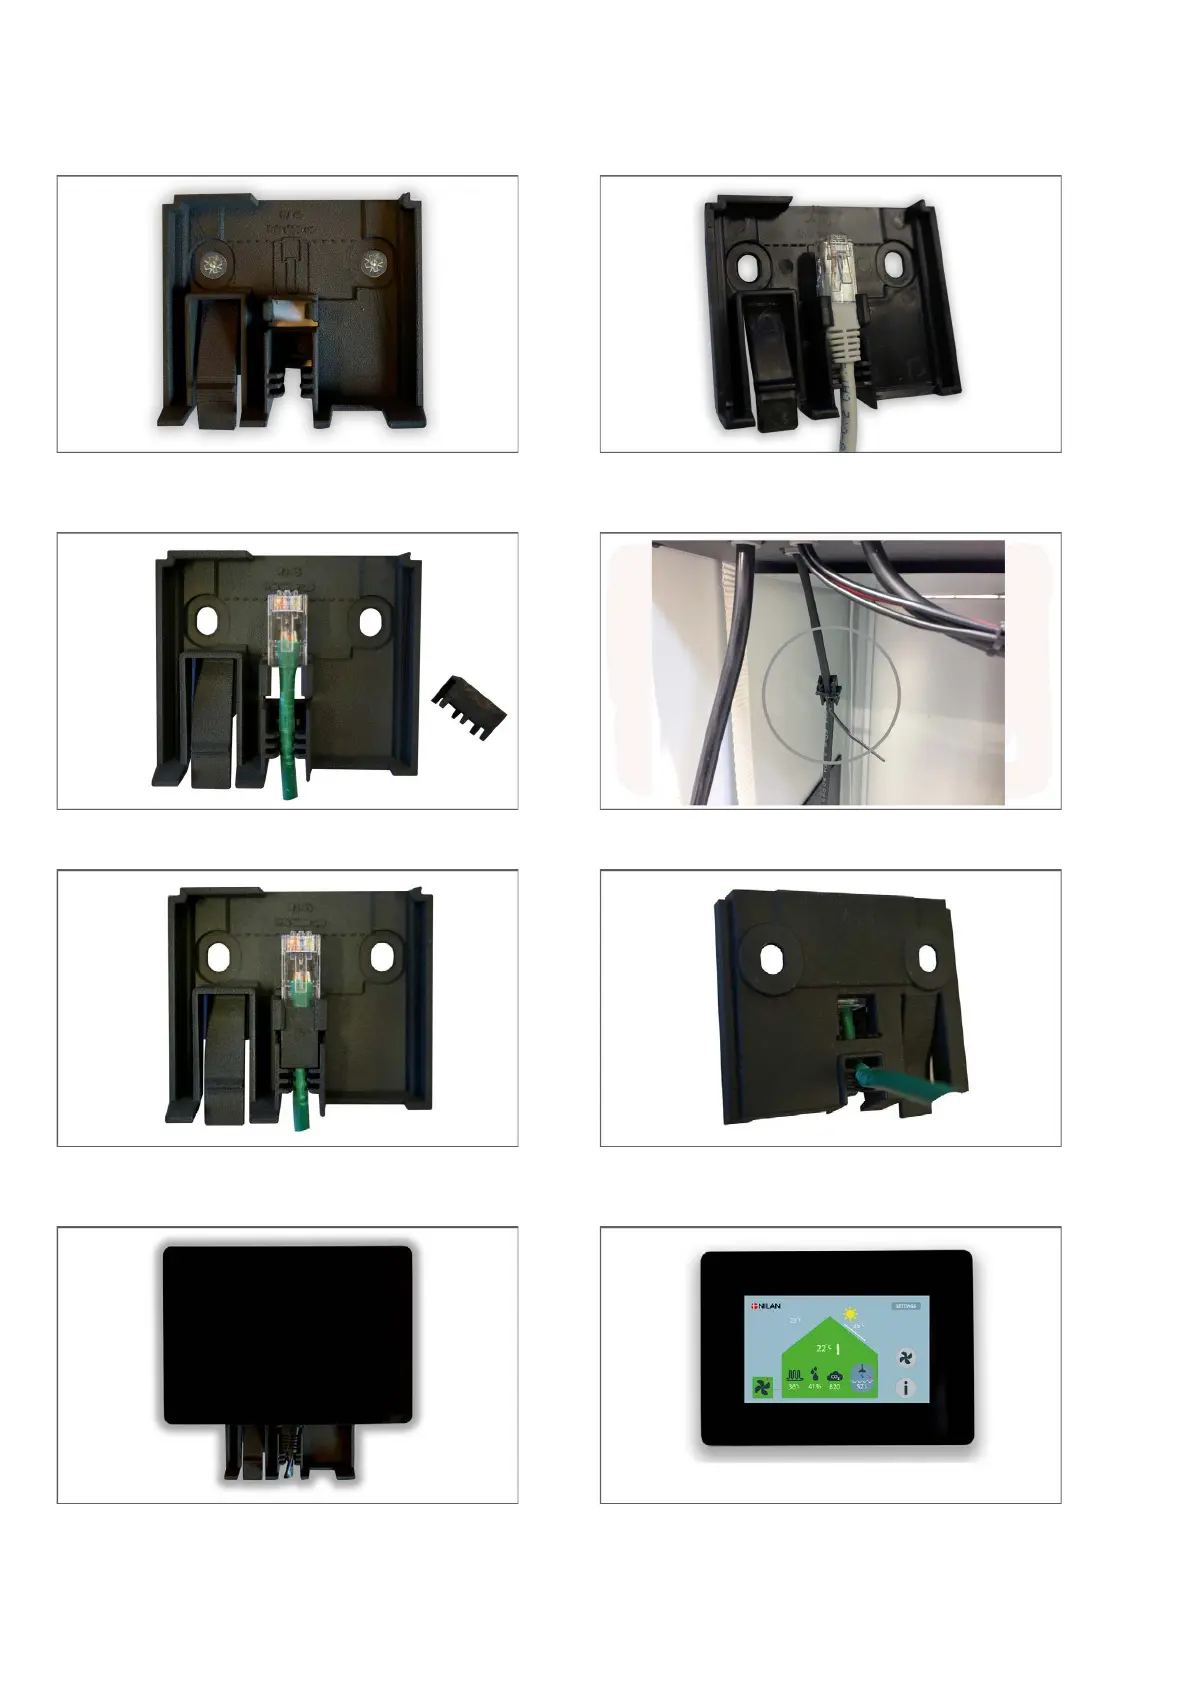
3. The cable may be routed down from the wall fitting or
into a hole in the wall behind it.
4.Push the touch panel down over the wall bracket until a
click is heard.
The panel may be removed from the wall by pressing the
locking clip.
5. The touch panel is ready for use.
 Loading...