Chapter 18. Rack Mount Kit
Replacement
1. Remove the two front screws and washers
2. Remove the two rear screws
3. Use the clips to release the front and rear from each side of the kit
4. Remove the cage nuts from the rack posts
5. Install on the new rack by using the clips to position the kit at the right height
6. Use the template to install the cage nuts in the right
7. Use the four screws and two washers to secure the rack mount kit in place
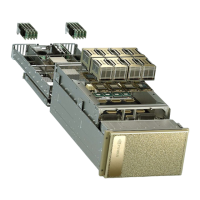
18.1. Rack Mount Kit Description
The rack mount kit acts as a shelf in the rack, it does not allow the system to be moved once installed.
All components are serviceable from the front or rear.
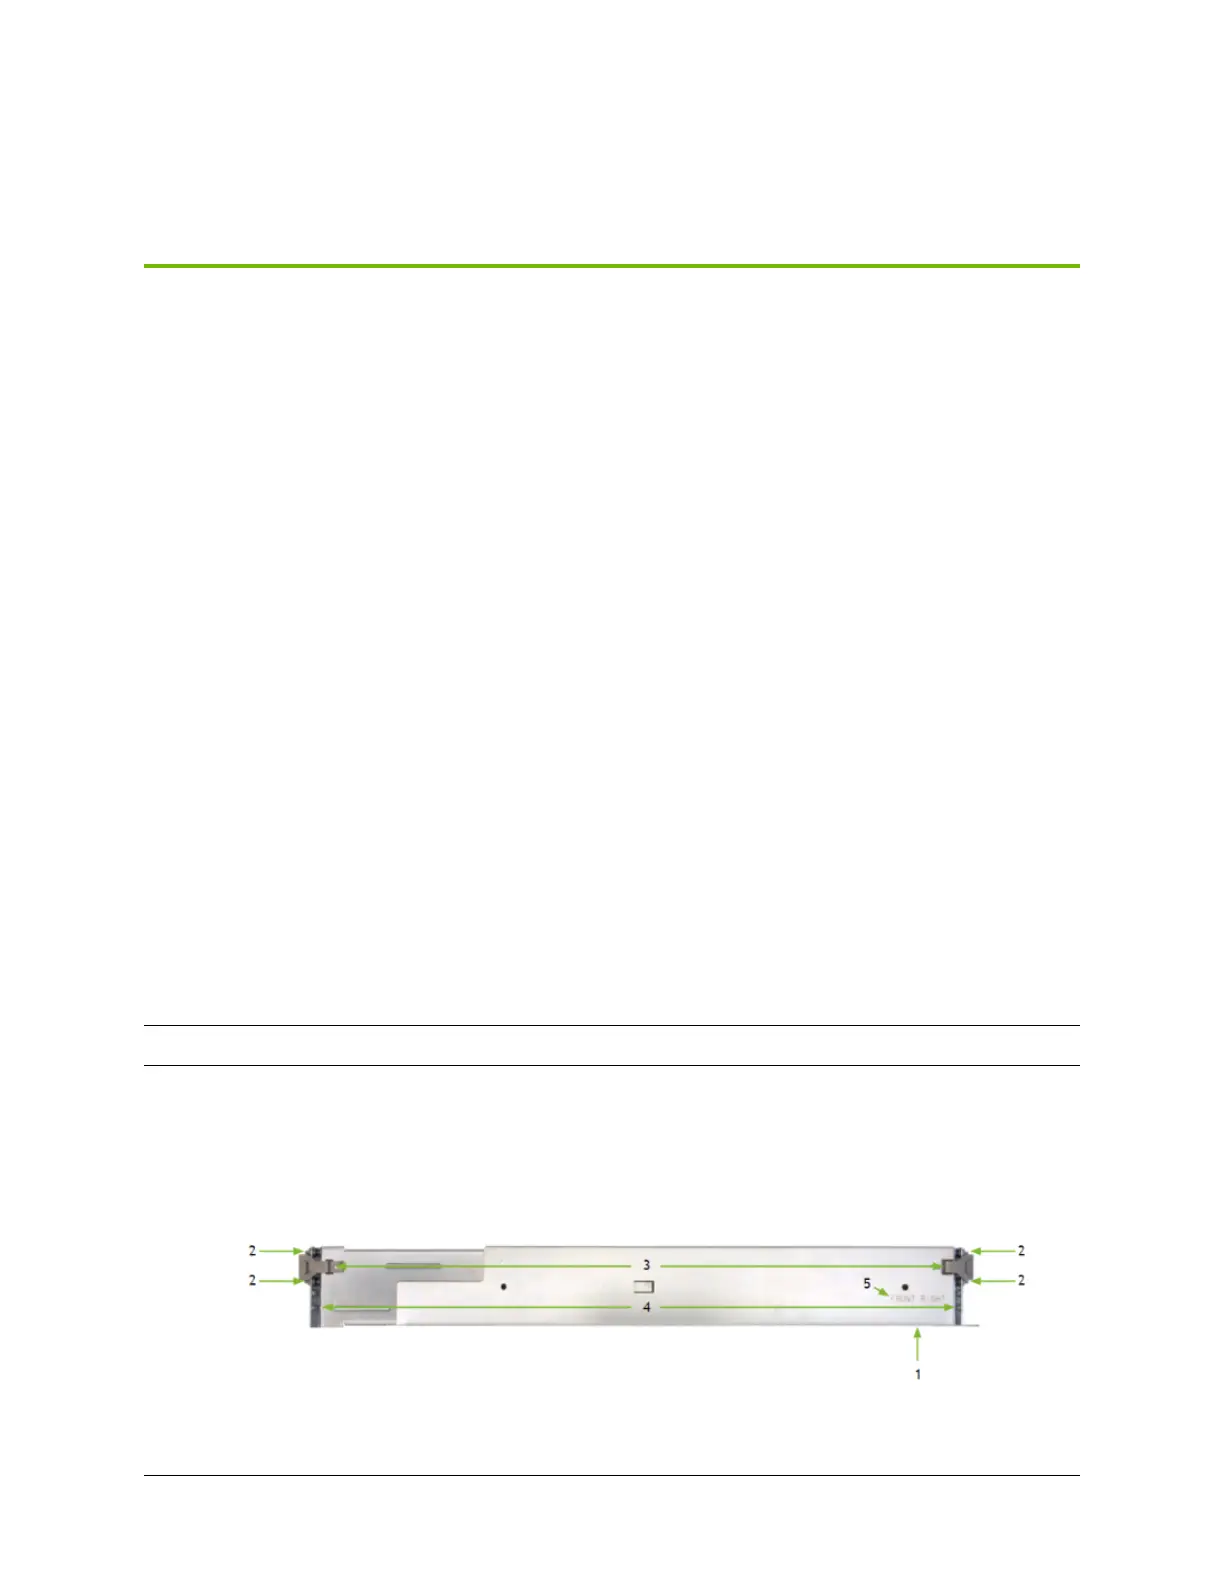
This rack mount kit can extend lengthwise, and the distance between the posts can range from 29-35
in (.74m - 0.9m)
Note: the lip at the bottom will hold the bottom of the system
▶ These prongs enter the holes of the rack (square or round)
▶ Metal plates keep the rack kit in place
▶ Secure the rack mount kit to the rack with the provided screws
▶ Identify the front of the rackmount with the embossed labels
107

 Loading...