NVIDIA DGX H100 Service Manual
13.2. Prepare the System for Replacement
1. First, identify which IO card to replace. Use the nvsm command or network tools to determine
which card failed. After you have this information, contact NVIDIA Enterprise Support to get a
replacement.
2. When the card arrives, power o the system.
3. Based on the output from nvsm, identify which card needs to be replaced, the card in slot 1 or in
slot 2
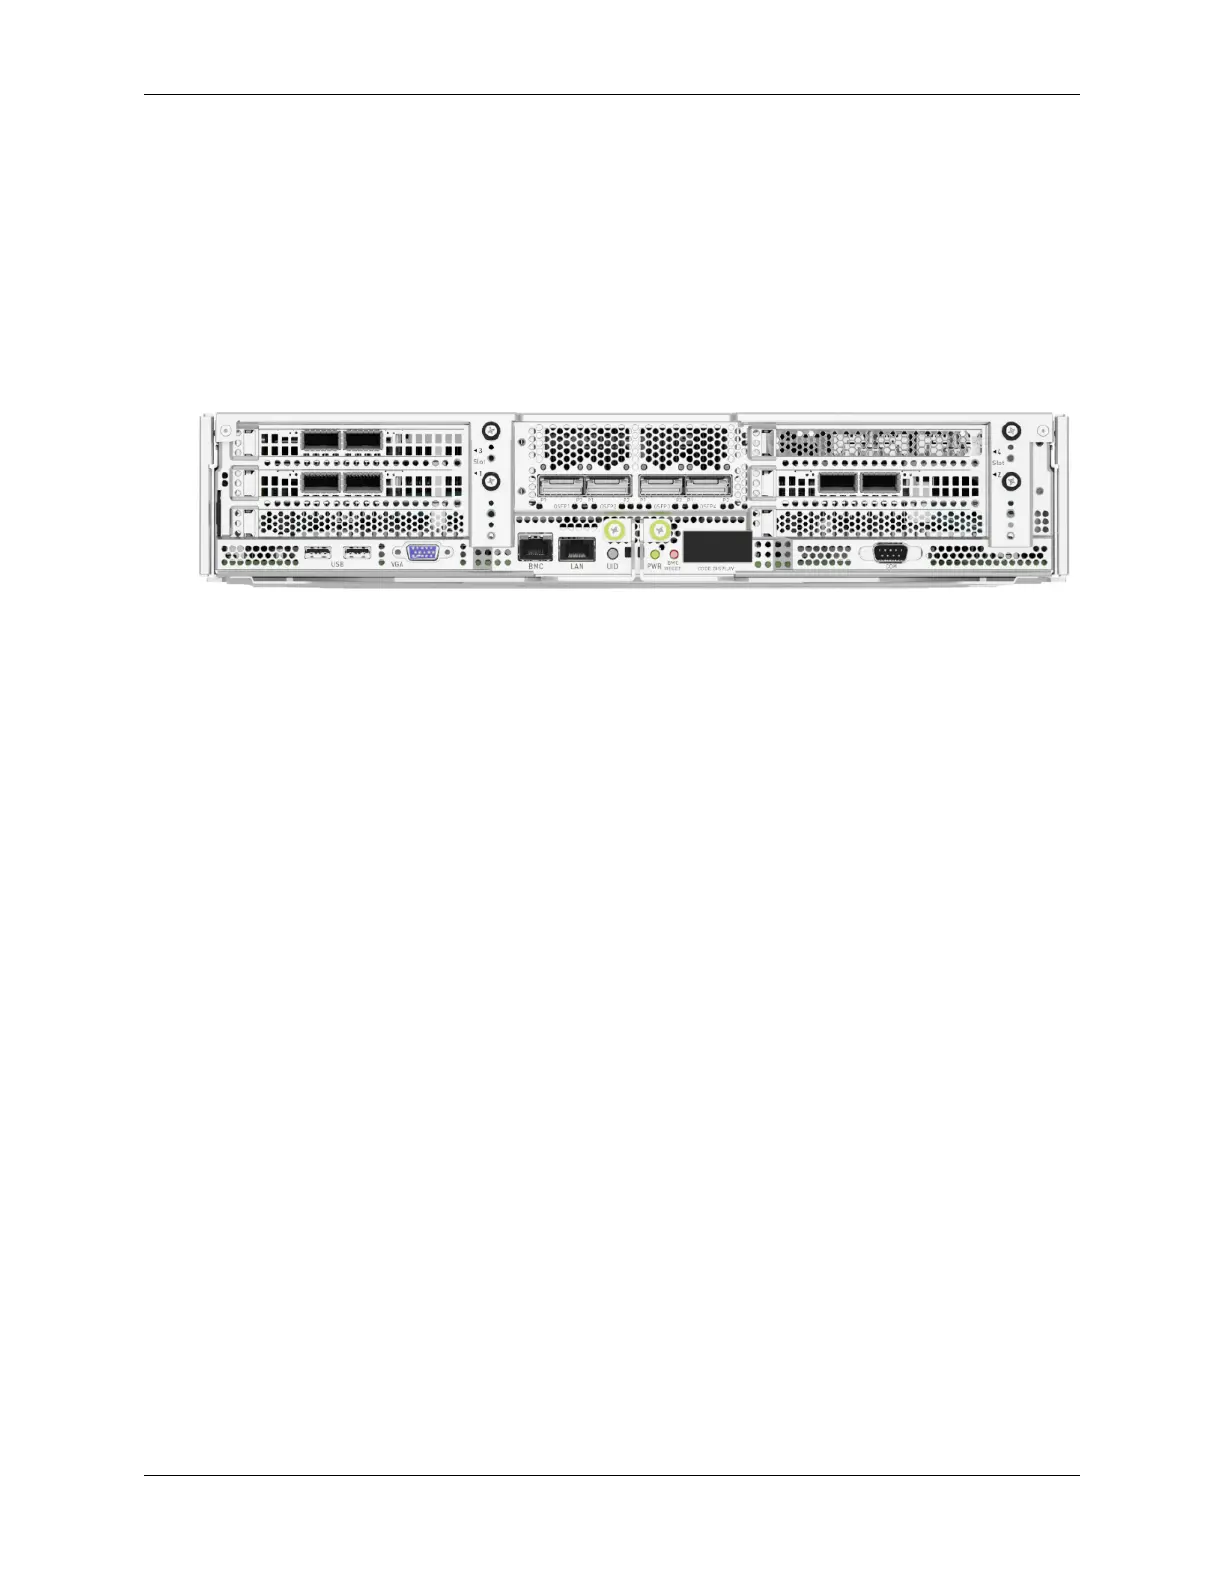
13.3. Remove the I/O Card above the ConnectX
Card to be replaced
1. Pull out the motherboard tray and access the IO door. Refer to Motherboard Tray - Opening and
Closing the IO door for information about accessing the IO door.
2. Remove the I/O card that is above the ConnectX card. The card can be the M.2 boot drive assem-
bly or a network interface card.
▶ Refer to M.2 Boot Drive Assembly Replacement to remove the M.2 boot drive carrier.
The images at the preceding link show how to remove the boot drive carrier on the right,
above the ConnectX card in slot 2. If you need to replace the ConnectX card in slot 2, follow
the instructions, but use the thumbscrew on the left side of the motherboard tray.
▶ Refer to Network Interface Card Replacement to remove the Ethernet NIC.
13.4. Remove the ConnectX Card
1. Pull the card out of the slot:
76 Chapter 13. ConnectX-7 I/O Replacement

 Loading...