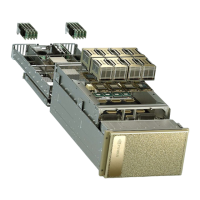
NVIDIA DGX H100 Service Manual
3. After inserting the new power supply, plug in and lock the power cord and conrm that both the
IN and OUT LEDs light up green on the new power supply.
4. From the BMC web user interface, conrm the power supply sensors are OK.
5. Run the nvsm show health command and conrm the output does not report any errors.
6. After the replacement is complete, return the broken power supply to NVIDIA Enterprise Support.
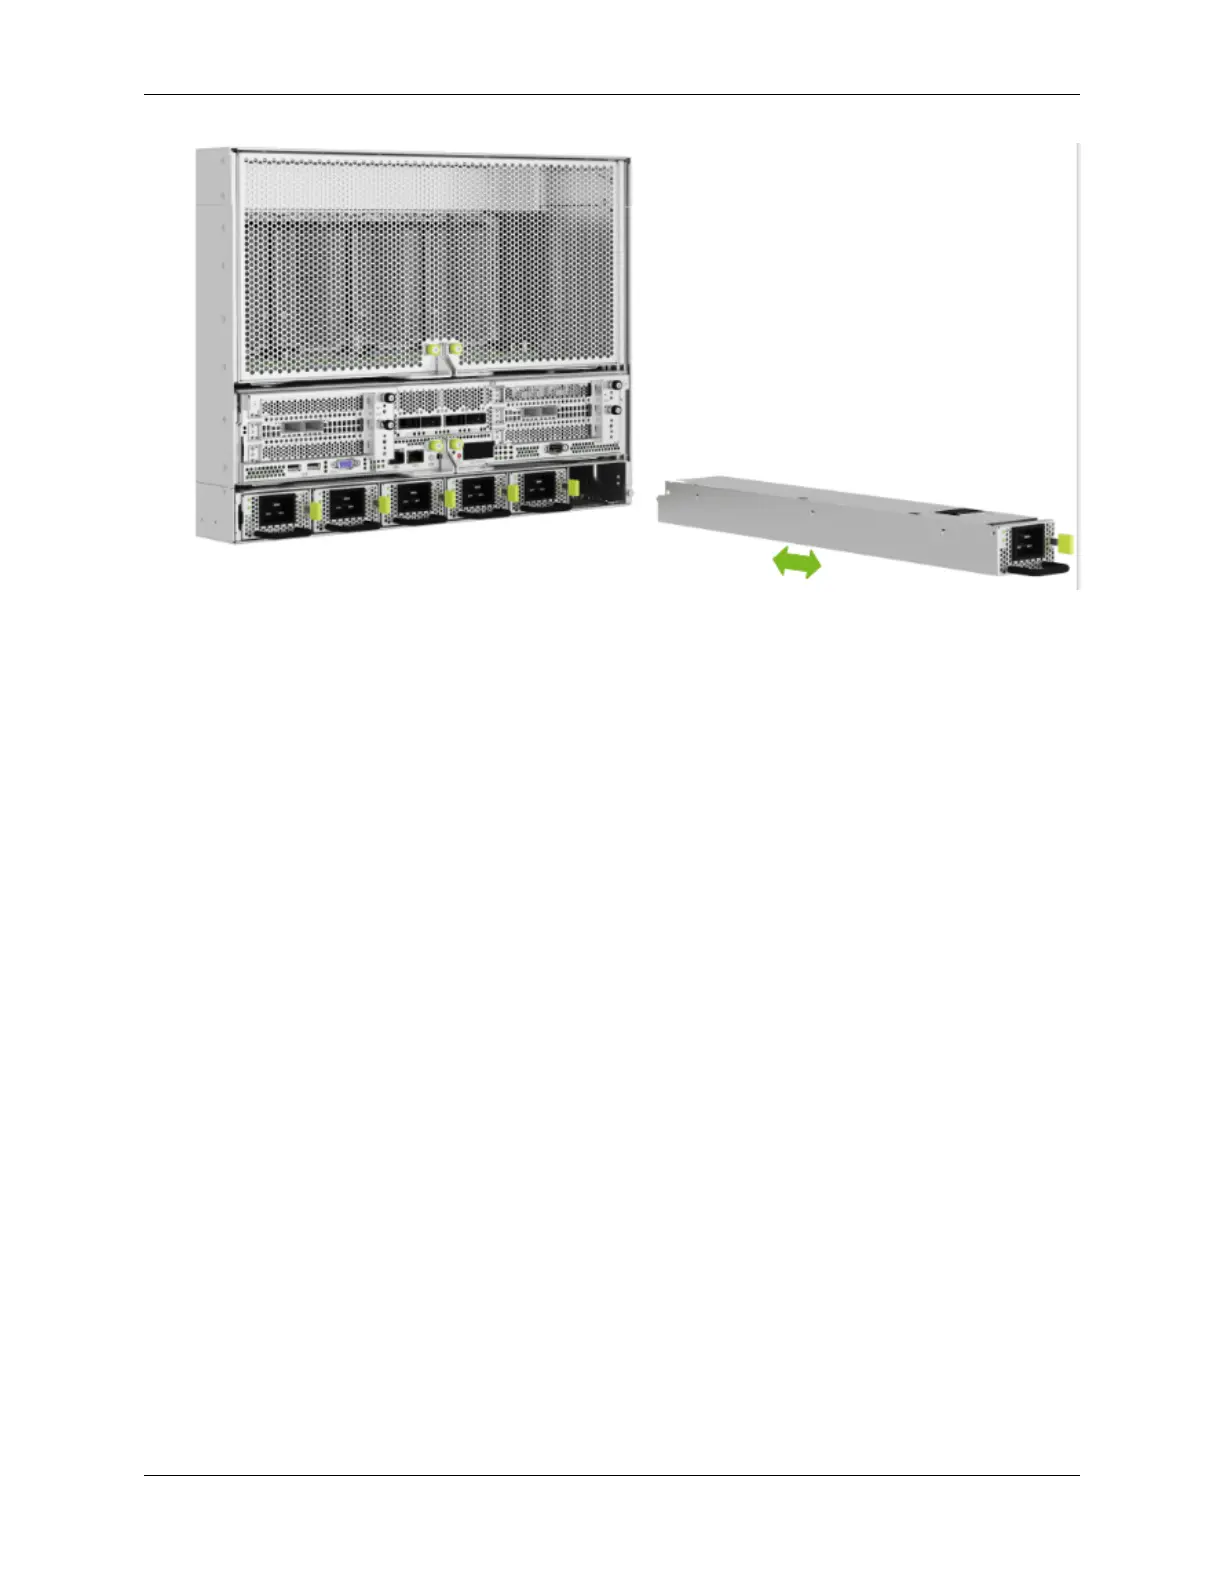
3.5. Locking Power Cords
How to use the twisting locking power cords that ship with the system.
1. To insert the PDU side of the power cord, insert the cable into the plug. To remove it, press the
clips on both sides at the same time to unlock the power cord and pull it out of the plug.
2. On the power supply side, insert the cable by rst making sure the cable’s gray band or locking
ring is set to unlock. Then, insert the cable to the power supply plug and then twist the locking
ring to the locked position.
3.5. Locking Power Cords 17

 Loading...