Getting started > 10
8. Paper Type Lever: set according to the type of paper used – cut sheet or continuous
forms.
9. Paper Thickness Lever: set according to the thickness of the paper. There is also a
setting to facilitate ribbon replacement.
10. Ribbon Cartridge: holds the printer ribbon.
R
EAR
VIEW
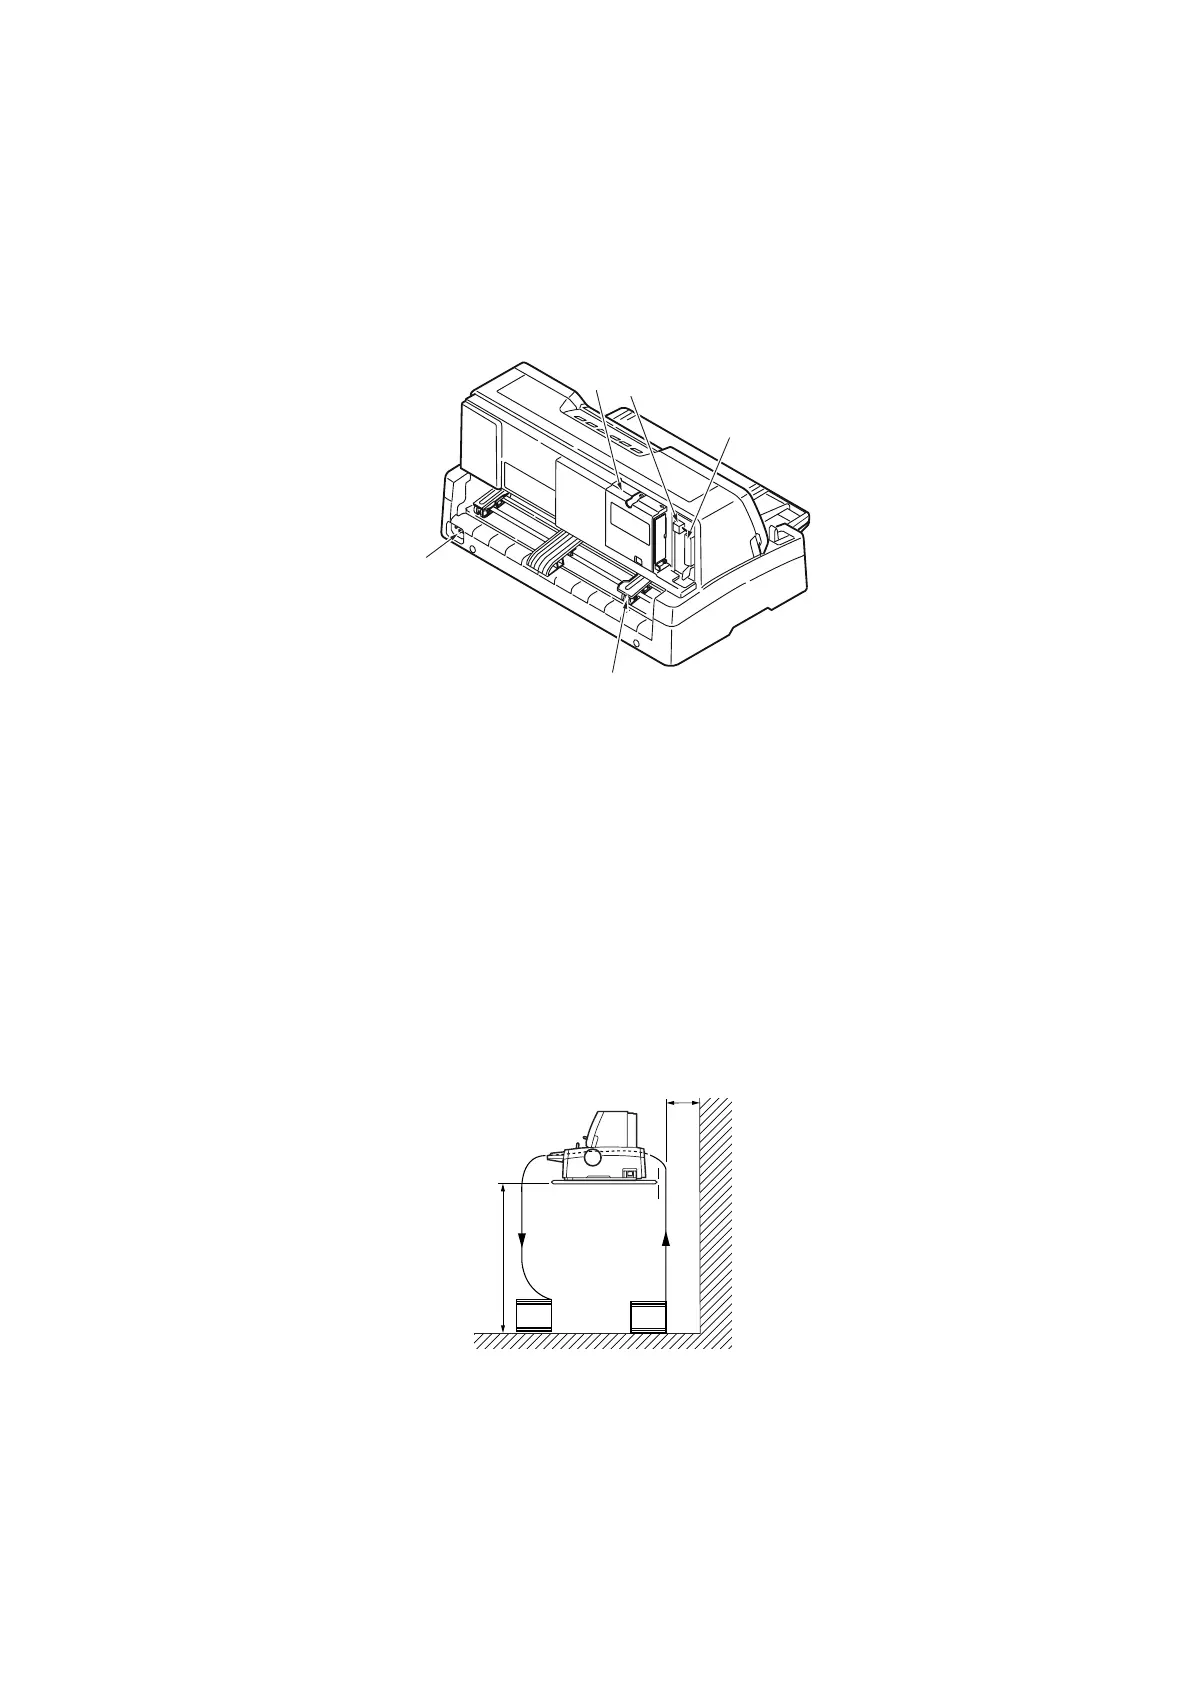
1. Optional connector position: connect to optional accessory serial interface card or
100BASE-TX/10BASE-T network card.
2. USB connector: connect to USB interface cable.
3. Parallel connector: connect to parallel interface connector.
4. Pin Tractor: to load and feed continuous forms.
5. Power connector: connect to printer power cable.
L
OCATING
YOUR
PRINTER
> Select a firm, solid surface on which to site your printer.
> Allow enough space around your printer (e.g. at least 60 cm from any wall) for easy
access to the Platen Knob and the various paper feed paths.
> Make sure a grounded power outlet is available nearby.
1
2
3
4
5
>=60 cm
75 cm
 Loading...